install windows 10 on proxmox with all settings in 2026
Abi
In the ever-evolving landscape of virtualization, learning how to install Windows 10 on Proxmox has become increasingly important for both enthusiasts and professionals alike. Proxmox, a powerful open-source platform, utilizes QEMU/KVM virtualization to provide an efficient environment for running various operating systems. As Windows 10 remains a popular choice for users, mastering its installation on Proxmox not only enhances your technical skills but also allows you to leverage the benefits of virtualization, such as resource allocation and system isolation. This guide will walk you through the advanced steps necessary to achieve a successful installation.
Understanding the nuances of installing Windows 10 on Proxmox is crucial for optimizing performance and ensuring a seamless user experience. By utilizing VirtIO drivers, you can significantly enhance the performance of your Windows 10 virtual machine, making it run smoother and faster. Additionally, allocating at least 4GB of RAM is essential for optimal performance, as it allows Windows 10 to operate efficiently within the Proxmox environment. This article will provide you with the insights needed to configure your virtual machine settings effectively, ensuring that your Windows 10 installation meets modern standards.
Moreover, enabling UEFI support in Proxmox is a vital step for installing Windows 10, as it allows for secure boot functionality, enhancing the security of your virtual machine. To streamline the installation process, utilizing a cloud-init drive can automate the configuration of Windows 10 settings, saving you time and effort. In this comprehensive guide, you will learn not only how to install Windows 10 on Proxmox but also how to optimize its performance and security, making your virtual environment robust and efficient for future use.
Step-by-Step Tutorial
Step 1: Prepare Proxmox Environment
- Update Proxmox: Begin by ensuring your Proxmox server is up to date. Access the terminal and run the following commands:
apt updateapt dist-upgrade - Check Resources: Verify that your server has sufficient CPU, RAM, and storage for running a Windows 10 VM. You can check resource usage with:
htop - Access Proxmox Web Interface: Open your web browser and navigate to the Proxmox web interface by entering the server’s IP address followed by port 8006 (e.g.,
https://your-proxmox-ip:8006). - Backup Configuration: Before making any changes, it’s wise to back up your Proxmox configuration. Use the following command:
vzdump --all --mode stop - Review Hardware Compatibility: Check the Proxmox documentation for any specific hardware compatibility requirements for running Windows 10.
By following these steps, you will ensure that your Proxmox environment is updated and ready for VM creation. Remember to verify that your server meets the minimum requirements for running Windows 10 to avoid any issues during installation.
Troubleshooting & Verification
Ensure your Proxmox server is updated and properly configured. Verify that virtualization is enabled in BIOS/UEFI settings. Check network configurations and storage availability. Confirm that the ISO image is correctly uploaded and accessible. Review logs for any errors during the installation process.
Step 2: Download Windows 10 ISO
- Open your web browser and navigate to the official Microsoft website by entering the URL:
https://www.microsoft.com/en-us/software-download/windows10. - Once on the page, scroll down to the section titled «Create Windows 10 installation media» and click on the «Download tool now» button to download the Media Creation Tool.
- After the download is complete, locate the downloaded file (usually in your Downloads folder) and double-click it to run the Media Creation Tool.
- Accept the license terms when prompted, then select «Create installation media (USB flash drive, DVD, or ISO file) for another PC» and click «Next».
- Choose the language, edition, and architecture (32-bit or 64-bit) for Windows 10 that you want to download. Make sure to select the correct version (Home, Pro, etc.) that you intend to use.
- Select «ISO file» when prompted for the media type, then click «Next» and choose a location on your computer to save the ISO file.
- Wait for the download to complete. This may take some time depending on your internet speed. It is recommended to use a reliable internet connection to prevent download interruptions.
- Once the download is finished, navigate to the location where you saved the ISO file and verify its integrity to ensure it is not corrupted.
Expected: Windows 10 ISO file downloaded successfully.
Warning: Ensure you download the ISO from the official Microsoft site to avoid corrupted files.
Troubleshooting & Verification
Ensure the Windows 10 ISO is downloaded from the official Microsoft website to avoid corruption. Verify the checksum of the ISO file to confirm its integrity. If issues persist, try using a different browser or download manager to eliminate potential download errors.
Step 3: Upload ISO to Proxmox
- Open your web browser and log in to the Proxmox web interface using your credentials.
- In the left sidebar, select the storage location where you want to upload the Windows 10 ISO file. This is usually labeled as «local» or another storage name you have configured.
- Once you have selected the storage, click on the «Content» tab located at the top of the interface.
- Click on the «Upload» button, which is usually found in the toolbar above the content list.
- A dialog box will appear prompting you to select the file. Click on «Select File» and navigate to the location of your Windows 10 ISO file on your local machine.
- After selecting the ISO file, click on the «Upload» button in the dialog box to start the upload process.
- Monitor the upload progress. Once completed, you should see the Windows 10 ISO listed in the content of the selected storage.
Tip: Consider using a fast network connection for quicker uploads. Organize your ISOs in folders for easier management.
Warning: Ensure you have sufficient storage space before uploading the ISO.
Troubleshooting & Verification
If the ISO upload fails, check your network connection and ensure you have sufficient storage space on the Proxmox server. Verify that the ISO file is not corrupted by comparing its checksum with the original. Restart the upload process if necessary.
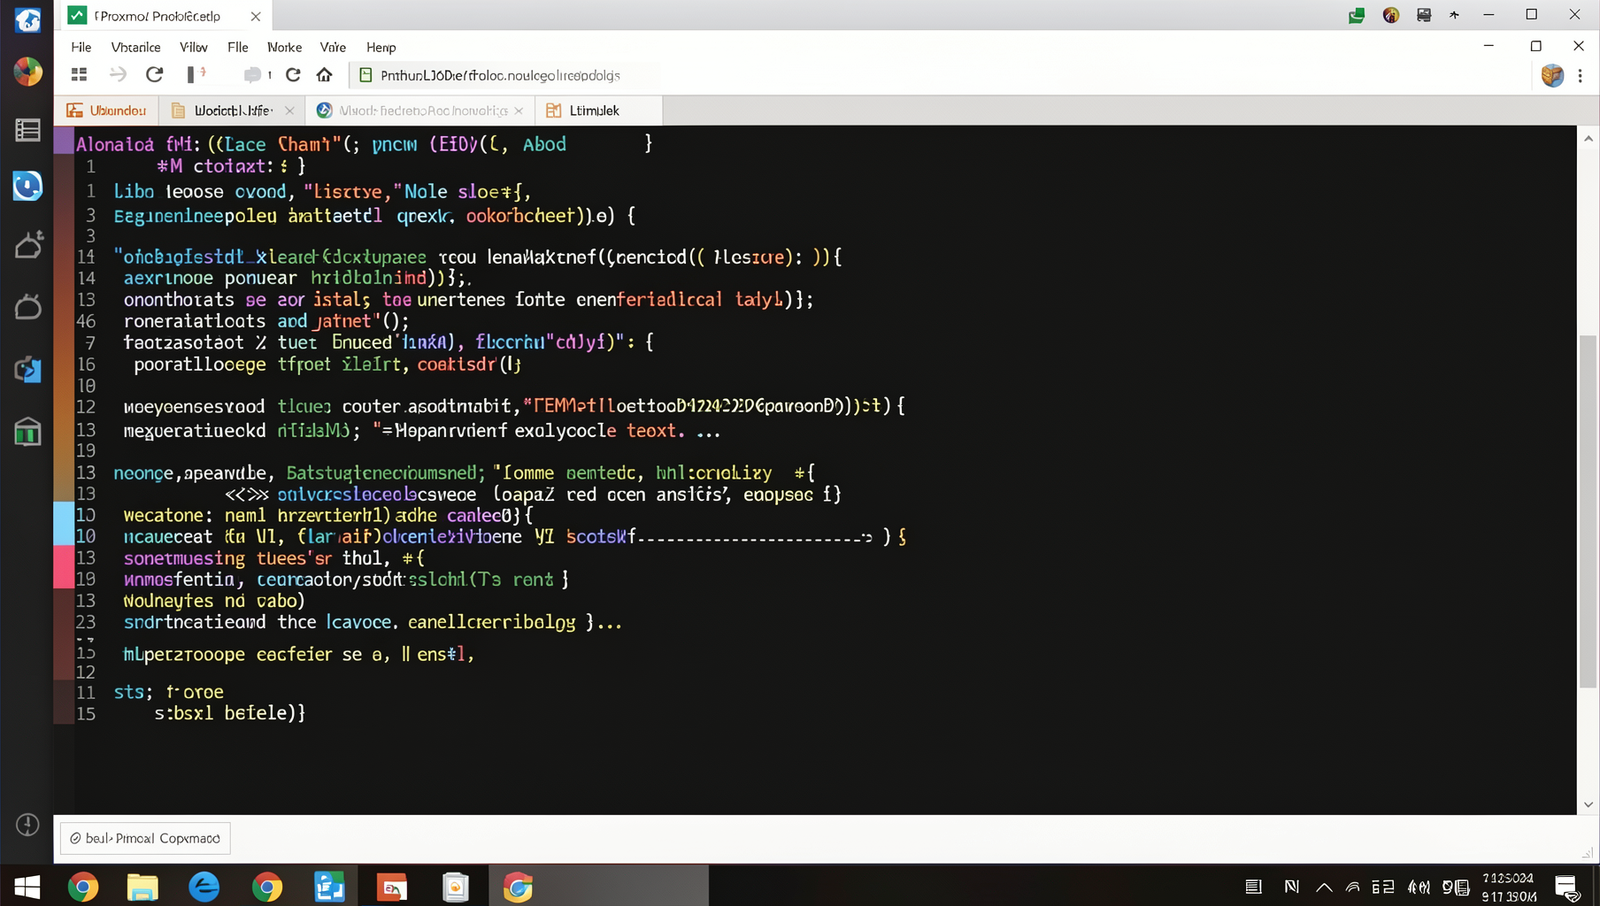
Step 4: Create a New VM
1. In the Proxmox web interface, locate and click on the ‘Create VM’ button at the top right corner.
2. In the ‘General’ tab, enter a unique VM ID and a descriptive name for your VM. This will help you identify it later.
3. Proceed to the ‘OS’ tab. Select the appropriate operating system type and version. Ensure that you choose the correct OS type to maintain compatibility.
4. In the ‘CD/DVD’ tab, select the ISO image you uploaded earlier from the dropdown menu.
5. Move to the ‘System’ tab. Consider enabling UEFI for better compatibility with Windows 10.
6. Configure the ‘Hard Disk’ settings according to your storage needs. Choose the desired storage location and disk size.
7. In the ‘CPU’ tab, allocate the number of cores and type of CPU that suits your VM’s performance requirements.
8. Finally, review your settings in the ‘Summary’ tab and click on ‘Finish’ to create the VM.
Expected: A new VM is created with the specified settings.
Troubleshooting & Verification
Ensure that the VM is configured with the correct CPU and memory settings. Verify that the ISO file is properly uploaded and accessible. Check the boot order in the VM settings to confirm that it prioritizes the ISO for installation.
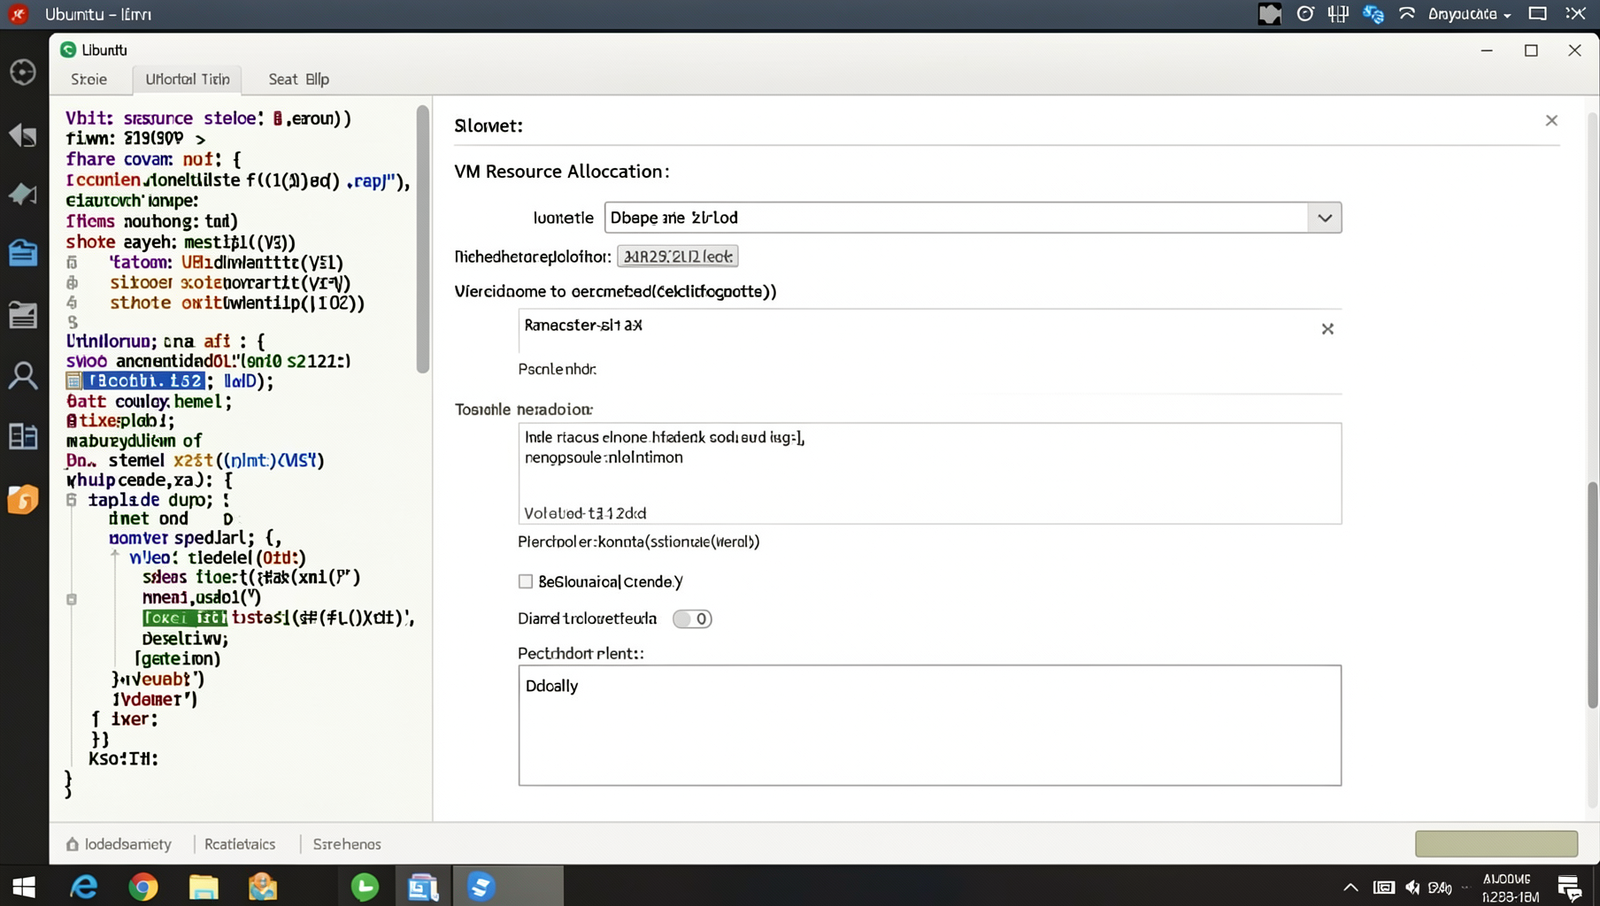
Step 5: Configure VM Resources
- Allocate CPU Cores:In the Proxmox web interface, select your VM and navigate to the «Hardware» tab. Click on «Processors» and set the number of cores to at least 2. This ensures that Windows 10 can run smoothly.
- Set RAM Size:Still in the «Hardware» tab, click on «Memory». Allocate a minimum of 4GB of RAM to the VM. This is crucial for optimal performance when running Windows 10.
- Configure Disk Space:Click on «Add» and select «Hard Disk». Set the disk size to at least 50GB. Choose the appropriate storage type, preferably SSD for better performance.
- Monitor Resource Usage:After the VM is running, keep an eye on resource usage through the Proxmox dashboard. This will help you optimize performance based on actual needs.
- Avoid Overcommitting Resources:Ensure that you do not allocate more resources than your physical hardware can handle. Overcommitting can lead to performance instability.
Troubleshooting & Verification
Ensure that the VM has adequate CPU and RAM allocated based on Windows 10 requirements. Verify that the disk format is set to «qcow2» for efficient storage. Check network settings for proper connectivity and confirm that the ISO image is correctly attached to the VM.
Step 6: Set Boot Options
- In the Proxmox web interface, select your Windows 10 virtual machine from the list.
- Click on the «Options» tab to access the VM settings.
- Locate the «Boot Order» setting and click on it to edit.
- In the Boot Order settings, ensure that the CD/DVD drive is set as the first boot device. You can do this by dragging it to the top of the list or using the up arrow button.
- If your Windows version requires UEFI, find the «Use UEFI» option and enable it.
- After configuring the boot options, click «OK» to save your changes.
Double-check the boot order before starting the VM to ensure that the installation process begins correctly. Remember, an incorrect boot order may prevent the installation from starting, so it’s crucial to verify these settings.
Troubleshooting & Verification
If Windows 10 fails to boot, verify that the boot order prioritizes the correct disk. Check the virtual machine settings for UEFI or BIOS compatibility. Ensure that the ISO file is not corrupted and that the virtual hardware meets Windows 10 requirements.
Step 7: Start the VM and Install Windows 10
- In the Proxmox web interface, locate the VM you created for Windows 10.
- Click on the VM to select it, then navigate to the «Start» button in the toolbar to power on the VM.
- Open the console for the VM by clicking on the «Console» tab. This will allow you to see the installation process.
- Once the VM starts, you will see the Windows 10 installation screen. Select your preferred language, time, and keyboard input method, then click «Next.»
- Click on «Install Now» to begin the installation process.
- When prompted, enter your valid Windows 10 license key for activation.
- Select the edition of Windows 10 you wish to install, then click «Next.»
- Choose the «Custom: Install Windows only (advanced)» option for a fresh installation.
- Select the partition where you want to install Windows 10. If necessary, create or delete partitions as needed, then click «Next.»
- Wait for the installation process to complete, following any additional prompts as required.
After installation, be prepared to install drivers for optimal performance. Keep the Proxmox console open to monitor the installation process and troubleshoot any issues that may arise.
Warning: Ensure you have a valid Windows 10 license key for activation.
Troubleshooting & Verification
If Windows 10 fails to start, check VM settings for correct boot order and ensure the ISO is properly attached. Verify that virtualization is enabled in BIOS/UEFI. Monitor the Proxmox logs for errors and confirm adequate resources are allocated to the VM.
Step 8: Post-Installation Configuration
- Install VirtIO Drivers:Download the VirtIO drivers ISO from the official Fedora repository. Attach the ISO to your Windows 10 VM and boot into the operating system. Open the File Explorer and navigate to the VirtIO CD drive. Run the installer for the drivers to enhance performance.
- Configure Network Settings:Go to
Settings>Network & Internet. Ensure that your network adapter is set to the correct type (typically NAT or Bridged). Test the connection by opening a web browser. - Check for Windows Updates:Navigate to
Settings>Update & Security>Windows Update. Click onCheck for updatesto ensure your system is up to date. - Configure Security Settings:Open
Windows Securityfrom the Start menu. Ensure that the antivirus and firewall settings are active to protect your VM. - Create a Snapshot:In Proxmox, select your VM, click on
Snapshots, and thenTake Snapshot. This will allow you to revert to this state if needed.
Regularly check for Windows updates after installation. Neglecting driver installation may lead to performance issues. Consider creating a snapshot of the VM for backup purposes to ensure data safety.
Troubleshooting & Verification
If Windows 10 fails to boot, check the VM’s boot order and ensure the correct disk is set as the primary boot device. Verify that the VirtIO drivers are installed properly. Additionally, confirm that the network settings are correctly configured for internet access.
Conclusion
In summary, to successfully install Windows 10 on Proxmox, it is essential to follow a series of key steps, including configuring the virtual machine settings, optimizing hardware resources, and ensuring proper driver installation. By leveraging Proxmox’s advanced virtualization capabilities, users can create a robust environment that enhances performance and flexibility for Windows 10 applications.
As you move forward, consider exploring additional features of Proxmox, such as backup solutions and networking configurations, to further optimize your setup. With the right approach, installing Windows 10 on Proxmox can significantly improve your workflow and provide a reliable platform for various tasks.
Frequently Asked Questions
What are the system requirements for installing Windows 10 on Proxmox?
To install Windows 10 on Proxmox, ensure your host machine meets the minimum requirements. You will need a 64-bit processor with Second Level Address Translation (SLAT) support, at least 4 GB of RAM (8 GB or more is recommended for better performance), and sufficient disk space (20 GB minimum). Additionally, ensure that virtualization is enabled in the BIOS/UEFI settings. Proxmox itself should be installed on a system with adequate resources to handle multiple VMs, including a supported version of Proxmox VE.
How do I create a Windows 10 VM in Proxmox?
To create a Windows 10 VM in Proxmox, first, log into the Proxmox web interface. Click on «Create VM» and fill in the necessary details, such as VM ID and name. Next, select the Windows 10 ISO file as the installation media. Allocate CPU cores and RAM according to your needs, and create a virtual hard disk with at least 40 GB of space. After configuring the network settings, click «Finish» to create the VM. You can then start the VM and proceed with the Windows 10 installation process.
What settings should I optimize for Windows 10 performance in Proxmox?
To optimize Windows 10 performance in Proxmox, consider adjusting several settings. First, enable the VirtIO drivers for better disk and network performance. Allocate sufficient CPU cores and RAM, ideally using the «host» CPU type for better compatibility. Adjust the disk bus type to «SCSI» or «VirtIO» for improved speed. Additionally, ensure that the ballooning and swap settings are configured to manage memory efficiently. Finally, consider enabling the «QEMU Guest Agent» for better integration and performance monitoring.
Can I use Windows 10 activation keys in a Proxmox VM?
Yes, you can use Windows 10 activation keys in a Proxmox VM, just as you would on a physical machine. When installing Windows 10, you will be prompted to enter a valid activation key. Ensure that the key is genuine and corresponds to the version of Windows 10 you are installing. Keep in mind that Microsoft’s licensing terms apply, so check if your key allows for virtual installations. Once activated, Windows 10 will function normally within the Proxmox environment.
Related Articles

Stay ahead of the curve
Weekly tutorials, AI tools, and startup tech news in your inbox.