Synology NAS Setup & Configuration Guide (Comprehensive Tutorial)
📘 Synology NAS Setup & Configuration Guide (Comprehensive Tutorial)
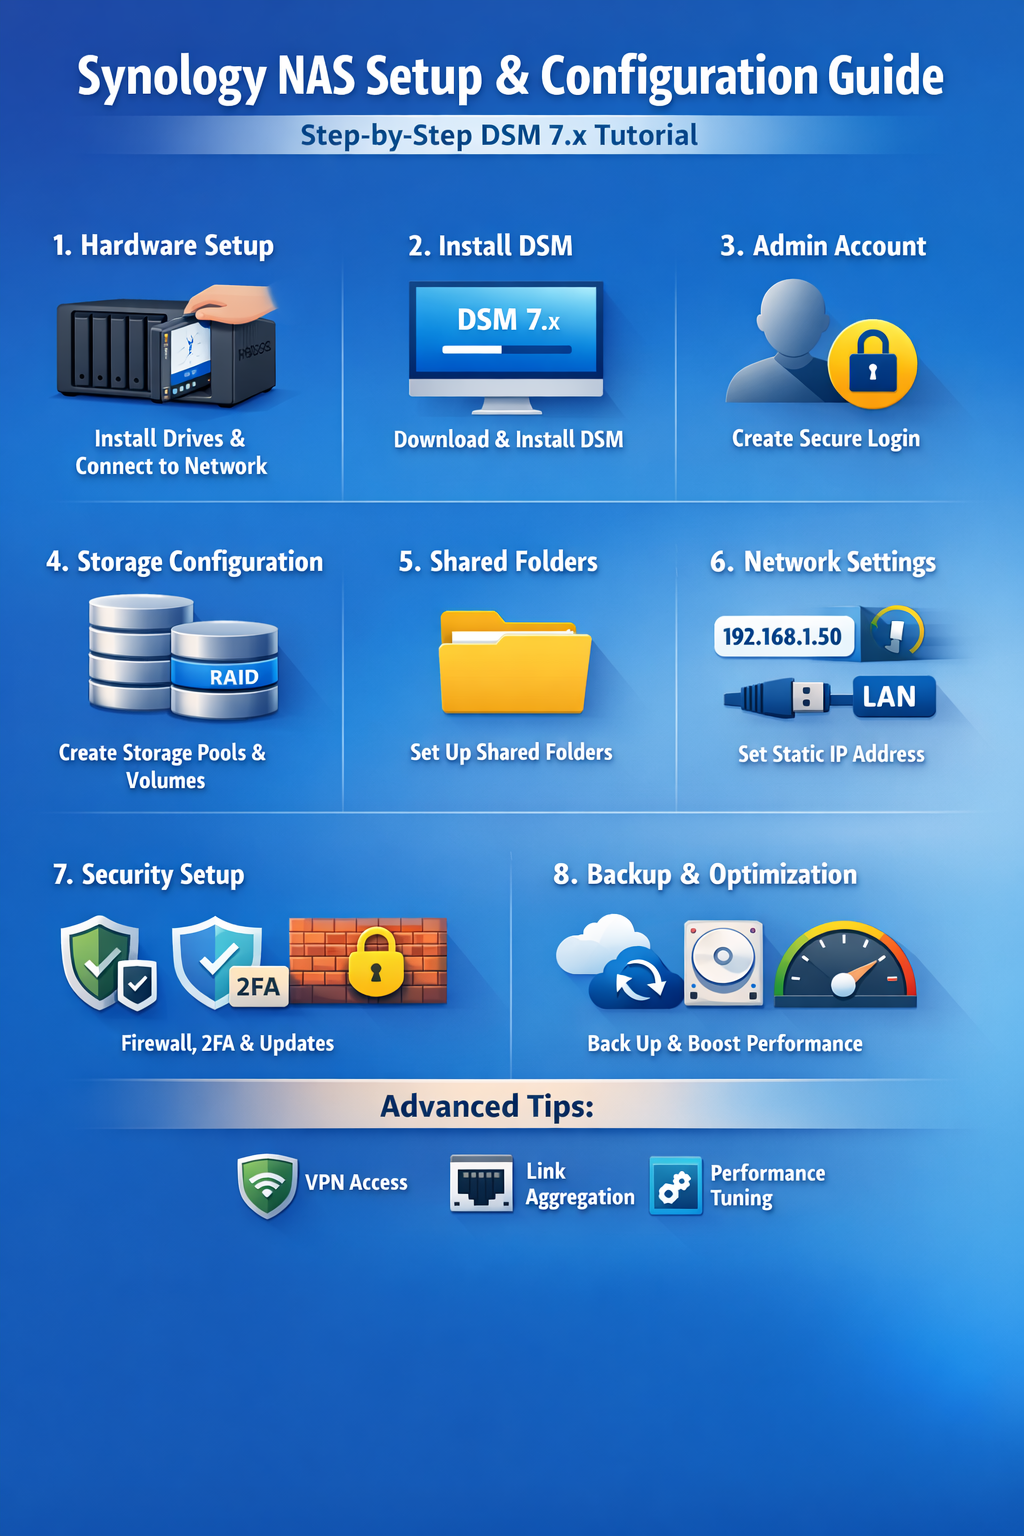
This tutorial covers everything from unboxing and initial setup to advanced configuration, data protection, security hardening, extended features, remote access, and backups for your Synology NAS running DSM 7.x.
WunderTech
🧱 Part I — Initial Setup
🧩 1. Hardware Preparation
Before anything else:
✔️ Ensure you have the NAS, power adapter, Ethernet cable, and drives (HDDs/SSDs)
✔️ Install the drives into the NAS bays according to the hardware manual
✔️ Connect the NAS to your router via Ethernet
✔️ Power on the NAS and give it a few minutes to start up
(Hardware manuals vary by model — install drives and close trays firmly so they’re seated correctly.)
coolblue.nl
🌐 2. Discovering Your NAS on the Network
Open a web browser on a computer connected to the same network as the NAS.
Go to http://find.synology.com
— this tool will locate the NAS automatically.
Once found, click Connect to begin setup.
WunderTech
If it doesn’t show up:
Check Ethernet connections
Restart the NAS
Confirm your PC is on the same local network
(On many networks, the NAS gets a dynamic IP via DHCP — that will change later.)
WunderTech
🛠️ 3. Installing DSM (DiskStation Manager)
DSM is Synology’s operating system:
Accept the license agreement
Click Install
DSM 7.x requires you to download the latest DSM version first
Choose your model
Under OS Version, pick 7.0 Series
Download DSM
The installer will warn you that existing drive data will be erased — confirm and continue
The system installs DSM and reboots automatically
WunderTech
Tip: DSM 7.x has a redesigned UI compared to older versions.
WunderTech
📌 4. Initial DSM Configuration
After reboot:
✔️ Set a Server Name
✔️ Create your Admin Username & Password
✔️ Optional: Create a Synology Account
✔️ Choose whether to enable Active Insight or Configuration Backup (optional)
WunderTech
💾 Part II — Storage Setup
📊 5. Create a Storage Pool & Volume
To store data, you’ll create a storage pool and volume:
DSM usually prompts this automatically. If not:
Go to Storage Manager → Storage → Create Storage Pool
Follow the setup wizard:
Give it a name
Pick the RAID type (e.g., SHR, RAID1)
Select all drives you want to use
Confirm you want to erase drives — this is needed to set up storage
Choose how much of the pool to allocate
Confirm and wait for the volume to be created
WunderTech
RAID protects against drive failure but is not a backup — be sure to back up important data.
WunderTech
🌐 6. Set a Static IP Address
A static IP helps ensure the NAS always has the same address on your network:
Go to Control Panel → Network Interface
Edit the LAN interface
Choose Manual Configuration
Enter a static IP, subnet mask, gateway, DNS
Example: 192.168.1.50
Apply settings and DSM will reconnect with the new IP
WunderTech
👉 You can also reserve an IP in your router’s DHCP settings if supported.
WunderTech
📁 7. Create Shared Folders
Shared folders are where your files live:
Go to Control Panel → Shared Folder
Click Create
Set:
Folder Name
Volume location
Recycle bin options
Encryption (optional, but safeguard keys!)
Configure folder permissions
Done — your folder is ready for users and devices to access files.
WunderTech
🛡️ Part III — Data Protection & Monitoring
🛠️ 8. Data Scrubbing Schedule
Data scrubbing checks for disk errors:
Open Storage Manager
Select your storage pool
Choose Schedule Data Scrubbing
Enable it and pick a frequency (e.g., bi-annual)
WunderTech
📸 9. Snapshots
Snapshots let you rollback data changes:
Install the Snapshot Replication package from Package Center
Open it and pick folders to snapshot
Configure frequency and retention policy
WunderTech
🗑️ 10. Recycle Bin Task
Automatically clean old deleted files:
Go to Control Panel → Task Scheduler
Create a Recycle Bin Task
Set schedule and retention rules
WunderTech
📊 11. Storage Analyzer
Shows space usage trends:
Install Storage Analyzer from Package Center
Set reporting folders, schedules, and report retention
Generate periodic reports to understand disk usage
WunderTech
⚡ 12. UPS (Uninterruptible Power Supply)
Protect from power loss:
Connect a UPS via USB
Go to Control Panel → Hardware & Power
Enable UPS support
Configure safe shutdown timing
WunderTech
🔐 Part IV — Security Hardening
🆕 13. DSM Update Settings
Keep your system patched:
Control Panel → Update & Restore
Enable updates:
Automatically install critical updates
or full updates at scheduled times
WunderTech
🔑 14. Change Default Ports
For security, don’t use default ports (5000/5001):
Go to Control Panel → Login Portal
Change HTTP/HTTPS ports
Optional: redirect HTTP → HTTPS
WunderTech
📛 15. Enable Denial-of-Service Protection
Protect against brute-force traffic floods:
Control Panel → Security → Protection
Enable DoS protection on LAN interfaces
WunderTech
🚫 16. Auto Block
Blocks failed login attempts:
Control Panel → Security → Protection
Enable Auto Block
Set thresholds and allow trusted IPs
WunderTech
🔥 17. Firewall Configuration
Control who connects:
Control Panel → Security → Firewall
Enable firewall
Add rules to allow DSM, SSH, apps selectively
Add deny all at bottom as default
WunderTech
🔐 18. Two-Factor Authentication
Add extra login security:
Click the account icon top-right in DSM
Enable 2-step Verification
Use Authenticator app for codes
WunderTech
🌍 Part V — Remote Access & Services
🔑 19. QuickConnect
Synology’s easy remote access:
Go to Control Panel → QuickConnect
Enable QuickConnect
Use your Synology ID to connect away from home
Reddit
🛡️ 20. DDNS (Dynamic DNS)
Allow a stable hostname for your external IP:
Control Panel → External Access → DDNS
Add a DDNS provider
Synology has free synology.me options
Reddit
🔒 21. VPN (OpenVPN / WireGuard)
For secure remote access:
✔️ Configure a VPN server:
On NAS (via VPN Server package)
On router
or via a Pi that’s reachable externally
(This gives encrypted LAN-like access when you’re away.)
Reddit
📦 Part VI — Useful Synology Applications
📁 22. Synology Drive (Sync & Backup)
Synology Drive syncs files between devices and NAS:
Install Synology Drive Server
Install Drive Client on PCs
Sync specific folders or devices
WunderTech
🐳 23. Docker & Container Support
Use Container Manager to run containerized apps:
Install Container Manager
Download and configure Docker containers
e.g., Pi-Hole
(This lets your NAS run network utilities, apps, etc.)
WunderTech
📸 24. Synology Photos
Auto photo backup/indexing app:
Install Synology Photos
Configure mobile and desktop backups
Set indexing and album preferences
WunderTech
🏡 25. Home Assistant & Media Servers
Synology supports virtual machines and apps:
✔️ Home Assistant (home automation)
✔️ Plex / Emby / Jellyfin (media streaming)
Install via Package Center or Virtual Machine Manager.
WunderTech
💽 Part VII — Backup Strategies
📂 26. Active Backup for Business
Perfect for centralizing Windows backups:
Install Active Backup for Business
Configure backup tasks
Set retention policies
WunderTech
🐧 27. Linux Backups
Options include:
✔️ Veeam (free tier)
✔️ Rsync backup tasks
WunderTech
☁️ 28. NAS-to-Cloud Backup
Back up NAS to cloud storage:
✔️ Use Hyper Backup
✔️ Set Backblaze B2 or other cloud targets
WunderTech
📦 29. NAS-to-NAS Backup
Remote NAS backup:
Install Hyper Backup
Use Hyper Backup Vault on remote NAS
Set schedules and retention
WunderTech
💽 30. Local External Backup
Use an external USB drive:
Plug into NAS USB port
Configure Hyper Backup to back up to external storage
WunderTech
📌 Part VIII — Final Tips & Best Practices
✔️ Always have at least 3-2-1 backup strategy
✔️ Keep DSM and apps updated
✔️ Restrict remote access when possible
✔️ Use strong unique passwords + 2FA
✔️ Log events and review alerts regularly