
11 min read • 2,322 words
In today’s tech-driven world, the ability to run multiple operating systems seamlessly is a valuable skill. For cybersecurity enthusiasts and developers alike, knowing how to install Kali Linux in Windows 11 using WSL (Windows Subsystem for Linux) is essential. This method eliminates the need for resource-heavy virtual machines, allowing users to leverage the power of Kali Linux directly within their Windows environment. By following this guide, readers will gain insights into a straightforward installation process that enhances their productivity and efficiency.
Understanding how to install Kali Linux in Windows 11 using WSL is crucial for anyone looking to explore penetration testing and security assessments. Kali Linux is renowned for its extensive suite of tools designed for ethical hacking and security research. With WSL, users can access these powerful tools without the cumbersome setup of a virtual box, making it easier to integrate Linux capabilities into their daily workflows. This article will walk you through the installation steps, ensuring you can harness the full potential of Kali Linux on your Windows machine.
By the end of this article, readers will not only know how to install Kali Linux in Windows 11 using WSL but also understand the benefits of using WSL 2, which provides a complete Linux kernel for improved performance and compatibility. The installation process is straightforward, whether you choose to use the Microsoft Store or the command line. Additionally, you will learn how to keep your Kali Linux environment updated with essential commands, ensuring you have the latest tools and features at your fingertips. Prepare to enhance your cybersecurity skills with this powerful setup!
Step-by-Step Tutorial
Step 1: Enable Windows Subsystem for Linux
- Right-click on the Start button and select «Windows Terminal (Admin)» or «Windows PowerShell (Admin)» to open it with administrative privileges.
- In the terminal window, type the following command to enable the Windows Subsystem for Linux and install the default Linux distribution:
- Press Enter to execute the command. This process may take a few moments as it enables WSL and downloads the default Linux distribution.
- Once the installation is complete, you may be prompted to restart your computer. If so, go ahead and restart your system.
- After the restart, you can verify that WSL is enabled by opening a new terminal window and typing:
- This command will show you the installed distributions and confirm that WSL is set up correctly.
wsl --installwsl --list --verboseBefore proceeding, ensure your Windows 11 is updated to the latest version. It is also advisable to check for Windows updates to avoid any compatibility issues.
Troubleshooting & Verification
If you encounter issues enabling WSL, ensure your Windows version is updated. Check if the «Windows Subsystem for Linux» feature is enabled in the Windows Features settings. You can also verify by running wsl --list --verbose in PowerShell to confirm installation.
Step 2: Set WSL version to 2
- Open PowerShell as an administrator. You can do this by searching for «PowerShell» in the Start menu, right-clicking on it, and selecting «Run as administrator.»
- In the PowerShell window, type the following command to set WSL to version 2:
- Press Enter to execute the command. This will configure WSL to use version 2 by default for any new Linux distributions you install.
- To verify that WSL version 2 is set correctly, run the following command:
- Check the output to ensure that the version for your installed distributions shows «2».
wsl --set-default-version 2wsl -l -vNote: Ensure that virtualization is enabled in your BIOS settings, as WSL 2 requires this feature to function properly.
Troubleshooting & Verification
If you encounter issues setting WSL to version 2, ensure that your Windows 11 is updated. Run
wsl --set-default-version 2in PowerShell. Verify the version with
wsl -l -vto confirm that your distribution is using WSL 2.
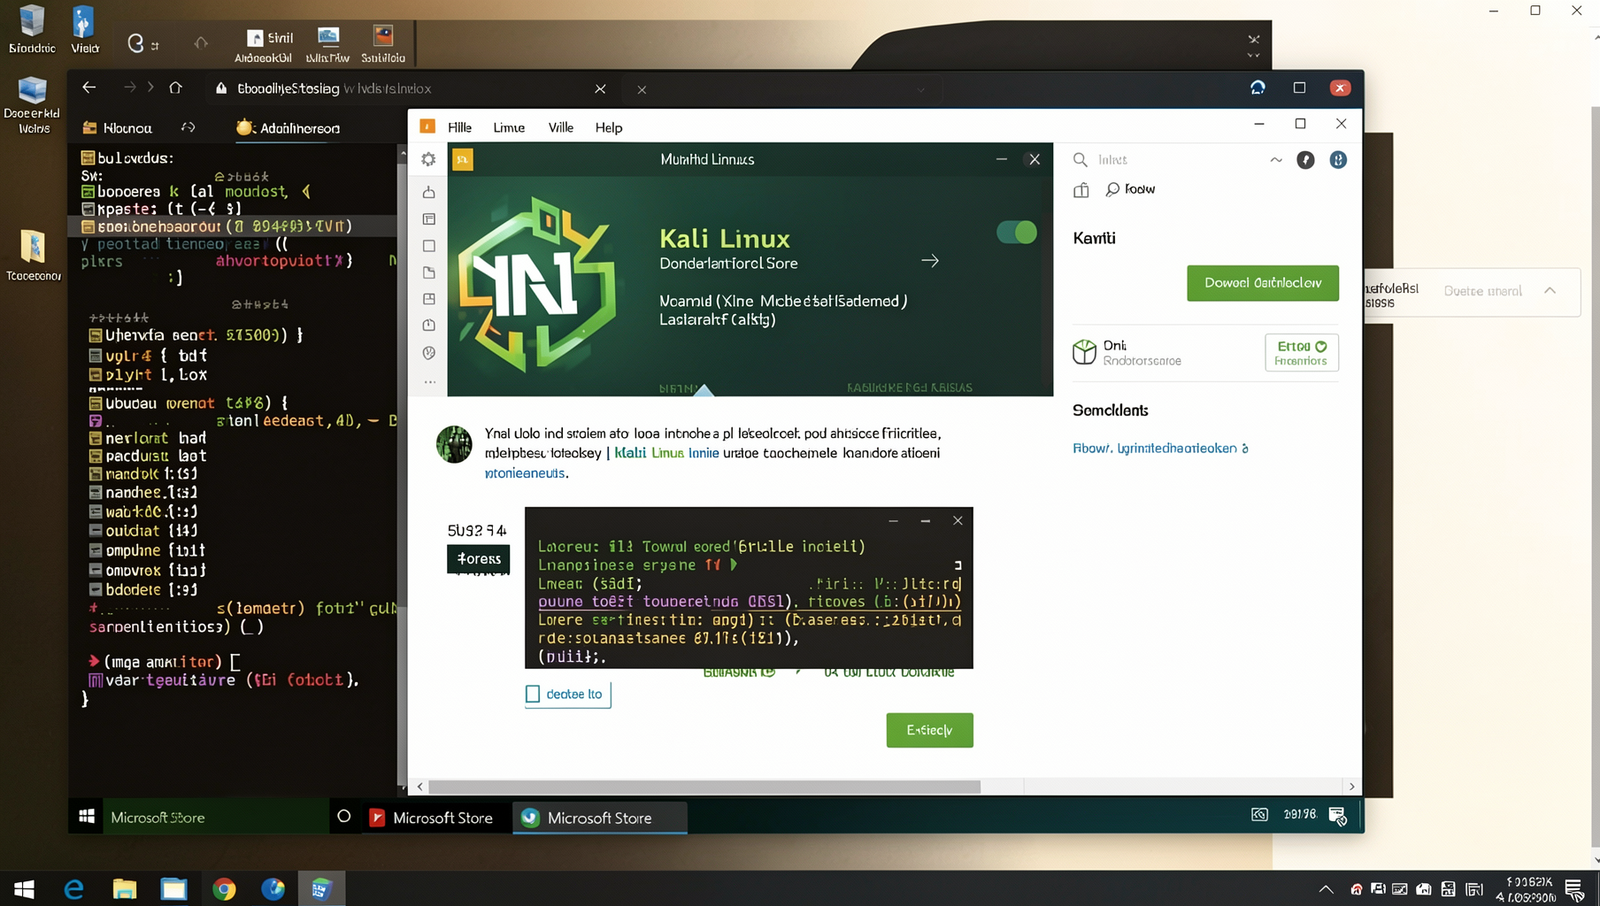
Step 3: Download Kali Linux from the Microsoft Store
- Open the Microsoft Store app on your Windows 11 device. You can find it by searching for «Microsoft Store» in the Start menu.
- Once the Store is open, locate the search bar at the top right corner of the window.
- Type ‘Kali Linux’ into the search bar and press
Enter. - In the search results, look for the official Kali Linux app developed by Offensive Security.
- Click on the ‘Get’ button to start the download and installation process.
- Wait for the download to complete. You can monitor the progress in the Store.
- Once the installation is finished, you will see a notification confirming that Kali Linux has been installed.
Ensure you are connected to the internet throughout this process. If you encounter any installation errors, check the Store for any notifications or updates. After successful installation, you can launch Kali Linux from the Start menu.
Troubleshooting & Verification
If you encounter issues downloading Kali Linux from the Microsoft Store, ensure your Windows 11 is updated. Check your internet connection and verify that your Microsoft account is active. Restart the Microsoft Store app or your computer if problems persist.
Step 4: Launch Kali Linux
- Click on the Start menu located at the bottom-left corner of your screen.
- In the search bar, type
Kali Linuxand wait for the application to appear in the search results. - Once you see the Kali Linux icon, click on it to launch the application. This action will open a terminal window.
- Upon launching, you may be prompted to complete the initial setup. Follow the on-screen instructions to configure your environment.
- After the setup is complete, you will see the Kali Linux terminal ready for use.
For easy access, consider pinning Kali Linux to your taskbar by right-clicking the icon and selecting Pin to taskbar. Familiarize yourself with basic terminal commands to navigate and utilize Kali Linux effectively. Remember, do not close the terminal during the initial setup process, as it may interrupt the configuration.
Troubleshooting & Verification
If Kali Linux fails to launch, ensure that WSL is properly installed and enabled. Run
wsl --list --verboseto check the installed distributions. If Kali is not listed, reinstall it from the Microsoft Store and restart your computer to resolve any issues.
Step 5: Create a user account
- After the installation process completes, you will be prompted to create a new user account.
- Enter your desired username when prompted. You can use
rootas the username if preferred, but it’s recommended to create a standard user for security reasons. - Next, you will be asked to set a password for your new user account. Choose a strong password that includes a mix of letters, numbers, and special characters to enhance security.
- Re-enter the password to confirm it. Make sure it matches the previous entry.
- Once you have successfully created your user account, you will receive a confirmation message indicating that the account has been set up.
Remember your username and password for future logins to your Kali Linux environment.
Troubleshooting & Verification
If you encounter issues creating a user account, ensure that your WSL installation is up to date. Check for any error messages during the process. You can also verify the account creation by running whoami in the terminal to confirm your username.
Step 6: Update package lists
- Open your WSL terminal where Kali Linux is installed.
- Ensure that you have an active internet connection, as this step requires downloading package information from online repositories.
- Type the following command to update the package lists:
- Press
Enterto execute the command. You may be prompted to enter your password; type it and pressEnteragain. - Wait for the process to complete. You should see messages indicating that the package lists are being fetched and updated.
- Check for any errors during the update process. If there are no errors, your package lists are successfully updated.
- For further maintenance, consider upgrading installed packages by running:
- If you need to find specific packages, you can use the following command:
sudo apt updatesudo apt upgradeapt search <package>Following these steps will ensure that your Kali Linux installation is up to date with the latest package information.
Troubleshooting & Verification
If you encounter issues updating package lists, ensure your internet connection is stable. Check if WSL is properly installed and configured. You can also try running
sudo apt updateto refresh the package lists manually and verify that no errors occur.
Step 7: Install additional tools
1. **Open your Kali Linux terminal**: Launch the terminal from your Windows Start menu or by searching for «Kali Linux.»
2. **Update the package list**: Before installing new tools, ensure your package list is up to date. Run the following command:
sudo apt update3. **Search for available tools**: If you are unsure which tools you want to install, you can search for them using:
apt search Replace `
4. **Install the desired tool**: Once you have identified the tool you wish to install, use the following command:
sudo apt install Replace `
5. **Organize your tools**: For better organization, consider creating a separate directory for your installed tools. You can do this by running:
mkdir ~/my-tools6. **Check compatibility**: Before installing any tool, ensure it is compatible with Kali Linux running on WSL to avoid any issues.
By following these steps, you should successfully install any additional tools you need for your Kali Linux setup.
Troubleshooting & Verification
If additional tools fail to install, ensure your WSL is updated by running
wsl --update. Check your internet connection and verify the package manager is configured correctly. Use
apt updateto refresh the package list before installation attempts.
Step 8: Configure WSL settings
1. **Open your user directory**: Navigate to your user directory by opening File Explorer and entering `%USERPROFILE%` in the address bar.
2. **Check for the .wslconfig file**: Look for a file named `.wslconfig`. If it does not exist, you can create one using a text editor like Notepad.
3. **Backup the .wslconfig file**: Before making any changes, create a backup of the existing `.wslconfig` file. You can do this by copying it to another location.
4. **Edit the .wslconfig file**: Open the `.wslconfig` file in a text editor and add or modify the following settings to optimize performance:
[wsl2]
memory=4GB
processors=2
5. **Save your changes**: After editing, save the file and close the text editor.
6. **Restart WSL**: To apply the changes, restart WSL by running the following command in PowerShell:
wsl --shutdown
7. **Verify the configuration**: You can check if the settings are applied by running the command:
wsl -l -v
Remember to refer to the official WSL documentation for additional configuration options. Be cautious, as incorrect settings may negatively impact performance.
Troubleshooting & Verification
If Kali Linux fails to launch, ensure WSL is enabled in Windows Features. Run wsl --list --verbose to check the installation status. If issues persist, reset WSL with wsl --unregister kali-linux and reinstall Kali from the Microsoft Store.
Conclusion
In summary, learning how to install Kali Linux in Windows 11 using WSL offers a seamless integration of powerful Linux tools within a familiar Windows environment. By enabling the Windows Subsystem for Linux, downloading the Kali Linux distribution, and configuring your setup, you can easily access a robust set of security and penetration testing tools without the need for a virtual machine. This method not only saves system resources but also enhances your productivity.
As you move forward, consider exploring the various tools available in Kali Linux and how they can assist in your cybersecurity endeavors. Additionally, stay updated with the latest developments in WSL to maximize your experience and efficiency in using Kali Linux alongside Windows 11.
Frequently Asked Questions
What is WSL?
WSL, or Windows Subsystem for Linux, is a compatibility layer that allows users to run Linux binary executables natively on Windows 10 and Windows 11. It provides a Linux environment directly within Windows, enabling developers and users to run Linux tools, utilities, and applications without the need for a virtual machine or dual-boot setup. WSL is particularly useful for developers who work in cross-platform environments, as it allows seamless integration between Windows and Linux applications.
How do I enable WSL on Windows 11?
To enable WSL on Windows 11, you need to open the Windows Terminal or Command Prompt with administrator privileges. Then, run the command wsl --install. This command automatically installs the WSL feature along with the latest Ubuntu distribution. If you want to install a different Linux distribution, you can do so later from the Microsoft Store. After installation, you may need to restart your computer for the changes to take effect. Ensure that your Windows version is up to date for the best experience.
Can I install Kali Linux directly from the Microsoft Store?
Yes, you can install Kali Linux directly from the Microsoft Store on Windows 11. Simply open the Microsoft Store, search for «Kali Linux,» and select it from the search results. Click the «Install» button to download and install the distribution. Once the installation is complete, you can launch Kali Linux from the Start menu. This method simplifies the installation process and ensures you get the latest version of Kali Linux without any additional configuration.
Do I need a separate partition for Kali Linux?
No, you do not need a separate partition for Kali Linux when using WSL. WSL allows you to run Kali Linux alongside your existing Windows installation without the need for dual-booting or creating separate partitions. The Linux file system operates within a virtualized environment, and all files are stored within your Windows file system. This makes it easy to access both Windows and Linux files without the hassle of managing multiple partitions.