
5 min read • 1,048 words
how to install proxmox container The — If you’re looking to enhance your virtualization capabilities, learning Learn more about the steps and the final checks.
In this guide, we will walk you through the steps on how to install Proxmox container, whether you prefer using the intuitive web interface or command line tools. Proxmox not only supports various templates for quick deployment but also provides robust management options through its web GUI or SSH. By the end of this article, you’ll be equipped with the knowledge to set up and manage your own containers effectively.
Step-by-Step Tutorial
Step 1: Download Proxmox VE
- Visit the official Proxmox website at www.proxmox.com.
- Navigate to the download section by clicking on the “Downloads” link in the top menu.
- Select the latest version of Proxmox VE from the list of available downloads.
- Click on the download link for the ISO file to start the download process.
- Monitor the download progress to ensure the ISO file is downloaded successfully to your computer.
Before downloading, check the system requirements on the website to ensure compatibility with your hardware. For large files, consider using a download manager to avoid interruptions. Always ensure you download from the official Proxmox website to avoid malicious software.
Step 2: Create a Bootable USB Drive
- Download the Proxmox VE ISO file from the official website.
- Insert a USB drive with at least 8GB of space into your computer.
- Open Rufus (for Windows) or Etcher (for macOS/Linux).
- Select your USB drive from the device list.
- In Rufus, choose the downloaded Proxmox ISO file by clicking on “Select”. In Etcher, click on “Flash from file” and select the ISO.
- For Rufus, ensure the partition scheme is set to ‘MBR’ and the file system is ‘FAT32’.
- Click “Start” in Rufus or “Flash!” in Etcher to begin the process.
- Wait for the process to complete; this may take several minutes.
- Once done, safely eject the USB drive.
Expected: A bootable USB drive containing the Proxmox VE installation files is created successfully. Tips: Use a USB 3.0 drive for faster installation speeds. Verify the integrity of the ISO file before creating the bootable drive. Warnings: All data on the USB drive will be erased during this process. Ensure you select the correct USB drive to avoid data loss.
Step 3: Install Proxmox VE
- Insert the bootable USB drive into the server or computer where you want to install Proxmox.
- Restart the server and enter the BIOS/UEFI settings. This is usually done by pressing a key such as
F2,F10, orDeleteduring boot. - In the BIOS/UEFI menu, navigate to the boot options and select the USB drive as the primary boot device.
- Save the changes and exit the BIOS/UEFI. The server should now boot from the USB drive.
- Follow the on-screen instructions to install Proxmox VE. Select the target hard drive for installation and confirm that you want to erase all data on it.
- Once the installation is complete, the server will prompt you to remove the USB drive and reboot.
Tips: Use a wired connection for better stability during installation. Take note of the IP address assigned to the Proxmox server after installation.
Warnings: Ensure you have backed up any important data on the target hard drive as it will be erased during the installation process.
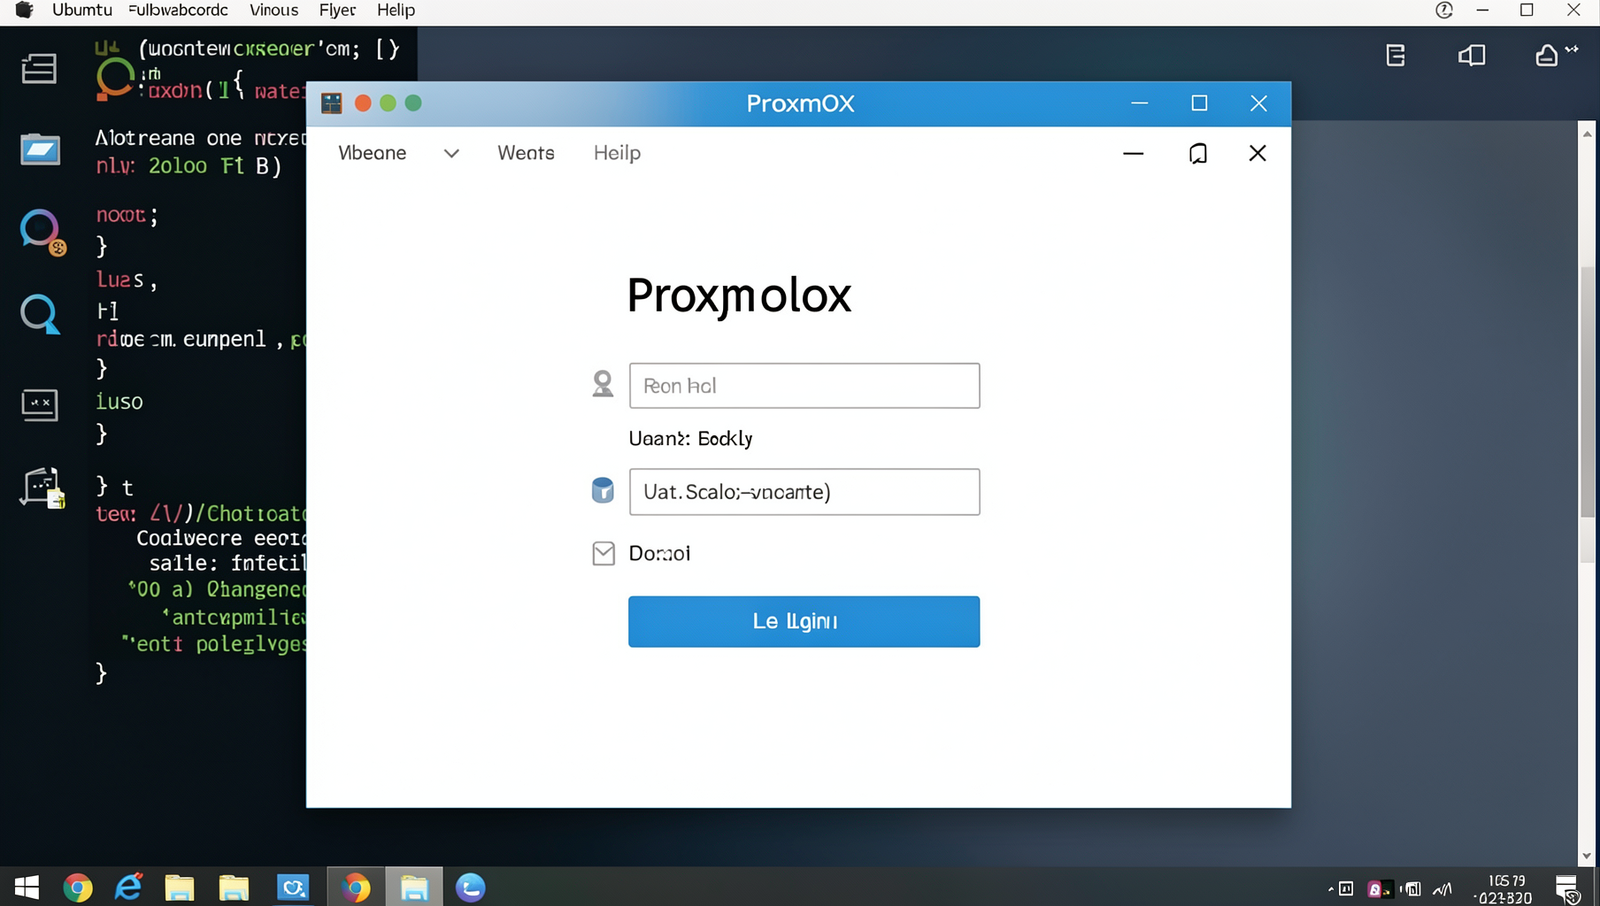
Step 4: Access Proxmox Web Interface
- After the installation is complete and the server has rebooted, open a web browser on a computer connected to the same network.
- In the address bar, enter the IP address of your Proxmox server in the following format:
https://. Replace:8006 - Press
Enterto navigate to the Proxmox web interface. - You may see a security warning regarding the SSL certificate. Accept the warning to proceed, as this is normal for self-signed certificates.
- Once the login page appears, enter your username and password. The default username is usually
rootand the password is what you set during installation. - Click on the
Loginbutton to access the Proxmox management interface.
Tip: Bookmark the Proxmox web interface for easy access in the future. Familiarize yourself with the interface to manage your containers efficiently.
Warning: Ensure your browser supports HTTPS and that you accept the security certificate to avoid connection issues.
Conclusion
In summary, learning how to install Proxmox container is a valuable skill for anyone looking to optimize their virtualization environment. By following the steps outlined in this guide, you can set up and manage Proxmox containers efficiently, allowing for better resource utilization and simplified management of your applications.
As you become more familiar with Proxmox, you can explore additional features and configurations to enhance your container management experience. Whether you’re using it for personal projects or enterprise solutions, mastering how to install Proxmox container will empower you to create a robust and flexible virtualization infrastructure.
Frequently Asked Questions
What is Proxmox?
Proxmox is an open-source virtualization management platform that allows you to manage virtual machines and containers. It provides a web-based interface for managing your virtual infrastructure, making it easier to deploy and manage resources.
How do I install Proxmox?
To install Proxmox, you need to download the Proxmox VE ISO from the official website, create a bootable USB drive or CD/DVD, and then boot your server from the installation media. Follow the on-screen instructions to complete the installation process.
Can I run containers on Proxmox?
Yes, Proxmox supports running containers using LXC (Linux Containers). You can create and manage LXC containers directly from the Proxmox web interface, allowing you to efficiently utilize your server’s resources.
What are the system requirements for Proxmox?
Proxmox requires a 64-bit processor, at least 2 GB of RAM (4 GB recommended), and a minimum of 32 GB of disk space for installation. Additional resources may be needed depending on the number and type of virtual machines or containers you plan to run.
