
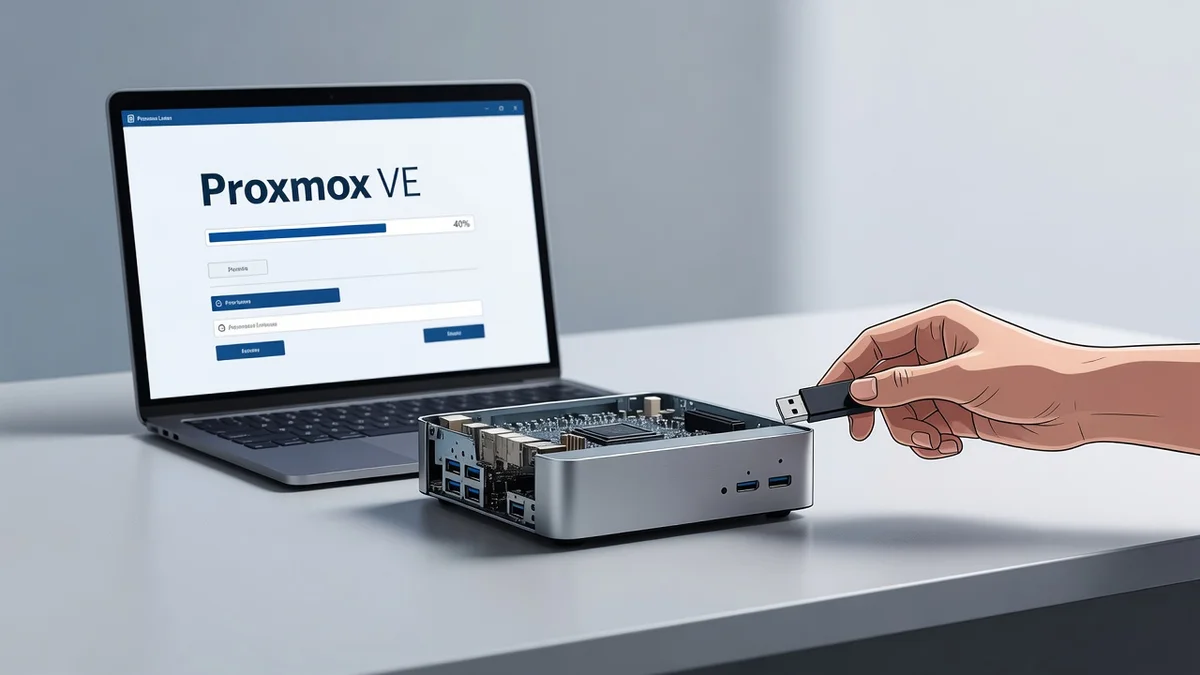
Install Proxmox Lates on Mini Pc — Turning a compact mini PC into a powerful virtualization lab has never been Learn more about the steps and the final checks.
Below is a detailed, step-by-step walkthrough covering BIOS settings, USB creation, installation, and first-boot configuration. Follow along to get your Proxmox VE host running smoothly and reliably in under an hour.
Introduction
Virtualization used to require a rack of noisy servers, a dedicated power circuit, and a budget that made home lab enthusiasts wince. Today, a compact mini PC sitting on a shelf can run dozens of virtual machines and containers while drawing less power than a light bulb. Proxmox Virtual Environment (Proxmox VE) is the software that makes this possible, and installing it on a mini PC is one of the most rewarding projects you can take on. This guide walks you through installing the latest version of Proxmox on a mini PC with detailed, step-by-step instructions that assume no prior virtualization experience.
This article explores install proxmox latest on mini PC with clear, practical guidance. You will learn what Proxmox actually does, why mini PCs are surprisingly well suited to it, which hardware matters, and how to move from an unboxed machine to a working hypervisor with your first virtual machine running. By the end, you will not just have followed a recipe; you will understand the reasoning behind each step, so you can adapt the process to your own hardware and goals.
Understanding the fundamentals of installing Proxmox on a mini PC helps you make informed decisions, from choosing storage to setting up networking. Reliable information and consistent habits lead to better long-term outcomes, whether you are running a home media server, a development lab, or a small business workload.
Key Concepts
Before touching any hardware, it helps to understand the vocabulary and ideas that underpin the entire process. Skipping this section is tempting, but a few minutes here will save you hours of confusion later.
What Is Proxmox VE?
Proxmox VE is an open-source, Debian-based operating system built specifically for running virtual machines (VMs) and containers. It bundles a web-based management interface, a hypervisor called KVM for full virtualization, and LXC for lightweight containers. Unlike a desktop operating system, Proxmox is designed to be installed bare-metal on a machine that will dedicate itself to hosting other systems.
Why a Mini PC?
Mini PCs from vendors like Intel NUC, Beelink, Minisforum, and similar makers offer a compelling balance of size, power consumption, and capability. Many models include Intel or AMD processors with virtualization extensions, support for 32GB or more of RAM, and room for one or two NVMe drives plus a SATA drive. They idle at 10 to 20 watts, run quietly, and fit almost anywhere. For a home lab or small office, this is often the ideal form factor.
Virtual Machines vs. Containers
A virtual machine emulates a complete computer, including its own kernel, so it can run any operating system. A container shares the host kernel, making it far lighter and faster to start, but it must run a compatible Linux distribution. Proxmox supports both, and understanding when to use each will shape how you allocate resources.
- VMs: Best for Windows, BSD, or any OS needing full isolation and its own kernel.
- Containers: Best for Linux services, web apps, and microservices where efficiency matters.
Hardware Requirements at a Glance
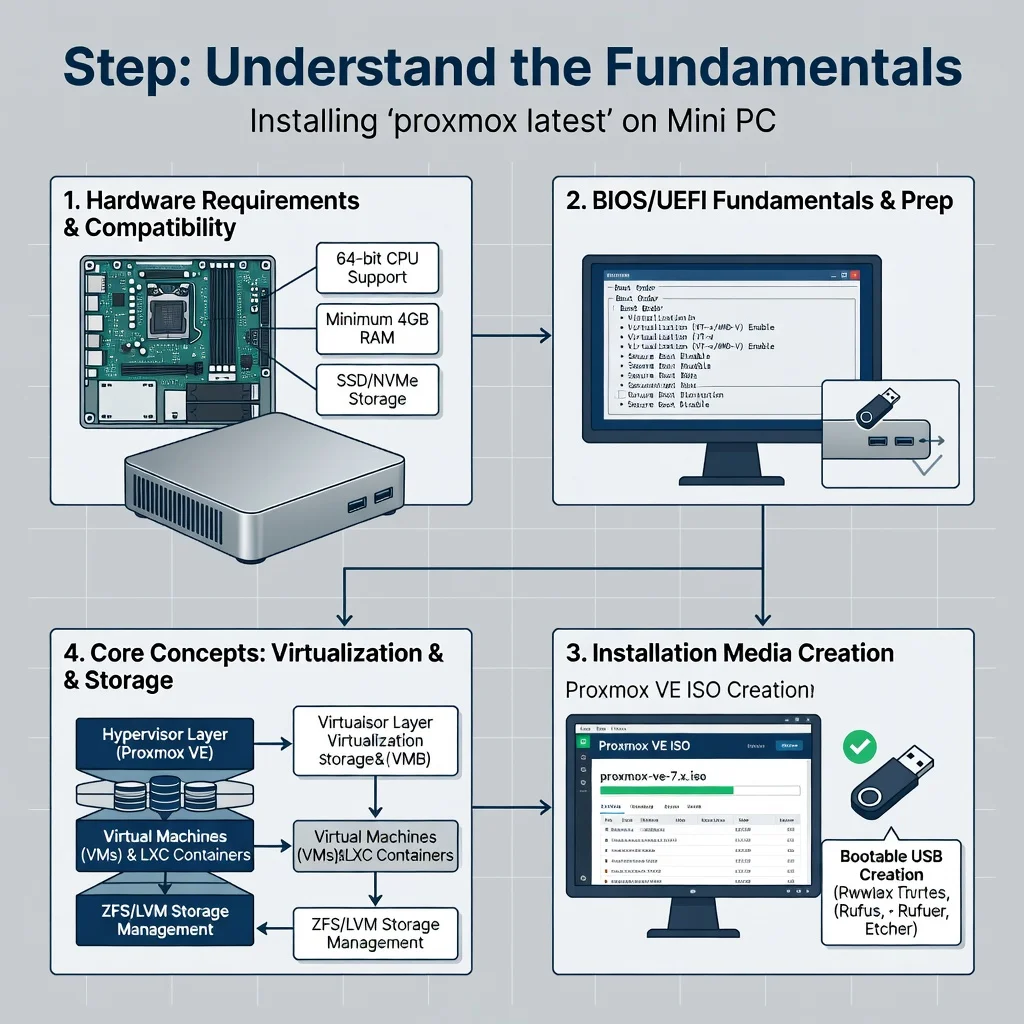
- 64-bit CPU with Intel VT-x or AMD-V virtualization support enabled in BIOS/UEFI.
- Minimum 8GB RAM, though 16GB or 32GB is strongly recommended.
- At least one SSD or NVMe drive; a second drive is ideal for backups or storage.
- Wired Ethernet connection for reliable networking during installation.
- A USB flash drive of 2GB or larger to hold the installer.
Deep Dive
This is where the installation becomes real. The following step-by-step section is the heart of the guide. Read it once fully before beginning, then work through it with your mini PC in front of you.
Step 1: Understand the fundamentals
Download the latest Proxmox VE ISO from the official Proxmox website. Always use the current stable release; older ISOs may lack drivers for newer mini PC hardware, particularly network cards and NVMe controllers. While the download runs, take a moment to note your mini PC’s exact model and its specifications. This matters because Intel NUC-style machines and newer AMD mini PCs sometimes ship with network chipsets that require additional firmware, and knowing this in advance prevents a frustrating dead end.
At this stage, you should also verify that virtualization is enabled. Enter your mini PC’s UEFI or BIOS setup (usually by pressing F2, F7, Del, or Esc during boot) and confirm that Intel VT-x or AMD-V is turned on. Many mini PCs ship with it enabled, but some do not. Save and exit once confirmed.
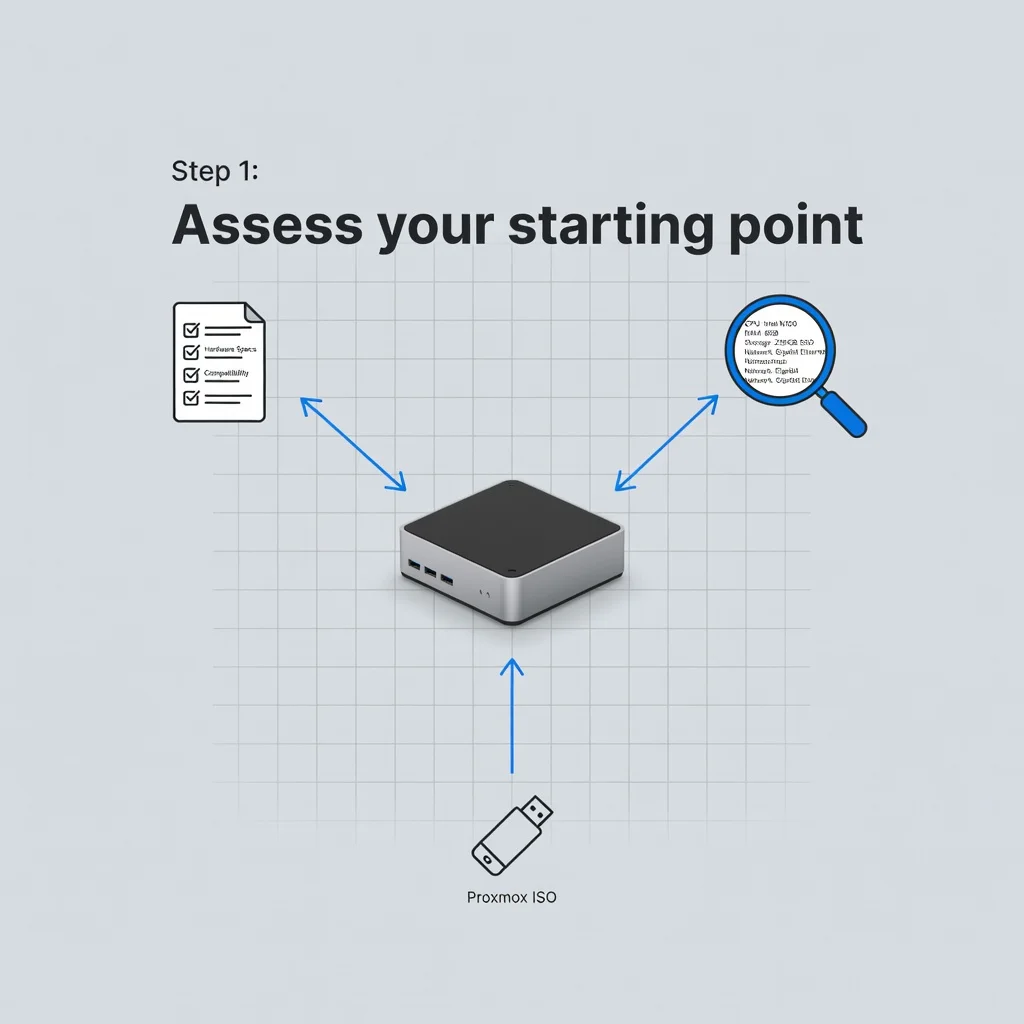
Step 2: Assess your starting point
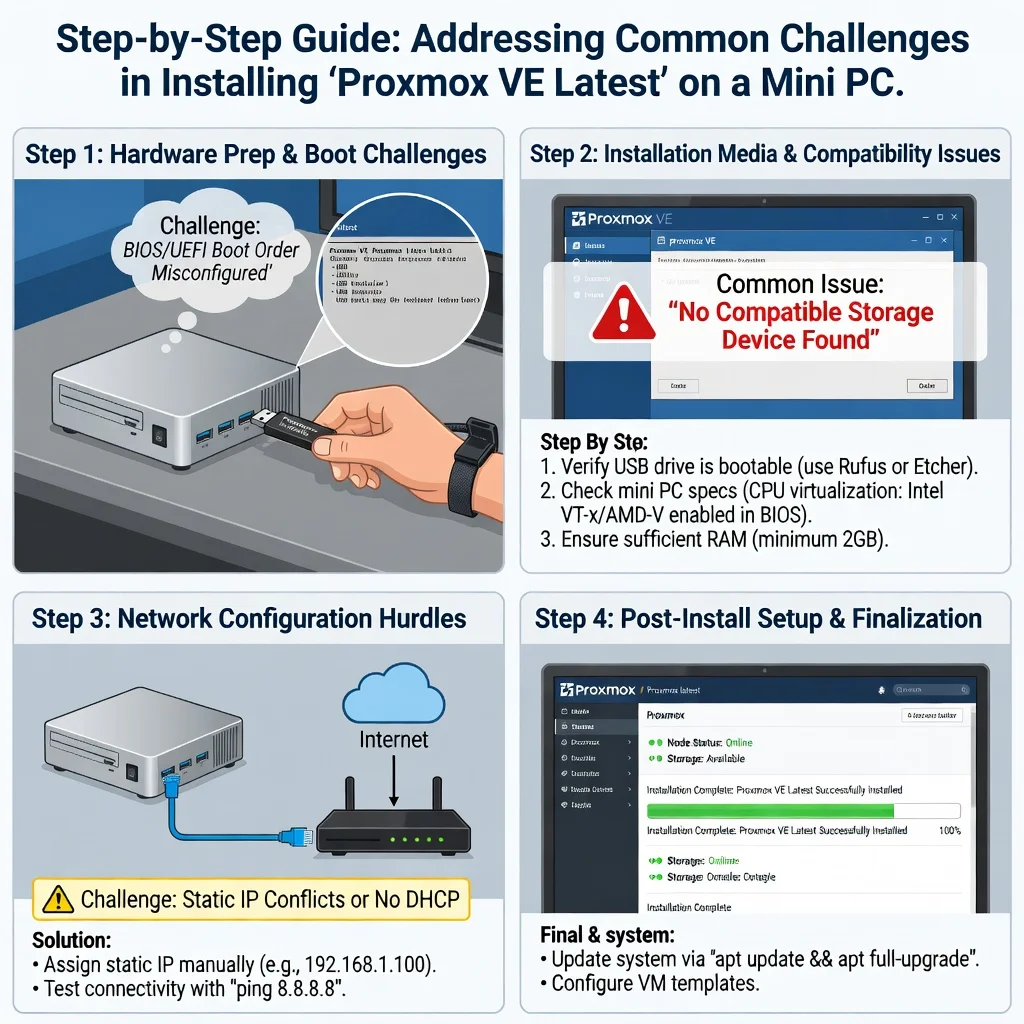
Create the installation USB using a tool like Rufus on Windows, balenaEtcher on any platform, or the dd command on Linux. Select your downloaded ISO and write it to the flash drive. This will erase the drive, so use one you do not mind repurposing.
Next, decide how you will store Proxmox and its guests. A single SSD works for experimentation, but a two-drive layout is better. One common approach uses a small SSD for the Proxmox system itself and a larger NVMe or SATA drive for VM storage. With two drives, you can also configure ZFS mirroring during installation for redundancy, though this costs you half the raw capacity.
Physically, open the mini PC if needed to install or confirm your RAM and storage. Mini PCs are usually easy to access via a bottom panel. Take note of the drive identifiers so you can recognize them in the installer.
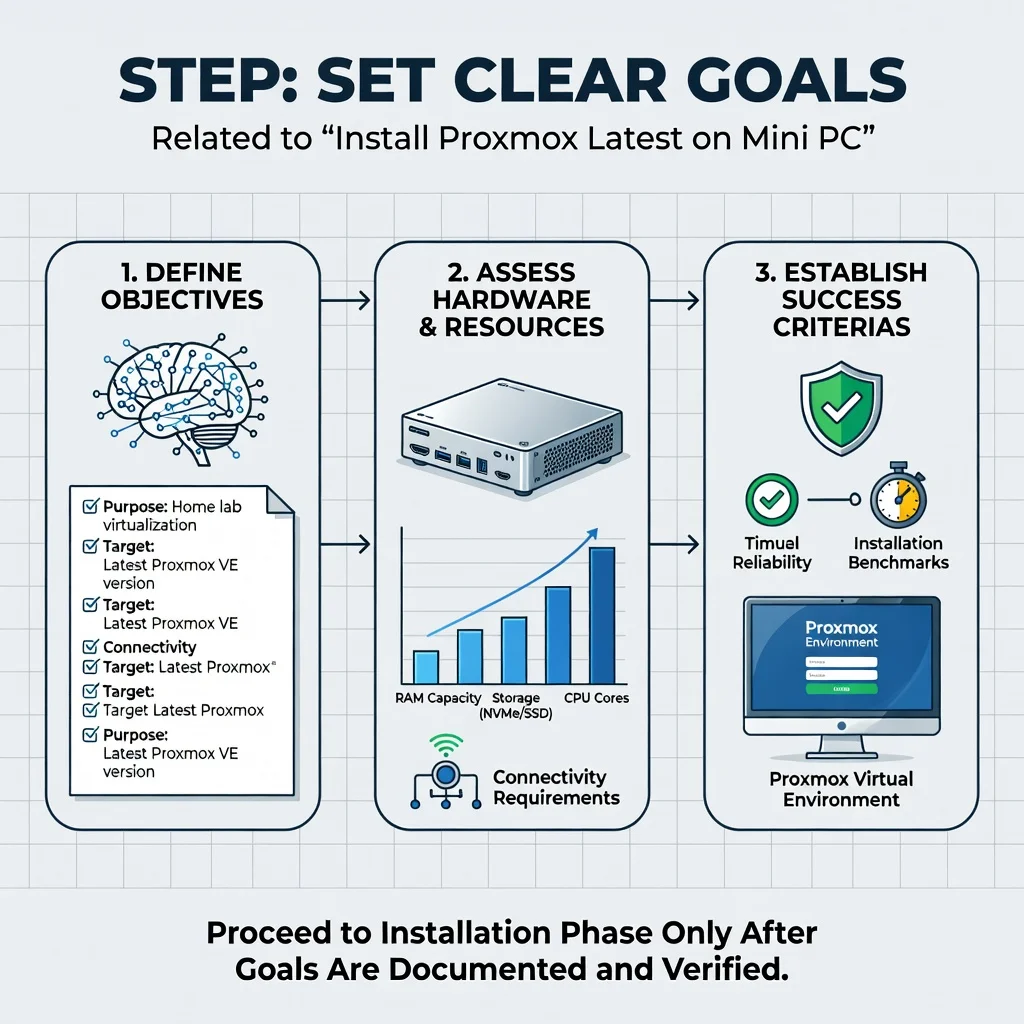
Step 3: Set clear goals
Installing Proxmox is a means to an end, not the end itself. Decide what you want this machine to do. Examples include hosting a Home Assistant instance, running a Windows VM for legacy software, running Docker containers for self-hosted apps, or acting as a backup target. Your goals determine how you partition storage, how much RAM each guest receives, and whether you need features like PCIe passthrough for a graphics card or a dedicated network card.
Write down one or two concrete goals. For instance: “Run a Linux VM for development and an LXC container for a media server.” This focus keeps the rest of the process grounded and prevents you from over-engineering before you have a working system.
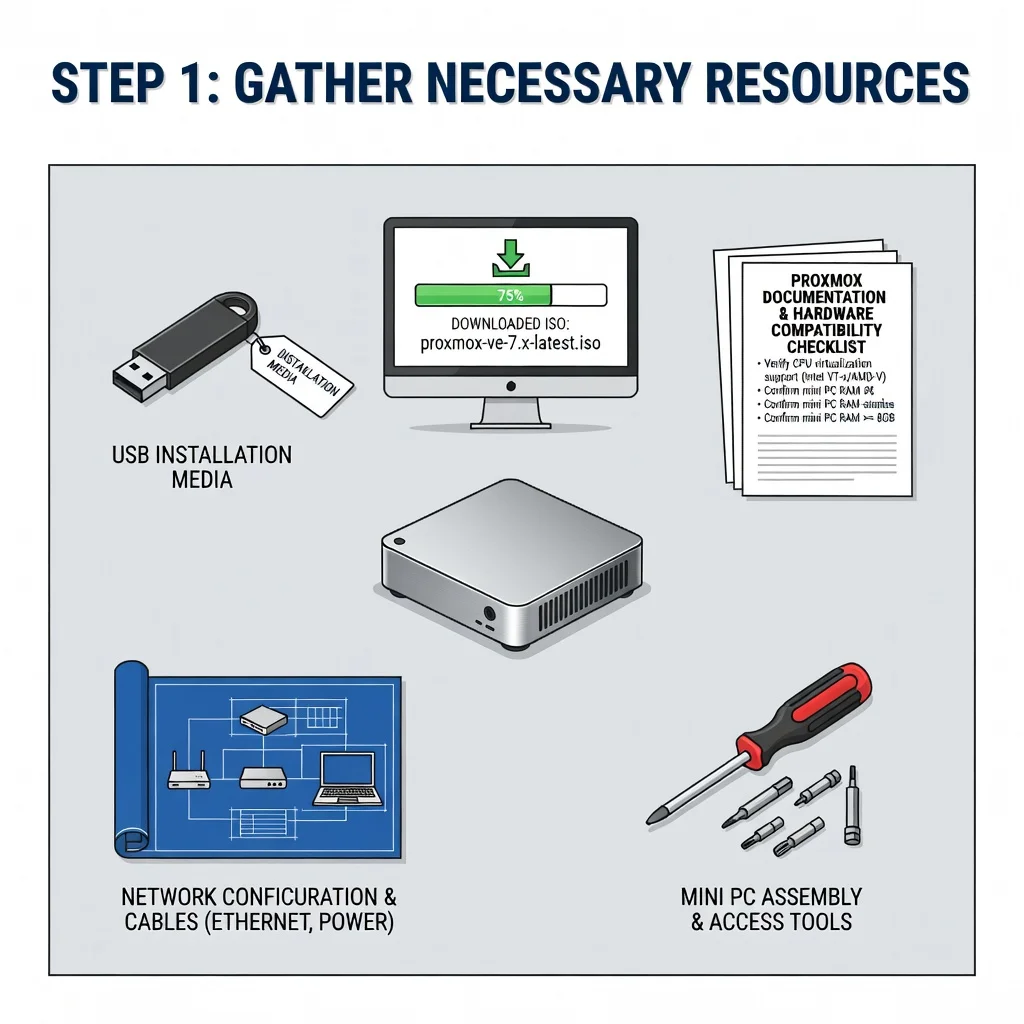
Step 4: Gather necessary resources
Before you begin, assemble everything you need so you are not scrambling mid-install:
- The prepared Proxmox VE USB installer.
- A monitor with HDMI or DisplayPort, plus a keyboard.
- An Ethernet cable connected to your router or switch.
- Your mini PC’s power supply.
- A second computer or phone to look up documentation while you work.
- A note of the IP address range your router uses, typically 192.168.1.x or 192.168.0.x.
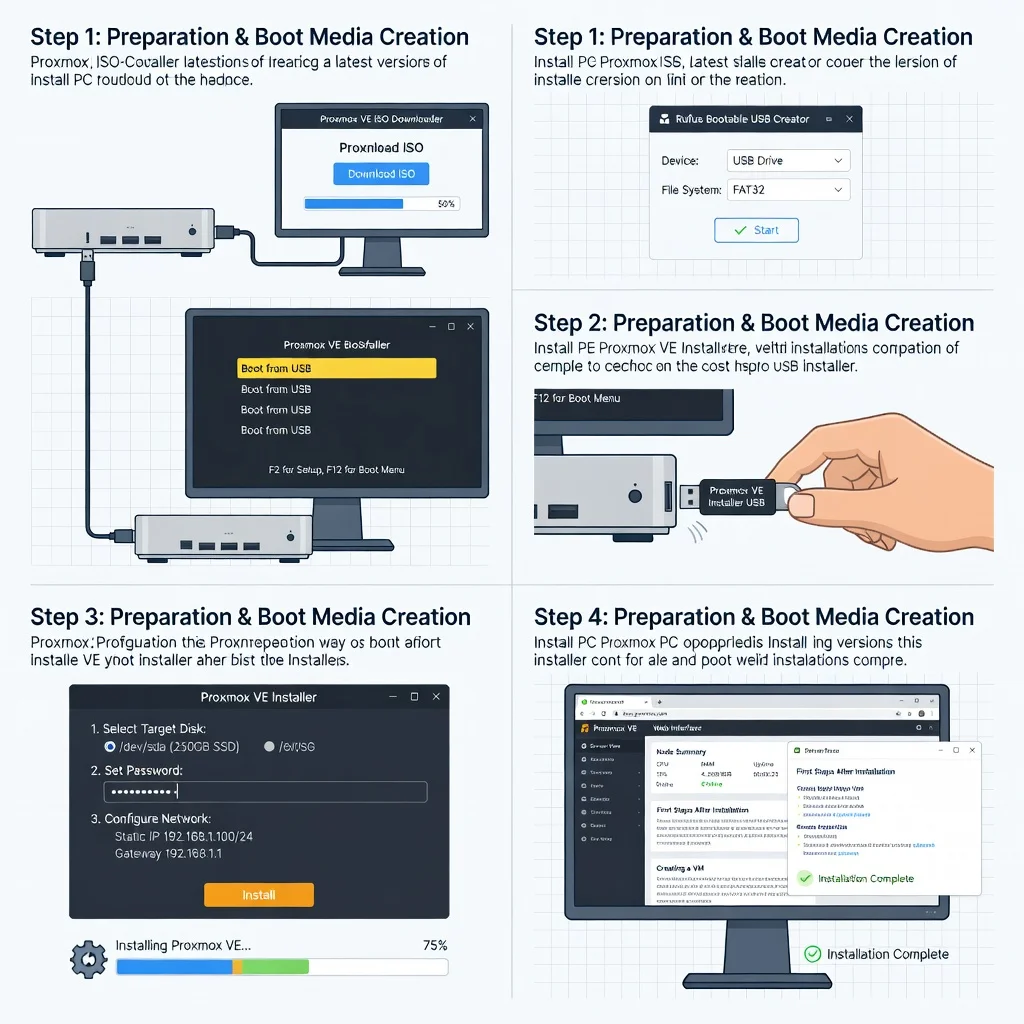
With everything ready, plug the USB drive into the mini PC, connect the monitor and keyboard, attach Ethernet, and power on. Press the boot menu key (often F10, F12, or Esc) and select the USB drive.
Step 5: Apply the core methods
The Proxmox installer is menu-driven and straightforward. Follow these selections carefully:
- Choose “Install Proxmox VE (Graphical)” for the easiest path.
- Accept the license agreement.
- Select the target disk for the Proxmox system. If you have two drives and want ZFS mirroring, choose the ZFS (RAID1) option and select both disks. Note that this wipes all data.
- Set your country, time zone, and keyboard layout.
- Enter a strong root password and an email address for system notifications.
- Configure the network. Use a static IP address rather than DHCP so the management interface remains reachable. For example, use 192.168.1.50 with a subnet mask of 255.255.255.0 and a gateway of 192.168.1.1. Match your router’s actual range.
- Confirm the hostname, review the summary, and click Install.
Installation takes five to fifteen minutes. When it finishes, reboot and remove the USB drive. The mini PC will boot into Proxmox, showing a text console with the management URL.
From another computer on the same network, open a browser and navigate to https://your-static-ip:8006. Accept the self-signed certificate warning. Log in as “root” with the password you set. You are now in the Proxmox web interface.
If your mini PC’s network card was not detected, you may need to add firmware. The fix usually involves enabling a non-free repository and installing the appropriate driver package via the command line, but most modern mini PCs work out of the box.
Finally, upload an ISO for the operating system you want to virtualize, create a VM using the “Create VM” wizard, assign CPU cores and RAM, attach the ISO, and start it. Your first virtual machine will boot inside the web console.
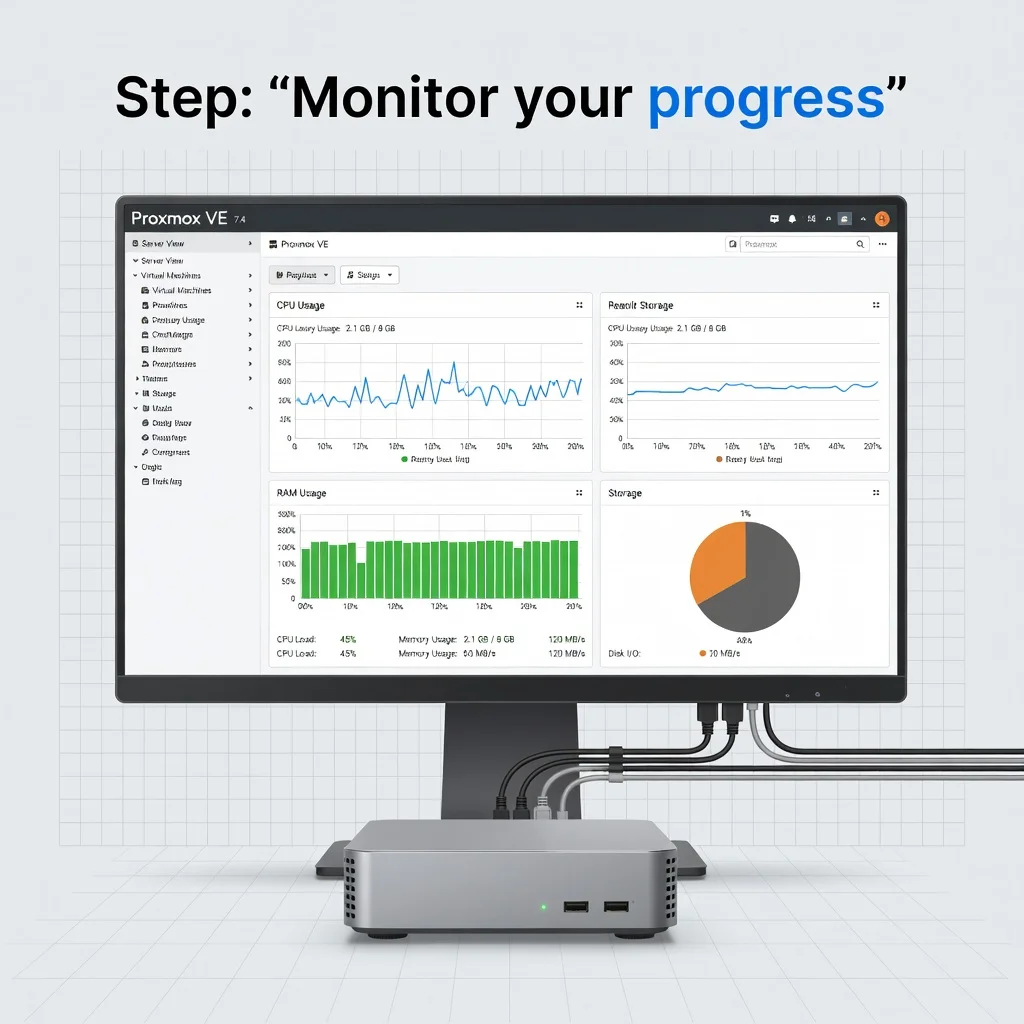
Step 6: Monitor your progress
After installation, keep an eye on a few indicators to confirm everything is healthy. In the Proxmox web interface, the node summary shows CPU, memory, and storage usage at a glance. Check that your first VM boots and that you can access it via console or network. Verify that the management interface remains reachable after a reboot, which confirms your static IP and networking are correct.
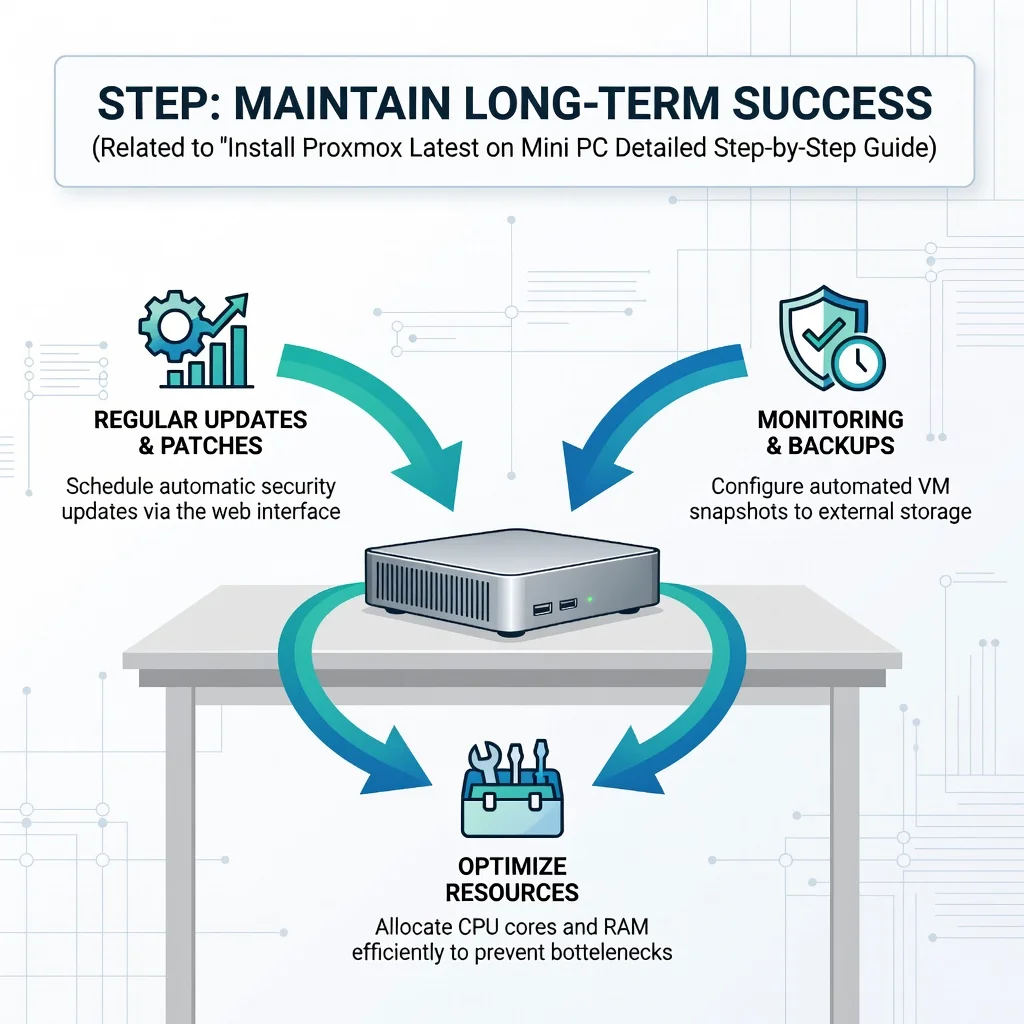
Set a habit of checking for updates weekly. Proxmox releases security and feature updates regularly, and applying them keeps your system stable and secure. Enable email notifications so you receive alerts about failed backups or high resource usage. Over time, these small monitoring habits are what separate a fragile lab from a dependable one.
Best Practices
Getting Proxmox installed is only the beginning. These practices will keep your mini PC lab reliable and secure for the long term.
- Use static IPs for critical services: Dynamic addresses can change and break access to your management interface or VMs.
- Back up regularly: Proxmox includes a built-in backup tool. Schedule weekly backups to an external drive or network share. Test restores occasionally.
- Do not overcommit resources: A mini PC has finite RAM. Allocate carefully and leave headroom for the host.
- Keep the system updated: Apply updates during low-use periods and read release notes for major changes.
- Separate storage roles: If possible, keep the Proxmox system drive separate from VM storage to simplify backups and recovery.
- Document your setup: Note IP addresses, VM purposes, and passwords in a secure location. Future you will be grateful.
You now have a solid foundation for install proxmox lates on mini pc detailed step by step guide. Apply the best practices above and revisit this guide as your needs evolve.
