
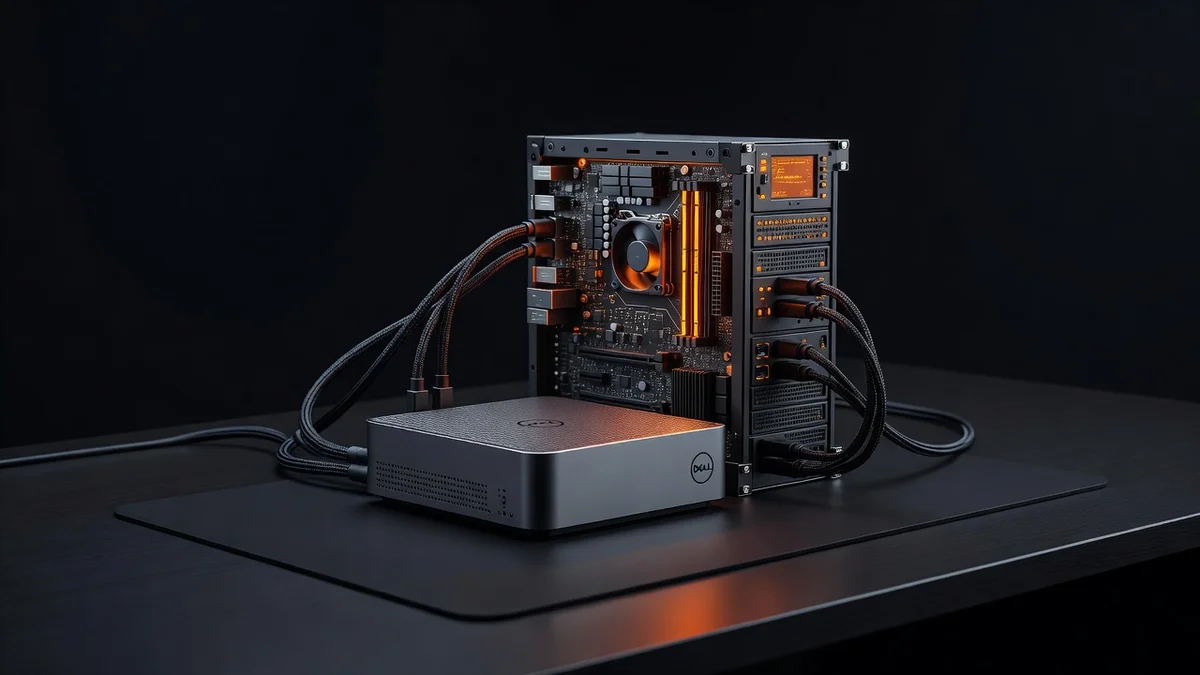
How to Install Proxmox on Dell — Turning a compact Dell micro form factor PC into a powerful home lab server Learn more about the steps and the final checks.
But before you boot the installer, the BIOS is where success is won or lost. This guide walks beginners and IT admins through the critical Dell BIOS settings — virtualization, Secure Boot, and boot order — so your Proxmox installation runs smoothly from the very first try.
Introduction
Dell mini PCs like the OptiPlex Micro, Latitude, and Precision compact series have become favorite low-power hosts for virtualization labs, home servers, and small-business edge deployments. They are quiet, efficient, and surprisingly capable with the right configuration, which makes them excellent candidates for running Proxmox Virtual Environment (Proxmox VE). This guide covers install Proxmox on Dell mini PC, including the BIOS settings you must adjust before the installer will behave correctly. If you are a beginner, the step-by-step walkthrough below will hold your hand. If you are an IT administrator, the troubleshooting and post-installation sections will help you harden and tune the host for production-adjacent workloads.
Proxmox VE is a Debian-based, type-1 hypervisor that bundles KVM virtual machines and LXC containers behind a web interface. It is free, open source, and actively maintained. Running it on a Dell micro form factor is a common pattern because these machines idle at 8–15 watts, support up to 64 GB of RAM in many models, and accept NVMe storage upgrades. Before you begin, always verify software compatibility with your hardware architecture (ARM64 vs x86). Proxmox VE officially targets the x86-64 architecture, so an ARM-based device — including some newer Qualcomm-powered Windows mini PCs and Apple silicon — will not run the standard ISO. Every Dell Intel or AMD mini PC discussed here is x86-64 and therefore supported.
One more universal rule: keeping your operating system and firmware updated before installation prevents dependency conflicts and BIOS bugs. Update the Dell BIOS, the NVMe firmware if available, and any existing OS on the machine before you wipe the disk. With that in mind, let us work through prerequisites, BIOS configuration, and the actual install.
Prerequisites
Gather the following before you start. Missing one item is the most common cause of a failed first attempt.
- A supported Dell mini PC: OptiPlex 3040/3050/3060/3070/3080/3090/5000/7000 Micro, Latitude 3470/3480/3490 or similar, Precision 3000/5000 series compact. Intel 6th generation or newer is recommended; 8th generation or newer is ideal because Proxmox 8.x runs kernels that benefit from newer microcode.
- RAM: 8 GB absolute minimum, 16 GB recommended, 32–64 GB for multiple VMs. Many Dell Micro units use SO-DIMM DDR4 and support two slots.
- Storage: A single NVMe or SATA SSD of 128 GB or larger. Proxmox itself needs roughly 20 GB; the rest is for VM disks and LXC storage. A second drive is a bonus for backups.
- USB flash drive: 2 GB minimum, 8 GB recommended, for the installer ISO.
- A USB keyboard and a display with the appropriate cable (DisplayPort, HDMI, or USB-C depending on the model). Some micro PCs only have DisplayPort — keep an adapter handy.
- Wired Ethernet connection to your router or switch. Proxmox can use Wi-Fi in a pinch, but it is not supported out of the box and makes networking far harder.
- Proxmox VE ISO: Download the current stable release from the official Proxmox website. Verify the SHA256 checksum after downloading. Always verify software compatibility with your hardware architecture (ARM64 vs x86) — the filename should indicate amd64/x86-64.
- A tool to write the ISO: Rufus, balenaEtcher, or Ventoy on Windows; dd on Linux; or the built-in disk utility on macOS.
Regarding prior experience: you do not need to be a Linux expert, but basic comfort with a command line helps in post-installation. The installer itself is graphical and mouse-driven.
Preparation
Preparation is where the BIOS settings live, and they matter more on Dell business machines than on consumer boards. Dell ships its micro PCs with secure boot, legacy boot, and aggressive power management enabled — all of which can sabotage a Proxmox install.
Updating firmware first
Boot into Windows if it is still installed, or use Dell Command Update, and install the latest BIOS and driver package. Dell periodically fixes NVMe compatibility and boot-order bugs in BIOS updates. Keeping your operating system and firmware updated before installation prevents dependency conflicts and mysterious “no bootable device” errors later. Reboot and confirm the BIOS version in the boot screen.
Deciding on boot mode
Proxmox VE 8.x supports both UEFI and Legacy BIOS boot. UEFI is strongly recommended because it is faster, more secure, and required if you ever enable Secure Boot with a signed kernel. Set the boot mode to UEFI and disable Legacy/CSM unless you have a specific reason to use it.
Preparing the installer media
Write the verified ISO to your USB drive. In Rufus, use GPT partition scheme for UEFI and DD image mode if the ISO does not boot. Before wiping the target machine, back up any data — this process destroys the existing operating system.
Installation Steps
Follow these steps in order. Do not skip the BIOS portion; it is the single most frequent failure point for Dell micro PCs.
Step 1: Review prerequisites and compatibility
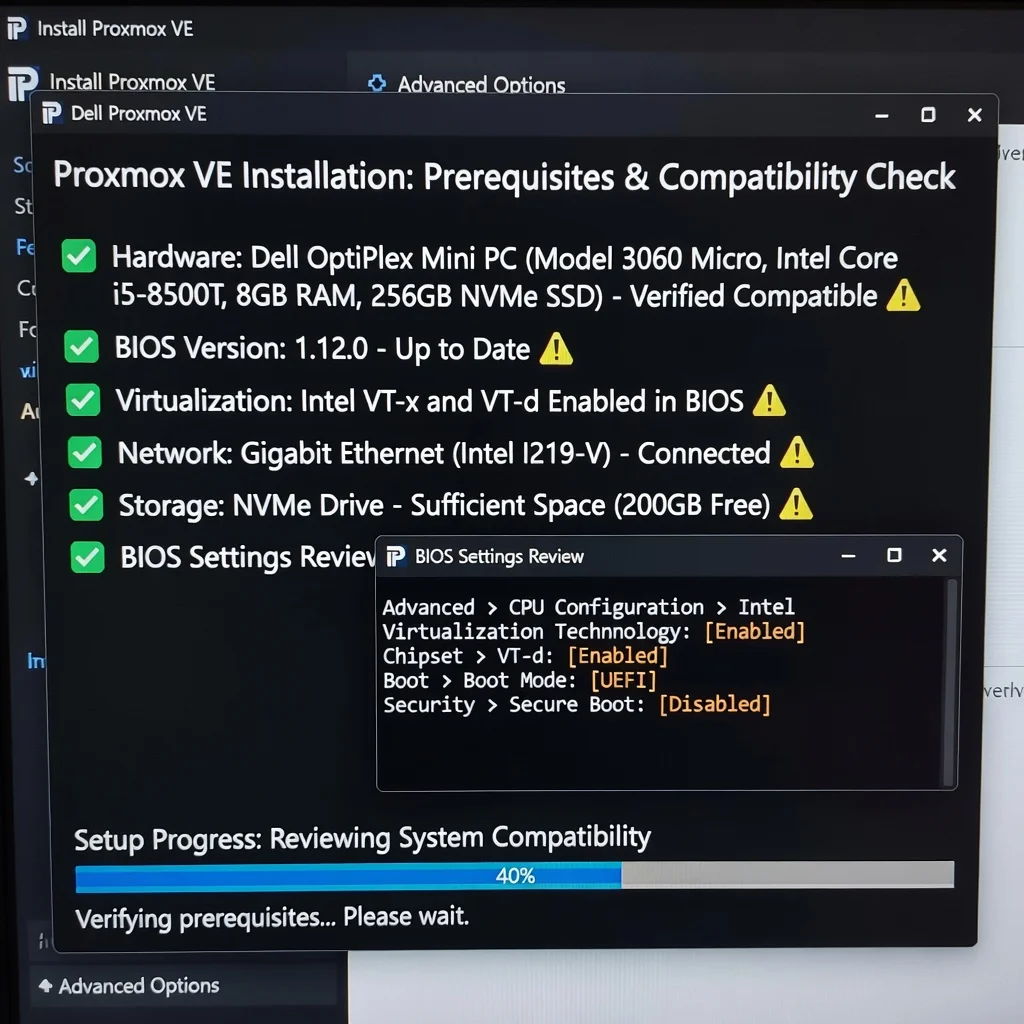
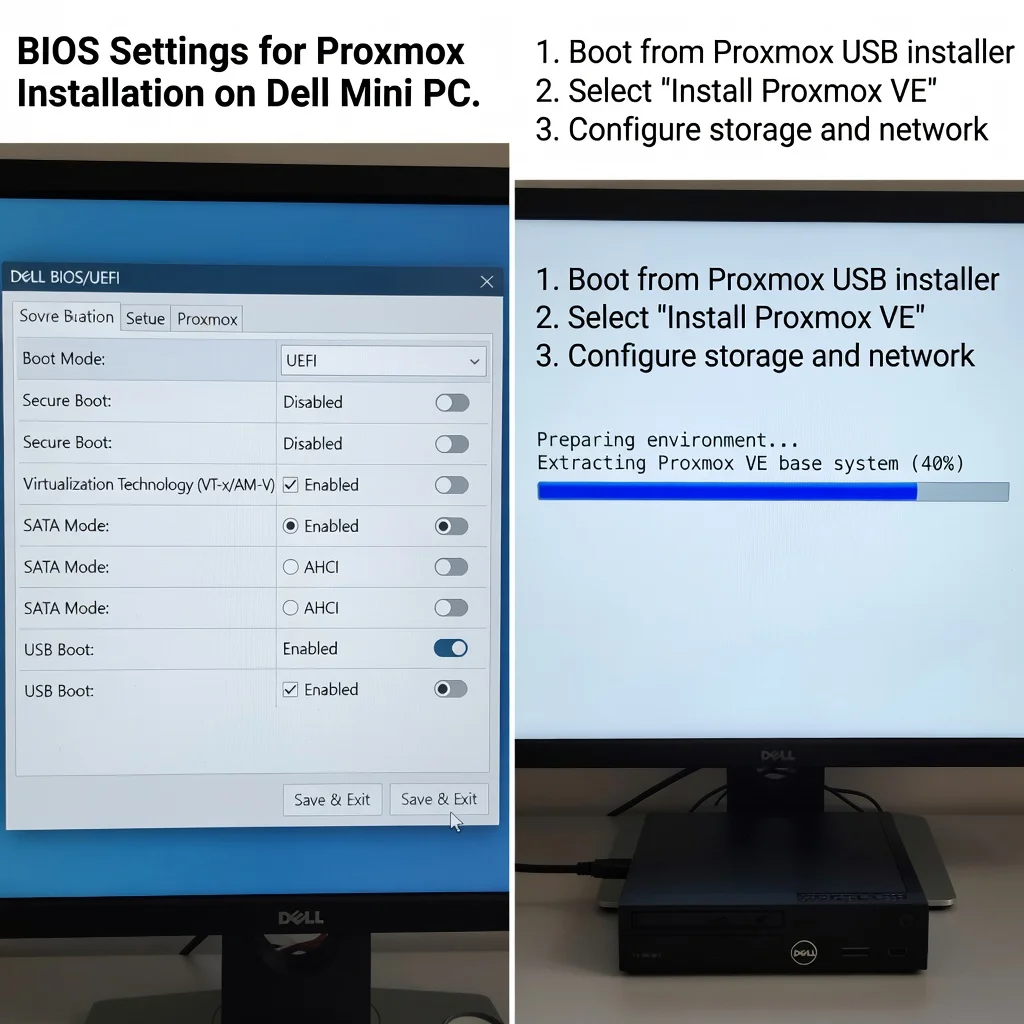
Before touching the hardware, confirm your Dell model is x86-64 and has at least 8 GB RAM. Check that the CPU supports virtualization extensions: Intel VT-x and VT-d, or AMD-V and AMD-Vi. On Dell BIOS, these appear as “Virtualization” and “VT for Direct I/O.” Confirm the Proxmox ISO version you downloaded and verify its checksum. Confirm you have the USB keyboard, display cable, and Ethernet cable physically available. Always verify software compatibility with your hardware architecture (ARM64 vs x86) — if the machine is ARM-based, stop here and use a different hypervisor, because Proxmox VE will not install.
Step 2: Prepare the environment
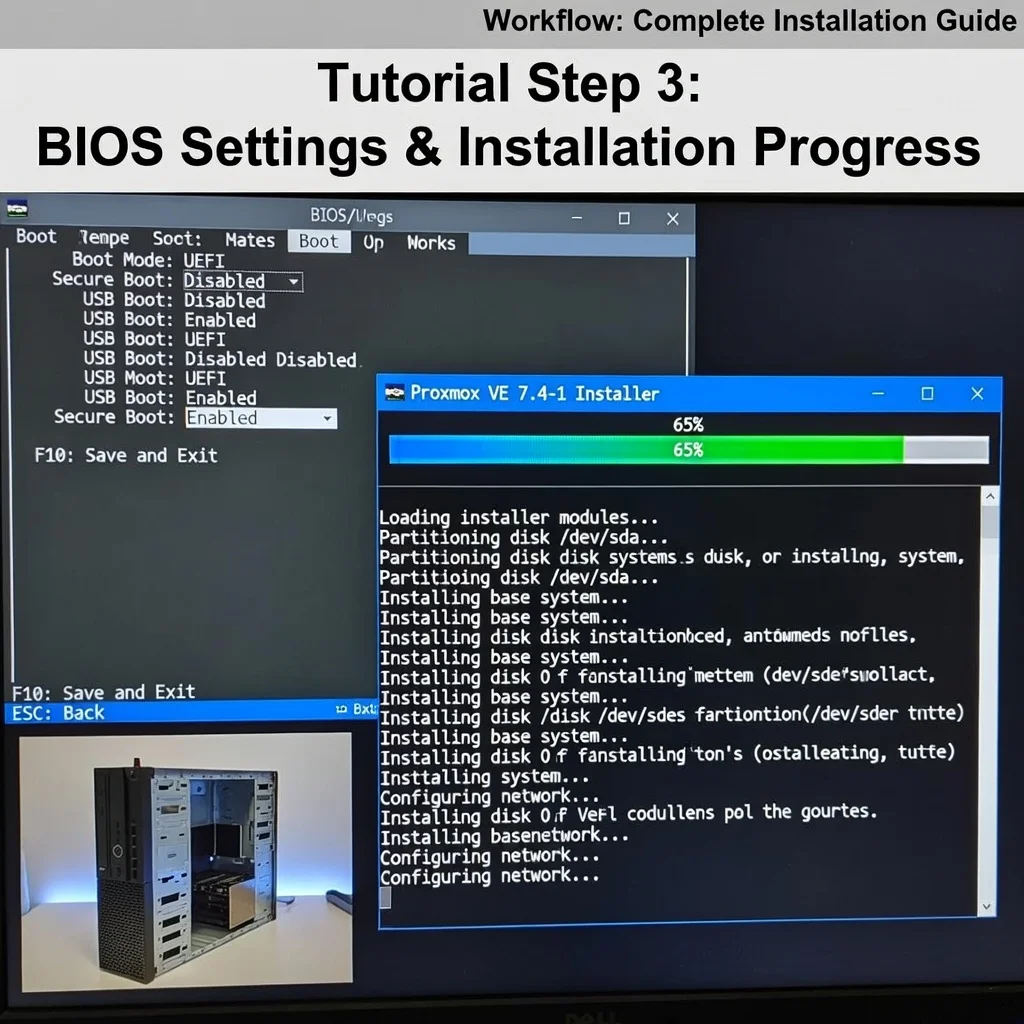
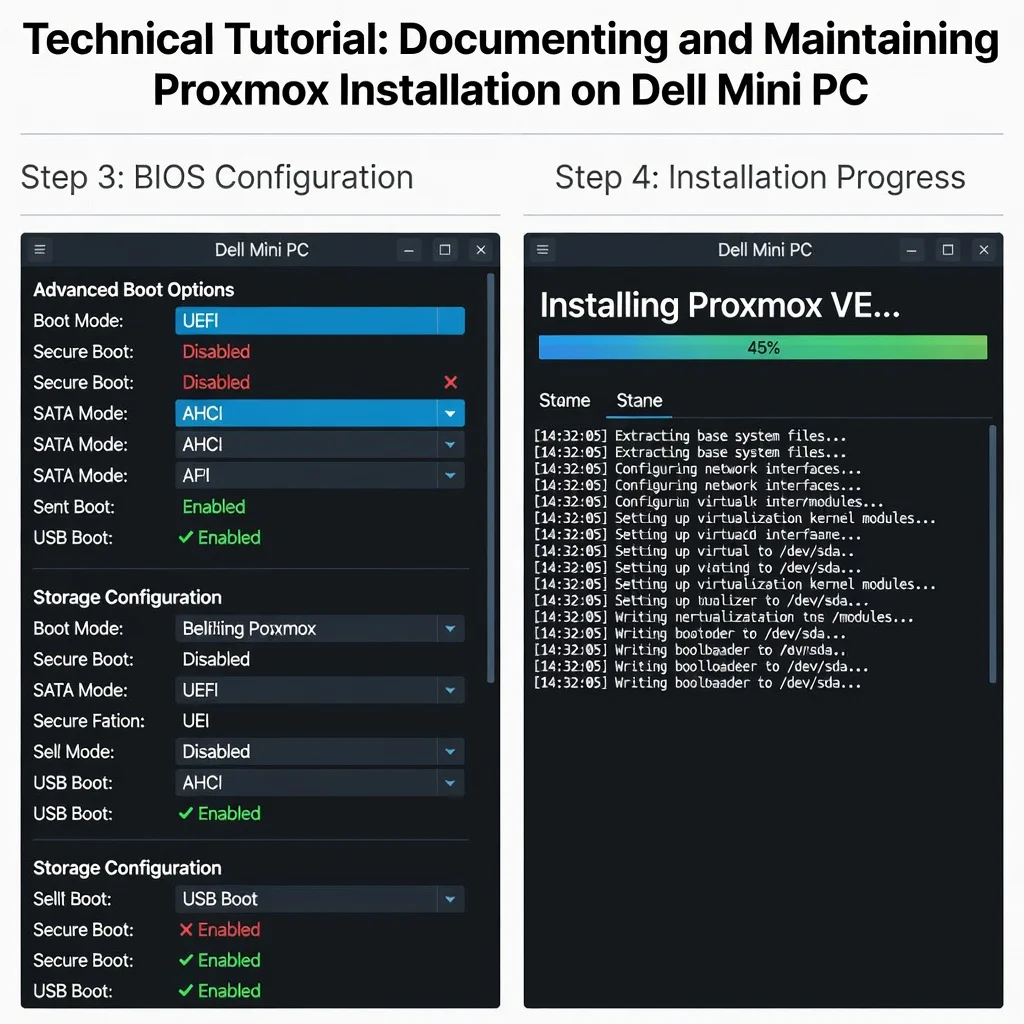
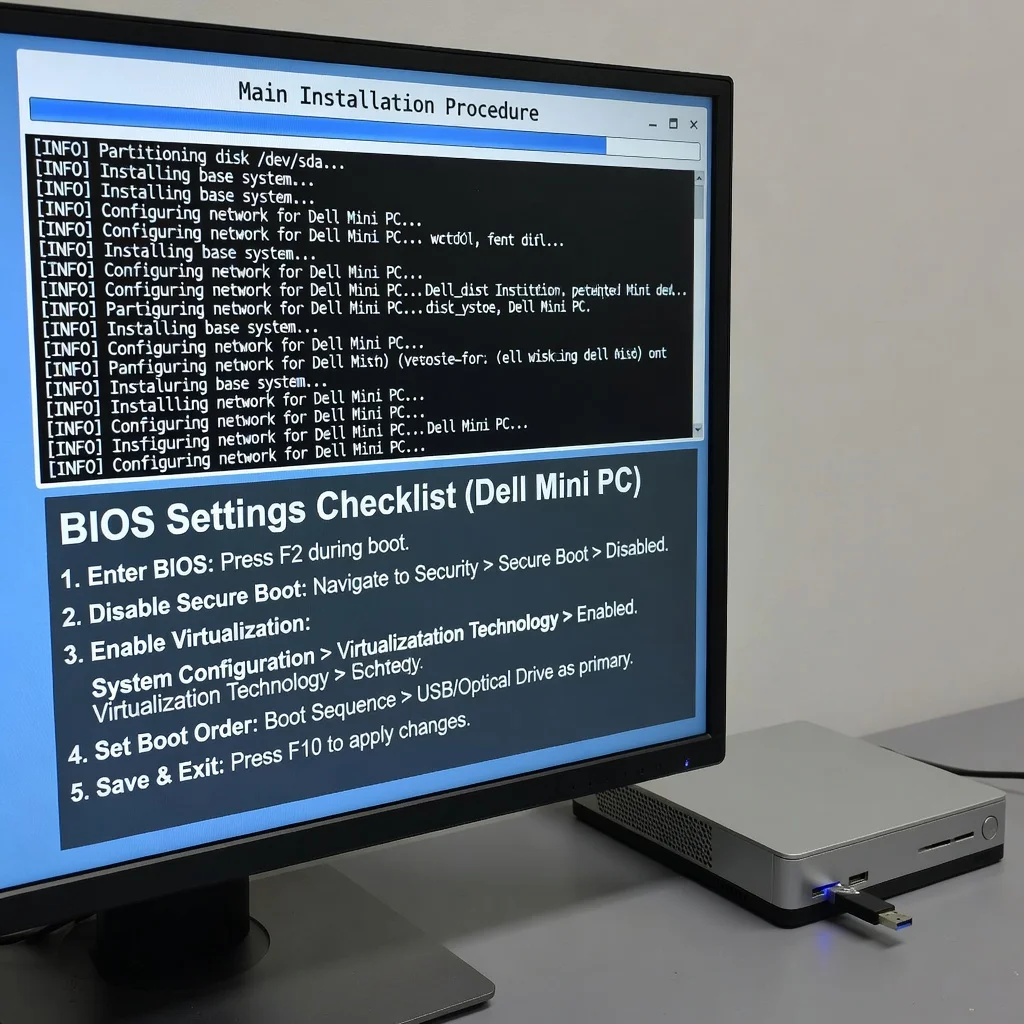
Power on the Dell and repeatedly press F2 to enter the BIOS/UEFI setup. Configure the following settings, which are the canonical “install Proxmox on Dell mini PC including BIOS settings” requirements:
- Boot Mode: UEFI only. Disable Legacy Option ROMs / CSM.
- Secure Boot: Disabled. Proxmox VE’s kernel in default installs is not signed for Secure Boot on all Dell firmware revisions.
- Virtualization (Intel VT-x / AMD-V): Enabled.
- VT for Direct I/O (VT-d / AMD IOMMU): Enabled (needed for PCI passthrough later).
- SATA Operation / Storage: AHCI, not RAID or Intel RST. RAID mode hides the NVMe/SATA drive from the installer.
- TPM: May remain enabled; clear it if you previously used BitLocker.
- Fast Boot: Disabled. Otherwise the USB drive may be skipped.
- USB Wake / Power management: Set to “Enabled” or leave default; not critical for installation but relevant for headless operation.
- Boot Order: Put USB first, internal NVMe second.
- Deep Sleep Control: Disabled on some models to avoid NIC dropouts.
Save and exit (usually F10). Insert the prepared USB drive.
Step 3: Configure core settings
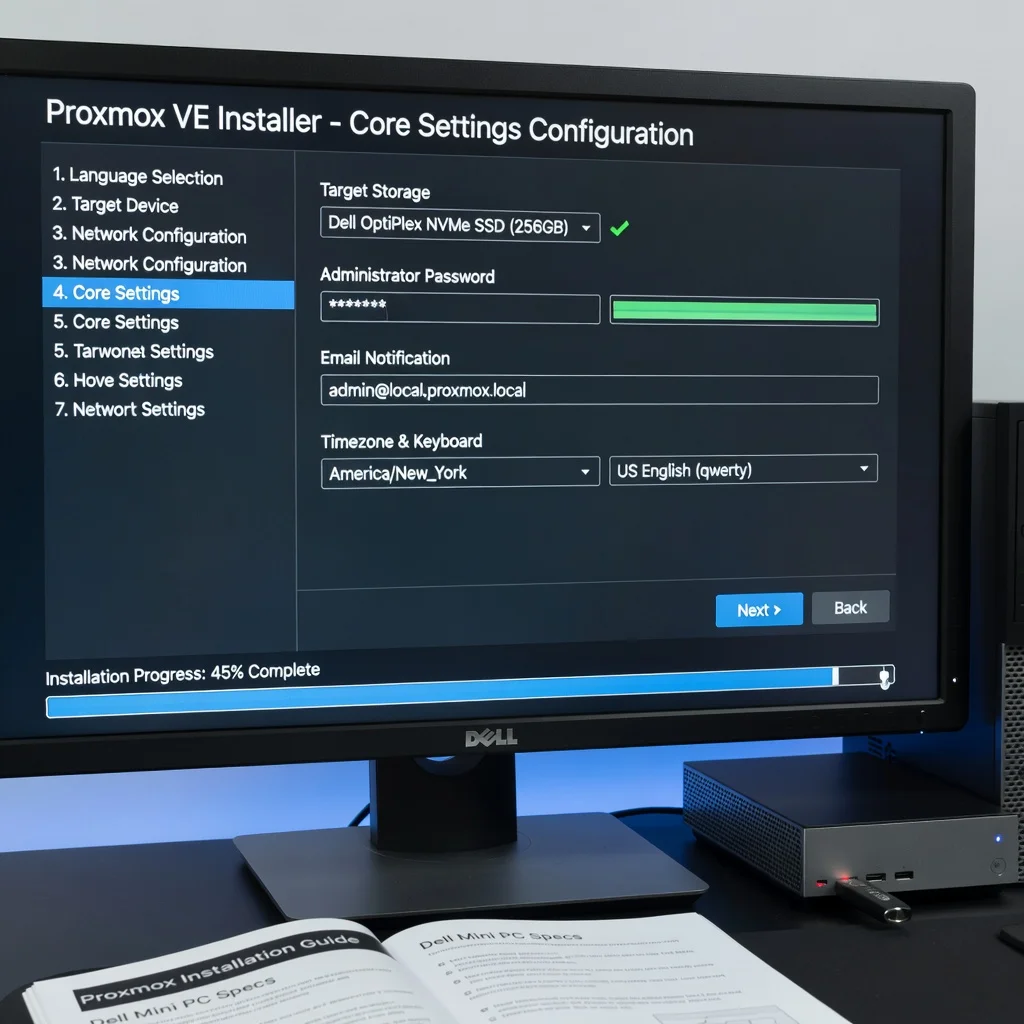
When the Dell boots from USB, the Proxmox installer menu appears. Choose “Install Proxmox VE (Graphical)” and press Enter. Accept the EULA. At the disk selection screen, choose your NVMe or SATA SSD. If the drive does not appear, you almost certainly left SATA in RAID mode — go back and fix it in BIOS. Choose a filesystem: ext4 is the safe default; ZFS is preferable if you have 16 GB RAM or more and want snapshots and checksums. Set your country, timezone, and keyboard layout. Create a strong root password and enter a valid email address for system alerts. Configure the management network: use a static IP on your LAN (for example 192.168.1.50/24), a gateway, and a DNS server such as 1.1.1.1. The hostname should be a FQDN like pve.home.lan. Review the summary and click Install. The process writes the disk and typically finishes in 3–10 minutes.
Step 4: Run the main installation procedure
After the progress bar completes and the machine reboots, remove the USB drive so the Dell boots from the internal SSD. Proxmox boots into a console login screen. Log in as root with the password you set. The installer has already partitioned the disk, installed the Debian base, and configured GRUB/systemd-boot. Do not interrupt the first boot; it may take a minute longer while it initializes networking. If you selected ZFS, expect a slightly longer first boot as the pool imports.
Step 5: Verify the installation
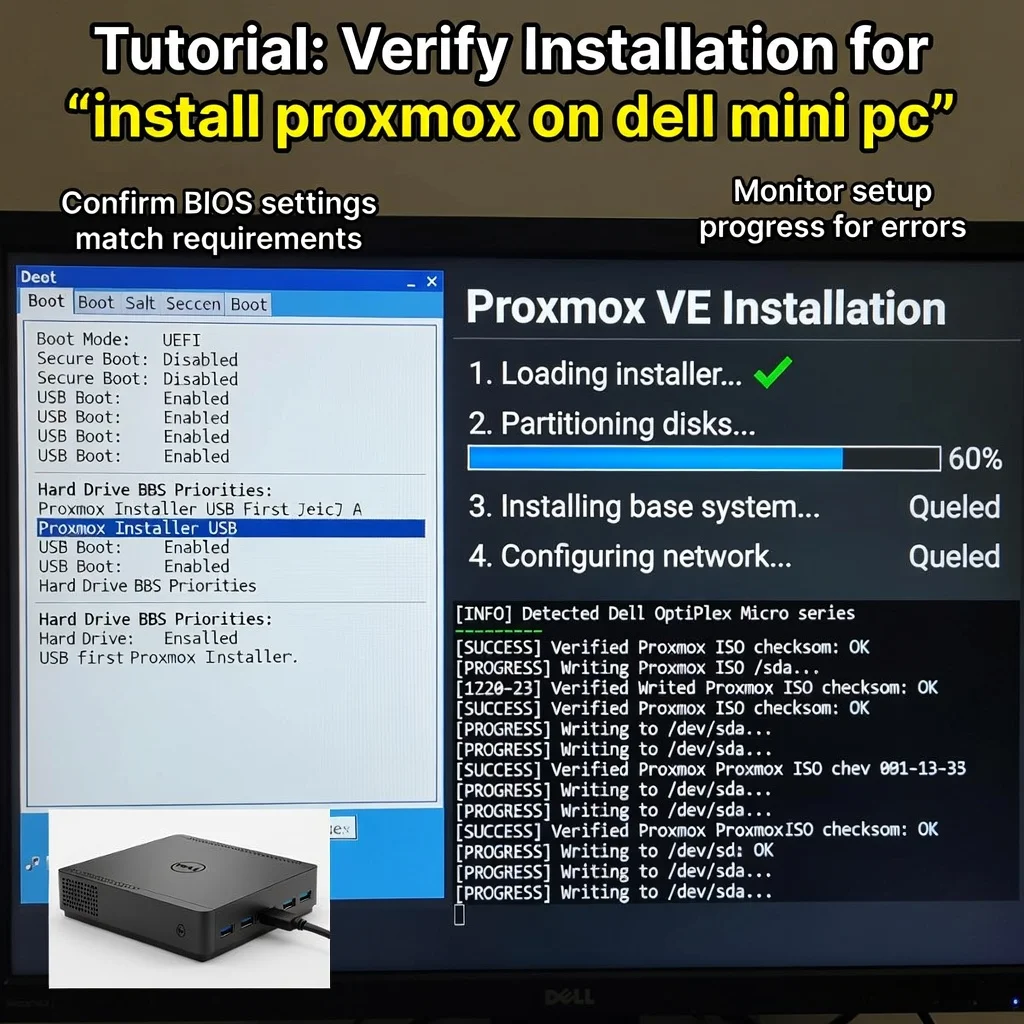
From the Proxmox console, run these checks:
ip a— confirm the management interface has your static IP.ping -c 3 1.1.1.1— confirm outbound connectivity.systemctl status pveproxy— confirm the web interface service is running.- From another computer, browse to
https://<your-ip>:8006. Accept the self-signed certificate warning and log in as root. You should see the Proxmox dashboard. - In the web UI, confirm your node appears under Datacenter with green status.
If the web interface does not load, check that you used https and port 8006, not 443 or 80.
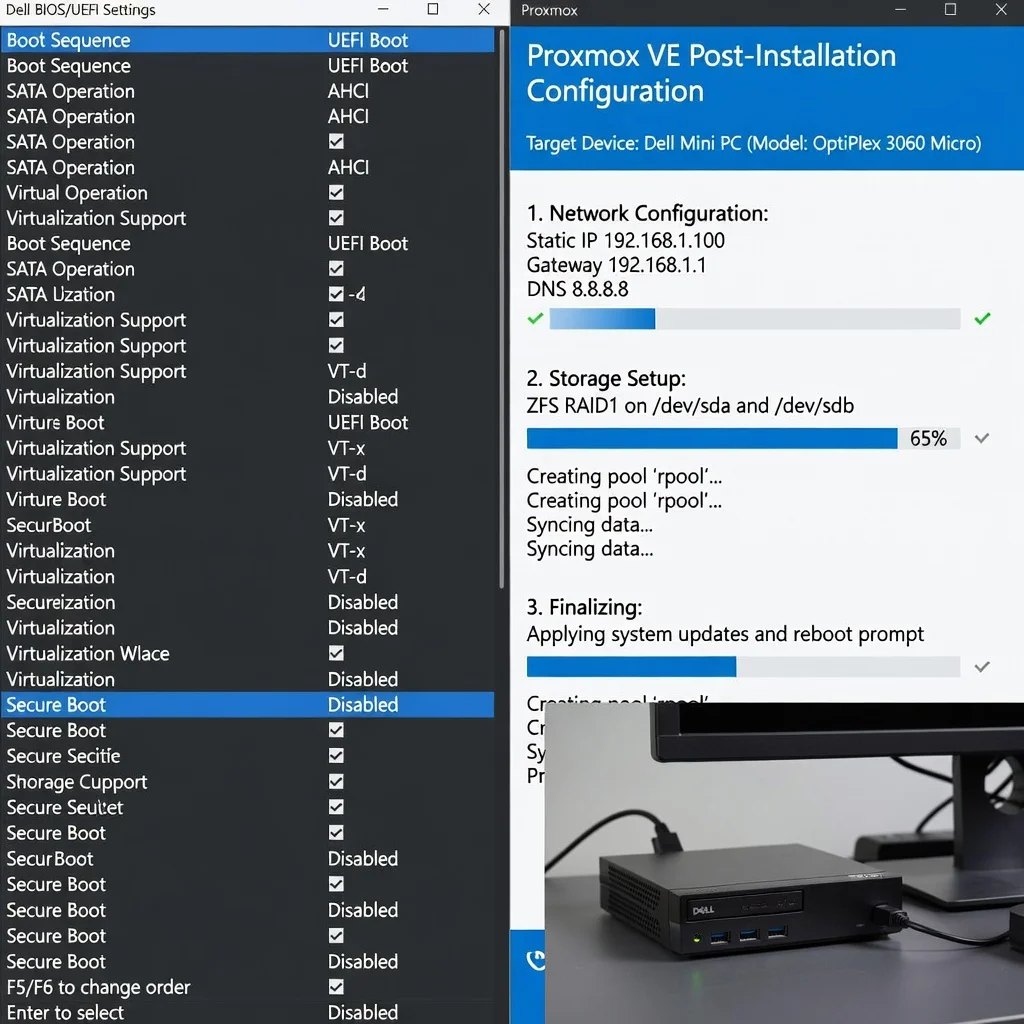
Step 6: Configure post-install options
Log into the web UI and complete these tasks: remove the enterprise repository (which requires a paid subscription) by disabling it in /etc/apt/sources.list.d/pve-enterprise.list and adding the no-subscription repository instead. Run apt update && apt full-upgrade. Upload an ISO such as Debian or Ubuntu to local storage, create a VM or LXC container, and confirm it boots. Configure backups to a second drive or network share. Optionally set up the No-Subscription repository notification nag removal only if licensing permits. This is also the moment to decide on clustering, ZFS scrubs, and monitoring.
Post-Installation
Once Proxmox is running, do not stop at “it boots.” A few post-install tasks turn a working install into a reliable host.
- Update everything: Run
apt update && apt dist-upgradeand reboot. Keeping your system updated prevents dependency conflicts when you later install tools like qemu-guest-agent or Cockpit. - Harden SSH: Disable root password login, use SSH keys, and change the default port only if your security policy requires it. Proxmox itself should be reached over HTTPS with a valid certificate if exposed.
- Enable the firewall: Proxmox has a built-in firewall at the datacenter, node, and VM level. Configure default input DROP rules and allow only 8006, 22, and 5900–5999 if you use the noVNC console.
- Configure storage: Add a second disk for backups, enable thin provisioning on LVM-Thin if desired, and schedule ZFS scrubs monthly if you chose ZFS.
Set up monitoring: Use the built-in email notifications, or integrate with Prometheus and Grafana. Small.
You now have a complete workflow for install proxmox on dell mini pc tel me including bios settings. Keep your system updated, monitor resource usage, and revisit this guide when software versions change.
Next steps: harden your server firewall, set up automated backups, and explore related tutorials linked above.
