
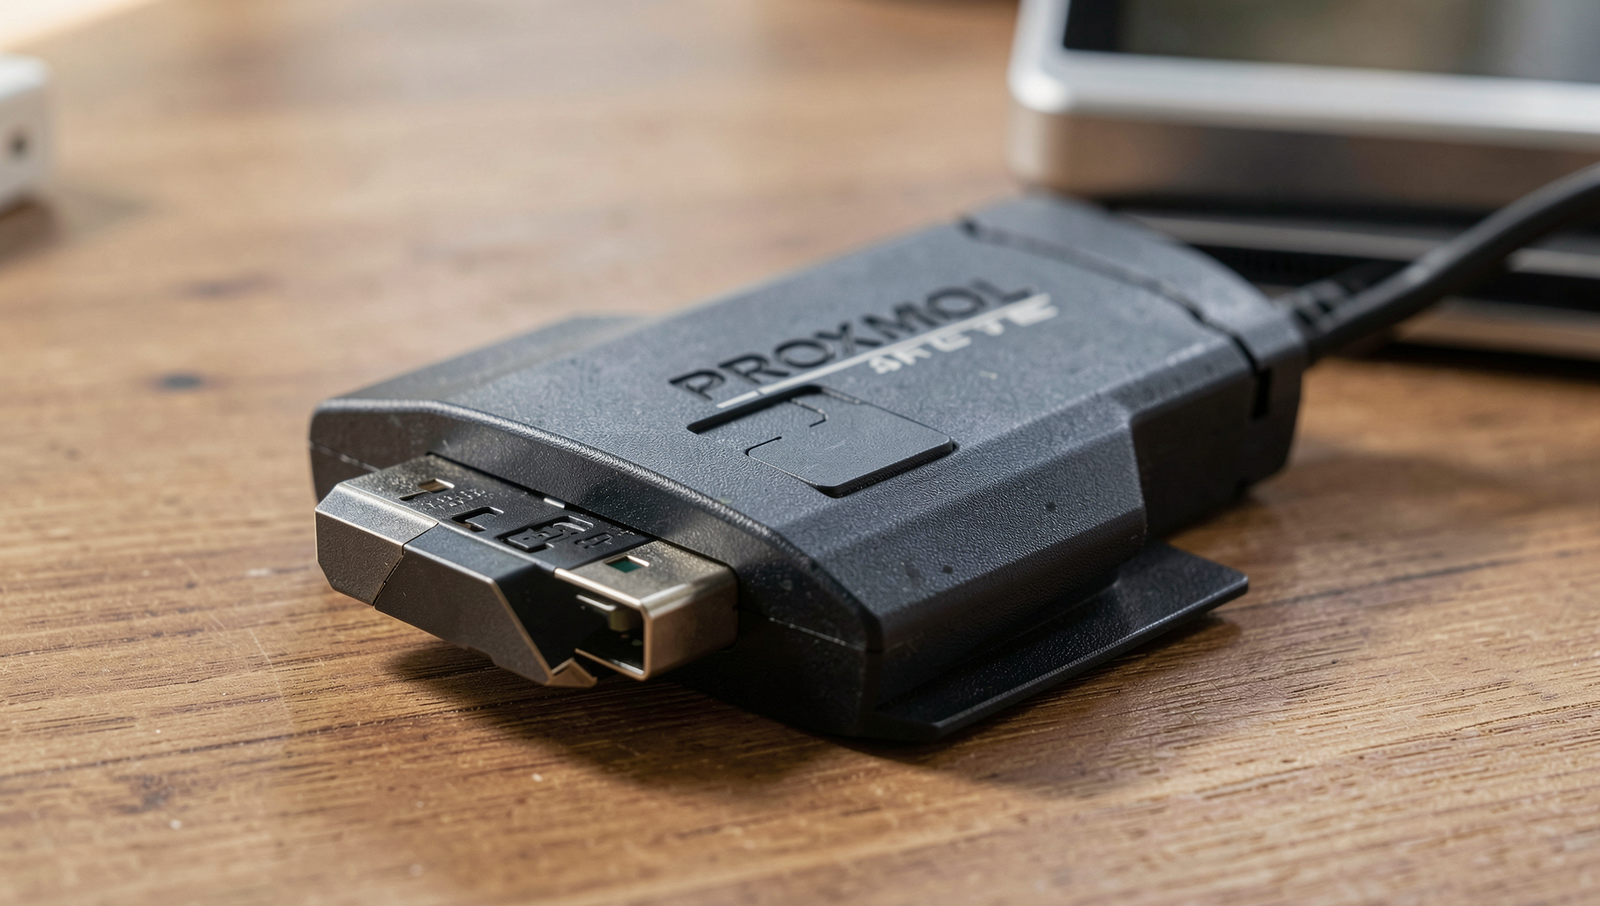
Knowing how to connect external memory via USB to Proxmox is essential for optimizing your virtual machine Learn more about the steps and the final checks.
In the ever-evolving landscape of virtualization, knowing how to connect external memory via USB to Proxmox is essential for optimizing your virtual machine (VM) performance. As more businesses and individuals rely on Proxmox for their virtualization needs, the ability to seamlessly integrate external USB memory devices can significantly enhance data management and accessibility. This guide will walk you through the process of connecting these devices, ensuring that you can leverage their full potential within your Proxmox environment.
Understanding the mechanics of USB passthrough in Proxmox is crucial for anyone looking to maximize their VM capabilities. With Proxmox 7.0 and later versions offering improved USB support, users can now easily connect external memory devices and allow VMs to access them directly. This functionality not only streamlines data transfer but also facilitates better resource management, making it a valuable skill for system administrators and tech enthusiasts alike.
In this article, you will learn the step-by-step process of connecting external USB memory devices to your Proxmox host, identifying the devices, and configuring them for VM use. We will cover important considerations, such as ensuring the USB device is not mounted on the host to prevent conflicts. By the end of this guide, you will have a comprehensive understanding of how to connect external memory via USB to Proxmox, empowering you to enhance your virtualization setup effectively.
Step-by-Step Tutorial
Step 1: Prepare the External Memory Device
- Backup Important Data: Before formatting your external memory device, ensure that you have backed up any important data. This process will erase all existing files on the device.
- Connect the Device: Plug your USB drive or external hard drive into a USB port on your computer. Make sure it is securely connected.
- Check Device Recognition: Open a terminal and run the following command to verify that your device is recognized:
lsblk - Format the Device: If the device is recognized, format it using the FAT32 file system for compatibility. Use the following command, replacing
/dev/sdXwith your device identifier:sudo mkfs.vfat -I /dev/sdX - Verify the Format: After formatting, check that the device is correctly formatted by running:
lsblk -f - Use USB 3.0 Device: For optimal performance, ensure you are using a USB 3.0 device, which offers faster transfer speeds compared to USB 2.0.
- Check for Corruption: Before connecting to Proxmox, ensure the device is not corrupted. You can run a disk check using:
sudo fsck /dev/sdX
By following these steps, your external memory device will be properly prepared and ready for connection to Proxmox.
Troubleshooting & Verification
Ensure the external memory device is properly formatted and compatible with Proxmox. Check for physical damage and confirm that the USB port is functioning. Use lsblk in the terminal to verify that the device is recognized. If not detected, try a different USB port or cable.
Step 2: Connect the External Memory to the Proxmox Server
-
- Ensure that your Proxmox server is powered on and running.
- Locate an available USB port on the server. If you require additional ports, consider using a USB hub.
- Take your external memory device and physically connect it to the chosen USB port on the Proxmox server.
- After connecting the device, check the server’s terminal to verify that the device is recognized. You can do this by running the following command:
lsblk- Look for the external memory device in the list of connected drives. It should appear as a new entry.
- Do not disconnect the external memory device while the server is running to avoid data loss or corruption.
By following these steps, you will successfully connect the external memory device to your Proxmox server.
Troubleshooting & Verification
If the external memory is not recognized, ensure the USB port is functional by testing it with another device. Check the Proxmox web interface for the device under “Disks.” If it still doesn’t appear, verify that the memory is formatted correctly and try reconnecting it or using a different USB port.
Step 3: Identify the USB Device in Proxmox
-
- Log in to the Proxmox web interface using your credentials.
- Navigate to the ‘Node’ where the USB device is connected. This is typically found in the left sidebar under the ‘Datacenter’ section.
- Open the Shell or use SSH to access the command line. You can do this by clicking on the ‘Shell’ option in the Proxmox web interface or using an SSH client.
- Run the following command to list all block devices:
lsblk-
- Look for your USB device in the list. It will usually be listed as something like /dev/sdb or /dev/sdc.
- For more detailed information, you can use the following command:
dmesg | grep -i usb- This command will show recent system messages related to USB devices, helping you confirm the connection of your external memory device.
- Note the device name for future steps, ensuring you identify the correct device to avoid data loss.
Troubleshooting & Verification
If the USB device is not recognized, ensure it is properly connected and powered. Check the Proxmox logs for errors using
journalctl -xe. You can also verify device recognition with
lsblkor
lsusbcommands to confirm the device is detected by the system.
Step 4: Mount the External Memory Device
1. **Create a Mount Point**: First, you need to create a directory where the external memory device will be mounted. Use the following command:
mkdir /mnt/usb2. **Identify the Device**: Before mounting, ensure you know the correct device identifier for your external memory. You can list all connected devices with:
lsblkLook for your USB device, which is typically listed as `/dev/sdb1` or similar.
3. **Mount the Device**: Once you have identified the correct device, mount it to the directory you created earlier. Use the command:
mount /dev/sdb1 /mnt/usbMake sure to replace `/dev/sdb1` with the actual identifier of your device.
4. **Verify the Mount**: To confirm that the external memory device is mounted correctly, run:
df -hYou should see an entry for `/mnt/usb` in the output.
5. **Automatic Mounting (Optional)**: If you want the device to mount automatically on boot, consider adding an entry to `/etc/fstab`.
6. **Unmounting the Device**: Always unmount the device before disconnecting it to prevent data loss. Use:
umount /mnt/usbTroubleshooting & Verification
If the external memory device does not mount, check the USB connection and ensure the device is powered on. Use the lsblk command to verify if the device is recognized. If it appears but won’t mount, check the filesystem with fsck and ensure proper permissions are set.
Step 5: Configure Proxmox to Use the External Memory
- Open your web browser and log in to the Proxmox web interface using your credentials.
- In the left sidebar, click on Datacenter.
- Navigate to the Storage tab located in the main panel.
- Click on the Add button and select Directory from the dropdown menu.
- In the dialog box that appears, fill in the following fields:
- ID: Enter a unique identifier for the external memory.
- Directory: Specify the mount point of the external memory, e.g.,
/mnt/external_memory. - Content: Select the types of content you want to store, such as Backups or ISO images.
- Click Add to save the configuration.
- To test the storage, perform a backup by navigating to a VM, selecting Backup, and choosing the newly added storage as the target.
Regularly check the available space on the external memory to ensure optimal performance. Ensure the storage type is compatible with your intended use to avoid any issues.
Troubleshooting & Verification
Ensure the external memory is properly connected and recognized by the system. Use
lsblkto list block devices. Check Proxmox storage configuration in the web interface. Verify permissions and ensure the Proxmox user has access to the external memory. Reboot the server if changes are not reflected immediately.
Step 6: Safely Unmount the External Memory Device
- Before disconnecting the external memory device, it is crucial to ensure that all data has been written. To do this, run the following command:
sync - Next, unmount the device by executing the command:
umount /mnt/usbThis command will safely unmount the external memory device, ensuring that no data is lost.
- After unmounting, check for any active processes that may still be using the device. You can do this by running:
lsof /mnt/usbIf there are any active processes, wait for them to finish before proceeding.
- Once confirmed that no processes are using the device, you can safely unplug the external memory device from the USB port.
Tip: Always remember to unmount the device before physically disconnecting it to prevent data loss.
Warning: Never unplug the device without unmounting it first, as this can lead to data corruption.
Troubleshooting & Verification
To ensure the external memory device is safely unmounted, check for any active processes using it. Use the command
lsof | grep /media/your_deviceto identify open files. If none are found, confirm successful unmounting with df -h to verify the device is no longer listed.
Conclusion
In summary, connecting external memory via USB to Proxmox is a straightforward process that enhances your virtualization environment. By following the key steps—identifying the USB device, configuring it in Proxmox, and ensuring proper permissions—you can easily expand your storage capabilities. This setup not only provides additional space for virtual machines but also improves data management and backup options.
As you move forward, consider exploring advanced configurations such as setting up USB passthrough for specific virtual machines or integrating external memory into your backup strategy. Understanding how to connect external memory via USB to Proxmox will empower you to optimize your resources and enhance the performance of your virtual infrastructure.
Frequently Asked Questions
How do I connect external memory to Proxmox via USB?
To connect external memory to Proxmox via USB, first, plug the USB drive into an available USB port on your Proxmox server. Once connected, access the Proxmox web interface. Navigate to the “Node” where the USB drive is connected, and then go to the “Disks” section. You should see the USB drive listed there. If it doesn’t appear, you may need to check the server’s BIOS settings or ensure that the USB drive is properly formatted. After confirming its presence, you can proceed to configure it for use with your virtual machines or storage pools.
What file systems are supported for USB drives in Proxmox?
Proxmox supports several file systems for USB drives, including ext4, xfs, and FAT32. Ext4 is commonly recommended for Linux-based systems due to its performance and reliability. XFS is also a good choice, especially for larger files and high-performance scenarios. FAT32 can be used for compatibility with other operating systems, but it has limitations, such as a maximum file size of 4GB. Before using a USB drive, ensure it is formatted with a supported file system to avoid compatibility issues within the Proxmox environment.
Can I use USB drives for backups in Proxmox?
Yes, USB drives can be used for backups in Proxmox. You can configure your backup jobs to target the USB drive as a storage location. To do this, first, ensure the USB drive is properly mounted and recognized by Proxmox. Then, create a new storage entry in the Proxmox web interface, selecting the USB drive as the target. This allows you to store VM backups directly on the USB drive, providing an additional layer of data protection. Remember to regularly check the integrity of your backups and the available space on the USB drive.
How do I unmount a USB drive safely in Proxmox?
To safely unmount a USB drive in Proxmox, first, ensure that no virtual machines or services are using the drive. Navigate to the Proxmox web interface, select the node where the USB drive is connected, and go to the “Disks” section. Locate your USB drive and select the option to unmount it. This process ensures that all data is written and that the drive is not in use before removal. After unmounting, you can safely disconnect the USB drive from the server without risking data corruption or loss.
