
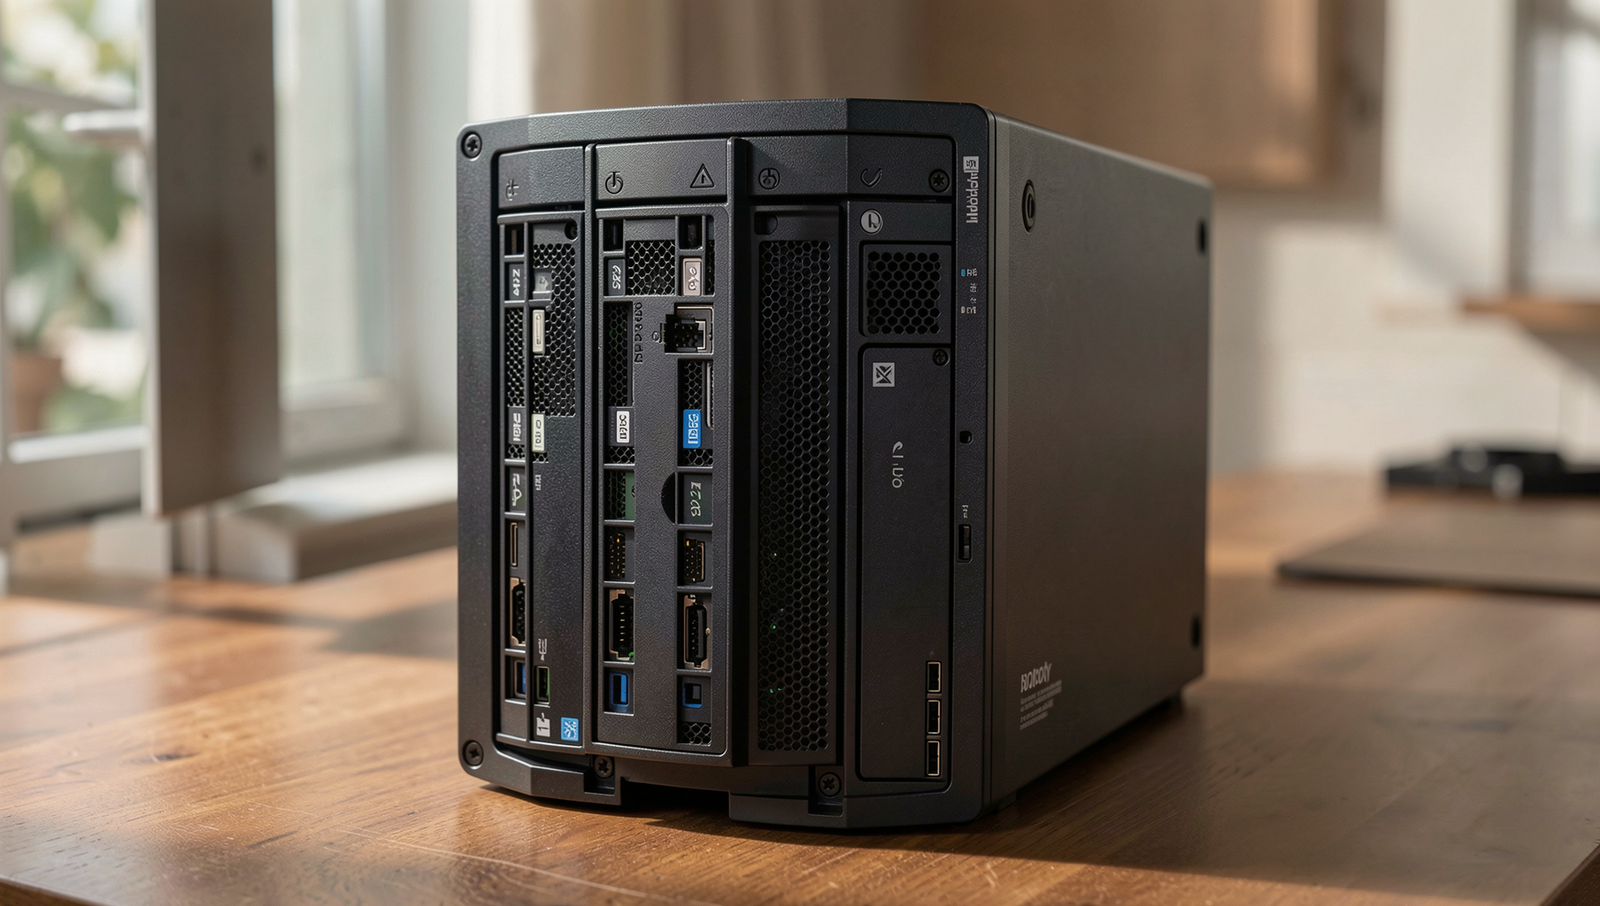
how to deploy multi worldpress on — In 2026, deploying multiple WordPress sites on a Synology NAS is an Learn more about the steps and the final checks.
In 2026, deploying multiple WordPress sites on a Synology NAS is an increasingly relevant skill for web developers and small business owners alike. As the demand for diverse online presences grows, understanding how to deploy multi WordPress on Synology NAS becomes essential. Synology NAS devices, equipped with Docker support, provide a robust platform for hosting multiple WordPress instances, allowing users to efficiently manage their websites without the need for extensive server knowledge. This article will guide you through the process, ensuring you can leverage the power of Synology for your web projects.
Managing multiple WordPress sites can be a daunting task, but with the right tools and techniques, it becomes a streamlined process. By utilizing Docker Compose, you can simplify the deployment and management of your WordPress containers, making it easier to maintain separate environments for each site. This article will delve into the specifics of how to deploy multi WordPress on Synology NAS, including configuring individual databases for each instance to prevent conflicts. You’ll learn how to set up a scalable and efficient web hosting environment tailored to your needs.
Furthermore, Synology’s Package Center offers a user-friendly WordPress package that simplifies the installation process, making it accessible even for those with limited technical expertise. This article will also cover the importance of reverse proxy settings on Synology, which help manage traffic effectively across multiple WordPress sites. By the end of this guide, you will have a comprehensive understanding of how to deploy multi WordPress on Synology NAS, empowering you to create and manage multiple websites with ease and efficiency.
Step-by-Step Tutorial
Step 1: Prepare Your Synology NAS
- Update DSM: Log in to your Synology NAS using the DSM interface. Navigate to
Control Panel>Update & Restore. Click onCheck for Updatesand follow the prompts to install the latest version of DSM. - Check Storage Space: Go to
Storage Managerin the DSM interface. Review the available storage space to ensure you have enough for multiple WordPress installations. Ideally, you should have at least 5GB of free space for each site. - Ensure Internet Connection: Confirm that your NAS is connected to the internet. You can check this in
Control Panel>Network>Network Interface. Make sure your connection status is active. - Backup Data: Before proceeding with any installations, ensure you have a backup of your data. Use the
Hyper Backupapplication to create a backup of your important files and settings.
Expected: Your NAS is updated and ready for installation.
Tips: Check the available storage space before starting; Make sure your NAS is connected to the internet.
Warnings: Ensure you have a backup of your data before proceeding with installations.
Troubleshooting & Verification
Ensure your Synology NAS is updated to the latest DSM version. Check that the Web Station and PHP packages are installed and configured correctly. Verify that your NAS has sufficient storage space and that your network settings allow for external access if needed.
Step 2: Install Web Station
- Access your Synology NAS and log in to the DSM interface.
- Open the Package Center from the main menu.
- In the search bar, type
Web Stationand pressEnter. - Locate the Web Station package in the search results and click on it.
- Click the Install button to begin the installation process.
- During the installation, ensure that you enable PHP and MySQL options if prompted, as these are essential for running WordPress.
- Once the installation is complete, navigate to the Web Station settings to review and configure your web server settings.
- Make sure to configure the web server settings properly to avoid any conflicts between multiple WordPress installations.
At this point, Web Station should be successfully installed and configured on your NAS, allowing you to host multiple websites.
Troubleshooting & Verification
If Web Station fails to install, ensure your Synology NAS firmware is up to date. Check for any conflicting packages and verify that your NAS meets the minimum requirements. Restart the NAS and attempt the installation again, monitoring for any error messages.
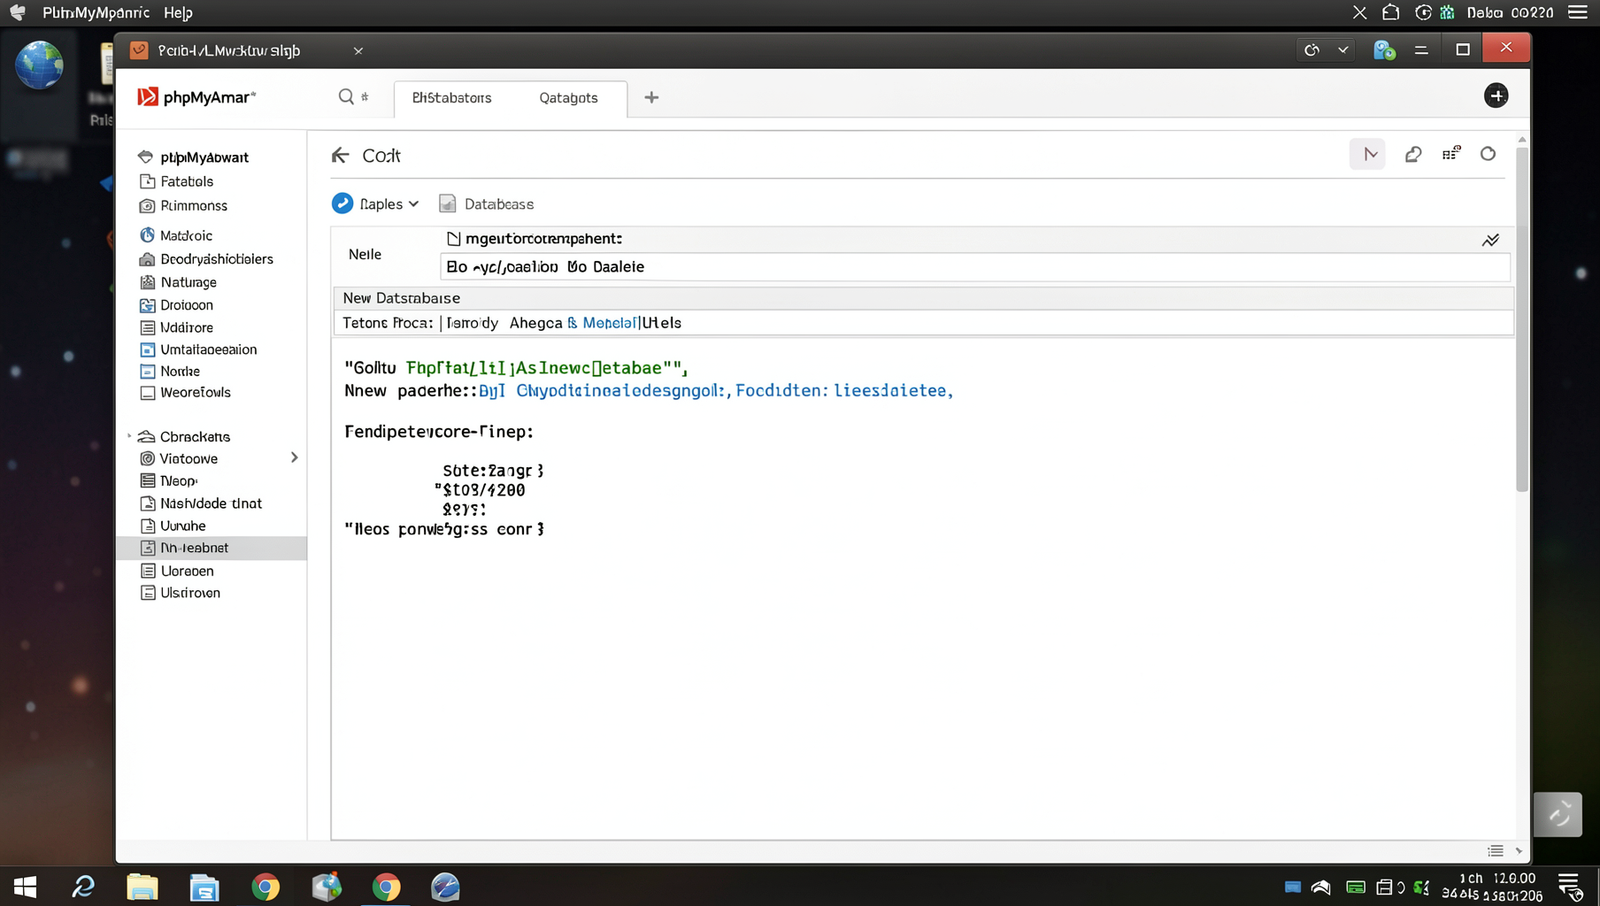
Step 3: Set Up PHP and Database
- Open the Package Center on your Synology NAS.
- Search for PHP and install the latest version compatible with your WordPress.
- Next, search for MariaDB and install it as well.
- Configure PHP settings:
- Go to Control Panel > PHP Settings.
- Ensure that the memory limit, max execution time, and upload size meet WordPress requirements.
- Create a new database for your first WordPress site:
- Open phpMyAdmin from the main menu.
- Log in using the default credentials (usually
rootwith no password). - Click on Databases and enter a name for your new database, then click Create.
Document your database credentials for future use. Ensure that the PHP version is compatible with the WordPress version you plan to install.
Troubleshooting & Verification
Ensure PHP is properly configured by checking the version and extensions required for WordPress. Verify database connectivity by testing with a simple script. Check for error logs in the Synology interface to identify any issues related to PHP or database connections.
Step 4: Download WordPress
- Visit the official WordPress website at wordpress.org/download.
- Click on the “Download WordPress” button to get the latest version of the software. This will download a .zip file to your computer.
- Once the download is complete, locate the .zip file and extract its contents. You can do this by right-clicking the file and selecting “Extract All” or using a file extraction tool.
- Open your FTP client (such as FileZilla or WinSCP) and connect to your Synology NAS using your NAS’s IP address, username, and password.
- Navigate to the web directory you created for your WordPress sites. This is typically found in the
/web/directory. - Upload the extracted WordPress files to the appropriate folder for your site. Ensure that each WordPress installation is placed in its own dedicated folder.
By following these steps, you will ensure that the WordPress files are uploaded to the correct directory on your NAS, ready for installation. Remember to keep the files organized in separate folders for each site to avoid confusion and potential installation issues.
Tip: Using an FTP client can simplify the file transfer process. Always double-check the upload location to prevent any installation problems.
Troubleshooting & Verification
If the download fails, check your internet connection and retry. Ensure that the Synology NAS has sufficient storage space. Verify the download by checking the file size against the official WordPress release notes. If issues persist, consult Synology support forums for assistance.
Step 5: Configure WordPress Installation
- Open a web browser and enter your NAS IP address followed by the WordPress folder. For example,
http://192.168.1.100/wordpress. - Once the WordPress installation page loads, select your preferred language and click “Continue.”
- On the next screen, you will be prompted to enter your database details. Input the database name, username, password, and database host. Ensure that the database credentials are correct to avoid connection errors.
- Click “Submit” to proceed. If the connection is successful, you will see a confirmation message.
- Next, you will be asked to set up your site title, admin username, and password. Choose a strong admin password to enhance security.
- Optionally, you can set a unique prefix for your database tables to further secure your installation.
- Finally, click “Install WordPress” to complete the installation process.
- Once the installation is finished, you will receive a success message. You can now log in to your WordPress dashboard using the admin credentials you created.
Troubleshooting & Verification
If you encounter issues during the WordPress installation, verify database credentials, check file permissions, and ensure that the web server is running. Review error logs for specific messages and confirm that your Synology NAS meets the required specifications for running multiple WordPress instances.
Step 6: Repeat for Additional Sites
- Create a New Folder: For each additional WordPress site, navigate to your web directory and create a new folder. Use the following command:
mkdir /var/services/web/newsite - Create a New Database: Access your database management tool (like phpMyAdmin) and create a new database for the site. Remember to note the database name, username, and password for future reference.
- Upload WordPress Files: Download the latest WordPress package and upload it to the new folder you created. You can use FTP or the command line:
wget https://wordpress.org/latest.tar.gztar -xzf latest.tar.gz -C /var/services/web/newsite - Configure wp-config.php: Navigate to the new folder and copy the sample configuration file:
cp /var/services/web/newsite/wp-config-sample.php /var/services/web/newsite/wp-config.phpThen, edit the file to include the new database details.
- Run the Installation: Open a web browser and go to
http://yourdomain.com/newsiteto complete the WordPress installation.
Repeat these steps for each additional site you want to set up. Keep track of each site’s database and admin credentials, and consider using subdomains or subdirectories for better organization. Remember, ensure each site has its own database to avoid conflicts.
Troubleshooting & Verification
If additional sites fail to deploy, ensure each site has a unique database and subdomain. Check file permissions and confirm that the web server is properly configured to handle multiple sites. Review error logs for specific issues related to site deployment.
Step 7: Secure Your WordPress Sites
- Install Security Plugins:
- Log in to your WordPress admin dashboard.
- Navigate to
Plugins>Add New. - Search for popular security plugins like
WordfenceoriThemes Security. - Click
Install Nowand thenActivatefor each plugin. - Configure the settings of each plugin according to your security needs.
- Configure SSL Certificates:
- Open your Synology DSM interface.
- Go to
Control Panel>Security>Certificate. - Click on
Addand selectGet a certificate from Let's Encrypt. - Fill in the required information including your domain name and email address.
- Click
Applyto generate and install the SSL certificate.
- Enforce HTTPS:
- In your WordPress dashboard, go to
Settings>General. - Update the
WordPress Address (URL)andSite Address (URL)to usehttps://. - Save changes and ensure your site loads securely.
- In your WordPress dashboard, go to
- Implement Strong Passwords and Two-Factor Authentication:
- Encourage users to create strong passwords using a mix of letters, numbers, and symbols.
- Install a two-factor authentication plugin for added security.
- Regular Backups:
- Set up a backup solution using plugins like
UpdraftPlusorBackupBuddy. - Schedule regular backups to ensure data safety.
- Set up a backup solution using plugins like
Tips: Use strong passwords and two-factor authentication. Regularly back up your sites.
Warnings: Regularly update plugins and themes to maintain security.
Troubleshooting & Verification
If you encounter issues securing your WordPress sites, check SSL certificate installation and ensure HTTPS is enforced in your settings. Verify that security plugins are properly configured and that file permissions are set correctly. Test site accessibility to confirm secure connections.
Step 8: Regular Maintenance and Updates
- Set a Schedule for Updates:Establish a routine for checking and applying updates to WordPress core, themes, and plugins. A good practice is to check weekly for updates.
- Enable Automatic Updates:Consider enabling automatic updates for minor releases. You can do this by adding the following line to your
wp-config.phpfile:define('WP_AUTO_UPDATE_CORE', true); - Monitor Site Performance:Use analytics tools like Google Analytics or Jetpack to monitor site performance. Regularly check for loading speed and uptime.
- Implement Automated Backups:Utilize the backup solutions available in DSM. Set up a schedule for automatic backups to ensure data safety.
- Review Backup Integrity:Periodically test your backups to ensure they are functioning correctly and can be restored when needed.
- Stay Informed:Keep an eye on WordPress security news and updates to be aware of any vulnerabilities that may affect your sites.
Tips: Use automated backup solutions available in DSM and monitor site performance using analytics tools.
Warnings: Neglecting updates can lead to security vulnerabilities, putting your sites at risk.
Troubleshooting & Verification
To ensure your WordPress installations are functioning correctly, regularly check for updates and verify plugin compatibility. Monitor site performance and error logs for any issues. Clear caches and optimize databases to maintain speed and efficiency across all WordPress sites on your Synology NAS.
Conclusion
In summary, deploying multiple WordPress sites on a Synology NAS involves several key steps, including setting up the NAS, installing Docker, and configuring each WordPress instance with its own database. This approach not only maximizes the use of your NAS resources but also provides a centralized management system for all your websites. By following the outlined procedures, you can efficiently host multiple WordPress sites with ease.
As you embark on this journey of how to deploy multi WordPress on Synology NAS, consider exploring additional features such as SSL certificates and automated backups to enhance security and reliability. With the right setup, your Synology NAS can become a powerful hub for your online presence.
Frequently Asked Questions
What is the first step to deploy multiple WordPress sites on Synology NAS?
The first step to deploy multiple WordPress sites on your Synology NAS is to ensure that you have the Web Station package installed. This package allows you to host websites on your NAS. After installation, you should also enable PHP and the MariaDB package for database management. Once these are set up, you can create separate folders for each WordPress site within the web directory. Download the latest version of WordPress for each site and extract it into the respective folders. This sets the foundation for your multi-site deployment.
Can I use a single database for multiple WordPress sites?
Yes, you can use a single database for multiple WordPress sites, but it requires careful configuration. Each WordPress installation can be set up to use the same database by creating unique table prefixes for each site. This way, WordPress can differentiate between the tables of each site within the same database. When installing WordPress, you will be prompted to enter a database prefix; ensure that each site has a different prefix to avoid conflicts. However, for better performance and management, many users prefer to use separate databases for each site.
How do I configure virtual hosts for each WordPress site?
To configure virtual hosts for each WordPress site on your Synology NAS, navigate to the Web Station settings. Here, you can create a new virtual host for each site by specifying the domain name and the corresponding document root (the folder where the WordPress files are located). Make sure to assign the correct PHP profile and enable the necessary permissions. After setting up the virtual hosts, you will need to update your DNS settings to point the domain names to your NAS’s IP address. This allows each site to be accessed via its unique domain.
Is it possible to use HTTPS for my WordPress sites on Synology NAS?
Yes, it is possible to use HTTPS for your WordPress sites hosted on Synology NAS. To enable HTTPS, you will need to obtain an SSL certificate. Synology provides a built-in feature to obtain a free Let’s Encrypt certificate, which can be configured through the Control Panel under the Security section. Once the certificate is installed, you can enable HTTPS for each virtual host in the Web Station settings. It is important to redirect HTTP traffic to HTTPS to ensure secure connections for all visitors to your WordPress sites.
