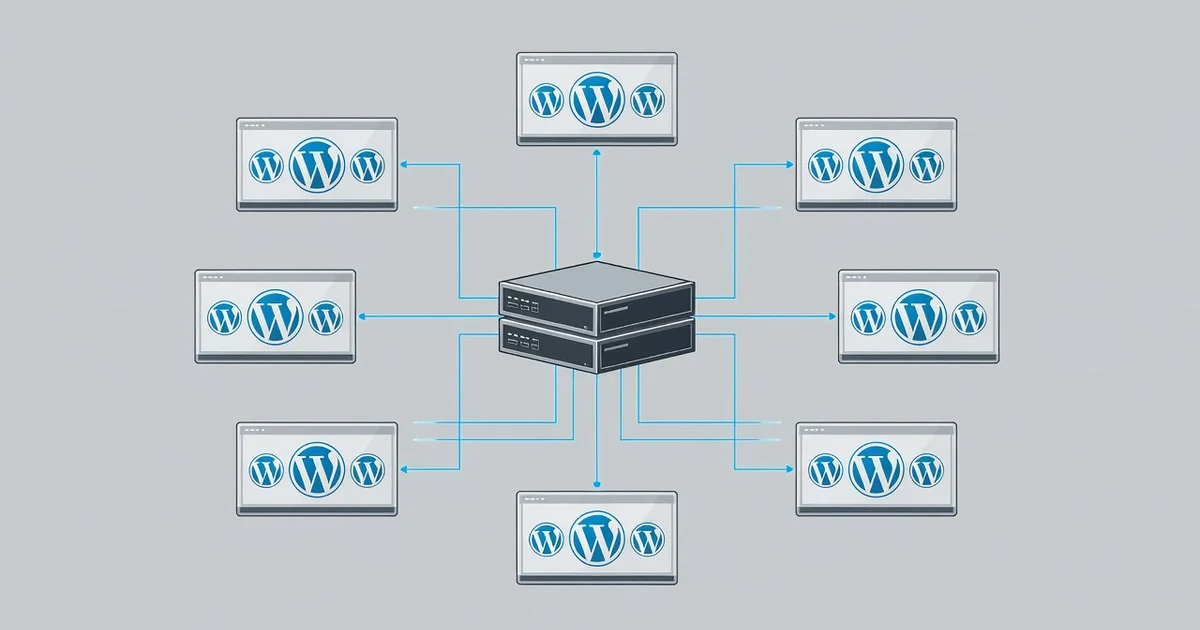
How to run multi wordpress on — Running multiple WordPress sites doesn’t have to mean juggling separate Learn Learn more about the steps and the final checks.
Introduction
Running multiple WordPress websites doesn’t have to mean paying for multiple hosting plans or juggling a dozen different servers. If you have a spare machine or a decent home lab, Proxmox Virtual Environment (VE) gives you a free, open-source platform to host as many WordPress sites as your hardware can handle. This article explores how to run multi WordPress on Proxmox with clear, practical guidance, walking you through the concepts, setup, and habits that keep everything running smoothly.
Proxmox is a type 1 hypervisor, meaning it runs directly on your hardware and manages virtual machines and containers. WordPress, meanwhile, is the world’s most popular content management system, powering over 40% of the web. Combining the two lets you isolate each WordPress site in its own virtual environment, which improves security, simplifies backups, and makes resource allocation much easier to control.
Whether you’re a freelancer managing client sites, a hobbyist with several blogs, or a small business owner who wants to separate projects, learning how to run multi WordPress on Proxmox pays off quickly. The setup is approachable once you understand the fundamentals, and the long-term benefits—lower costs, better performance control, and simpler maintenance—are substantial.
Key Concepts
Before diving into configuration, it helps to understand a few building blocks of Proxmox and how they relate to WordPress hosting.
- Nodes and clusters: A Proxmox node is a single physical server. Multiple nodes can be joined into a cluster for redundancy and centralized management.
- Virtual machines (VMs): Full hardware-emulated computers running their own operating system kernel. VMs offer the strongest isolation but use more resources.
- Linux containers (LXC): Lightweight, OS-level virtualization that shares the host kernel. Containers boot faster and consume fewer resources than VMs, making them ideal for many small WordPress sites.
- Storage pools: Proxmox supports local storage (ZFS, LVM, directories) and shared storage (NFS, Ceph). Choosing the right pool affects performance and snapshot capability.
- Bridges and virtual networks: Proxmox networking lets you assign each WordPress instance its own IP address or share a single public IP through a reverse proxy.
- Reverse proxy: Tools like Nginx Proxy Manager or Caddy route incoming traffic to the correct WordPress container based on the domain name, so dozens of sites can share one IP.
- Snapshots and backups: Proxmox can snapshot an entire VM or container before an update, giving you a one-click rollback if something breaks.
Understanding these fundamentals helps you make informed decisions about how to structure your setup, from the number of containers to the type of storage you select.
Deep Dive
The core decision when running multiple WordPress sites on Proxmox is whether to use VMs, containers, or a hybrid approach. Each has trade-offs.
VMs vs. Containers for WordPress
A full VM running Ubuntu or Debian with a LEMP stack (Linux, Nginx, MySQL/MariaDB, PHP) is the most isolated option. If one site gets compromised, the attacker is trapped inside that VM. The downside is overhead: each VM reserves RAM and CPU even when idle.
LXC containers are far more efficient. You can run 10–20 lightweight WordPress containers on hardware that would struggle with three VMs. The trade-off is weaker isolation, since containers share the host kernel. For personal projects or trusted client sites, containers are usually the better choice.
A hybrid approach works well too: place high-traffic or high-security sites in VMs, and smaller sites in containers.
Database and file architecture
You have three main options for the database layer:
- Per-site database server: Each WordPress container runs its own MariaDB instance. Simple but memory-hungry.
- Shared database container: One MariaDB container hosts databases for all WordPress sites. Efficient and easy to back up centrally.
- External database server: A dedicated VM or physical box handles all databases. Best for performance and scaling.
For files, keep WordPress core, themes, and uploads inside each container or on a mounted volume. Using Proxmox’s bind mounts or shared storage lets you snapshot content independently from the container itself.
Networking and SSL
Most home and small-business setups have a single public IP. A reverse proxy container (Nginx Proxy Manager is popular) receives traffic on ports 80 and 443, terminates SSL with Let’s Encrypt certificates, and forwards requests to the correct internal WordPress container. This keeps certificate management in one place and hides your internal network structure.
Step-by-Step Guide
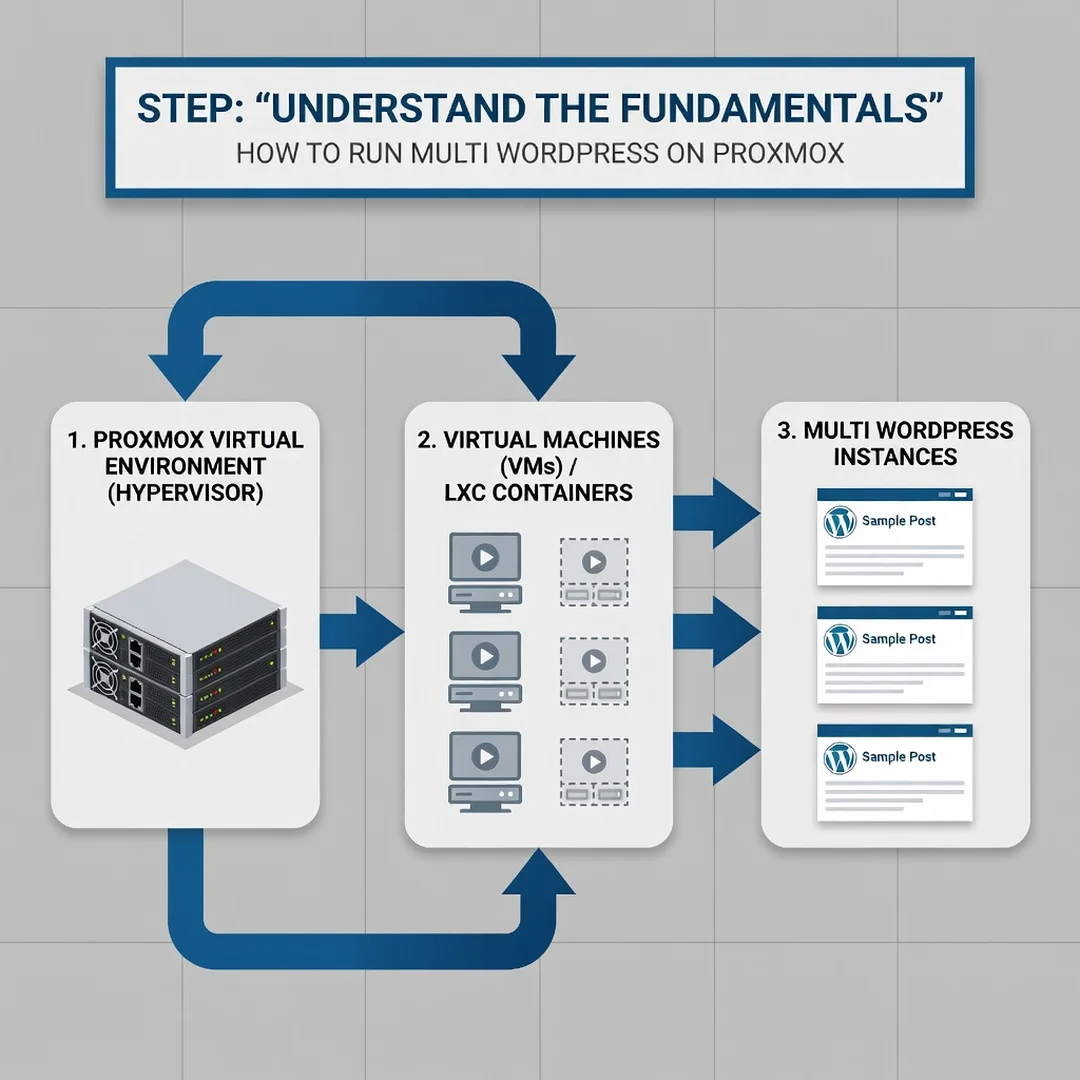
Step 1: Understand the fundamentals
Confirm that Proxmox VE is installed and reachable through its web interface at port 8006. Make sure you understand the difference between VMs and containers, and decide which fits your sites. Verify that your hardware has enough RAM (at least 8 GB for a few containers), adequate CPU cores, and SSD storage for reasonable database performance.
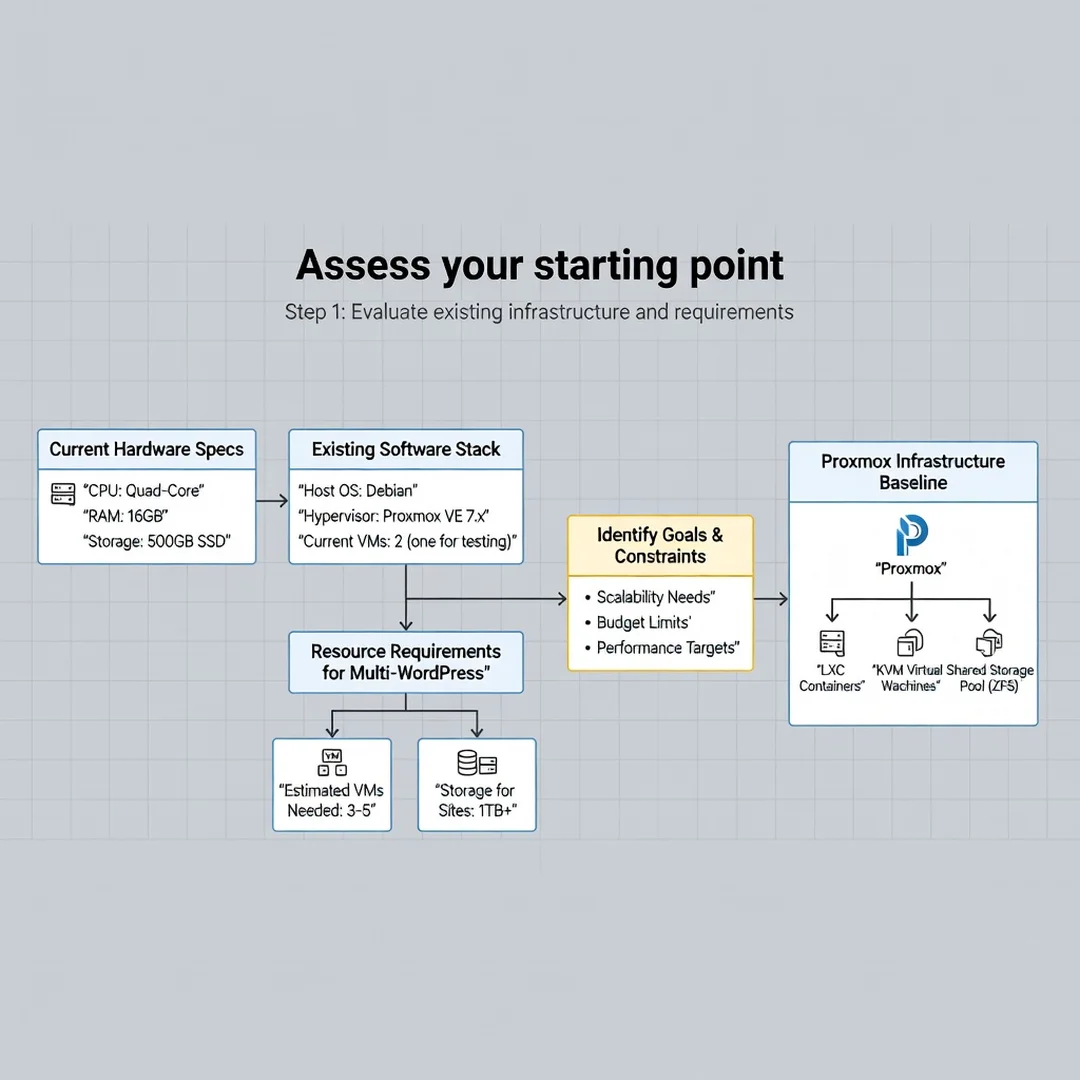
Step 2: Assess your starting point
Inventory what you already have. How many WordPress sites do you need to host? What is your expected traffic? Do you own a domain name and a public IP? Check your router’s ability to forward ports 80 and 443, and confirm your ISP allows inbound connections. Note your current backup situation so you can improve it later.
Step 3: Set clear goals
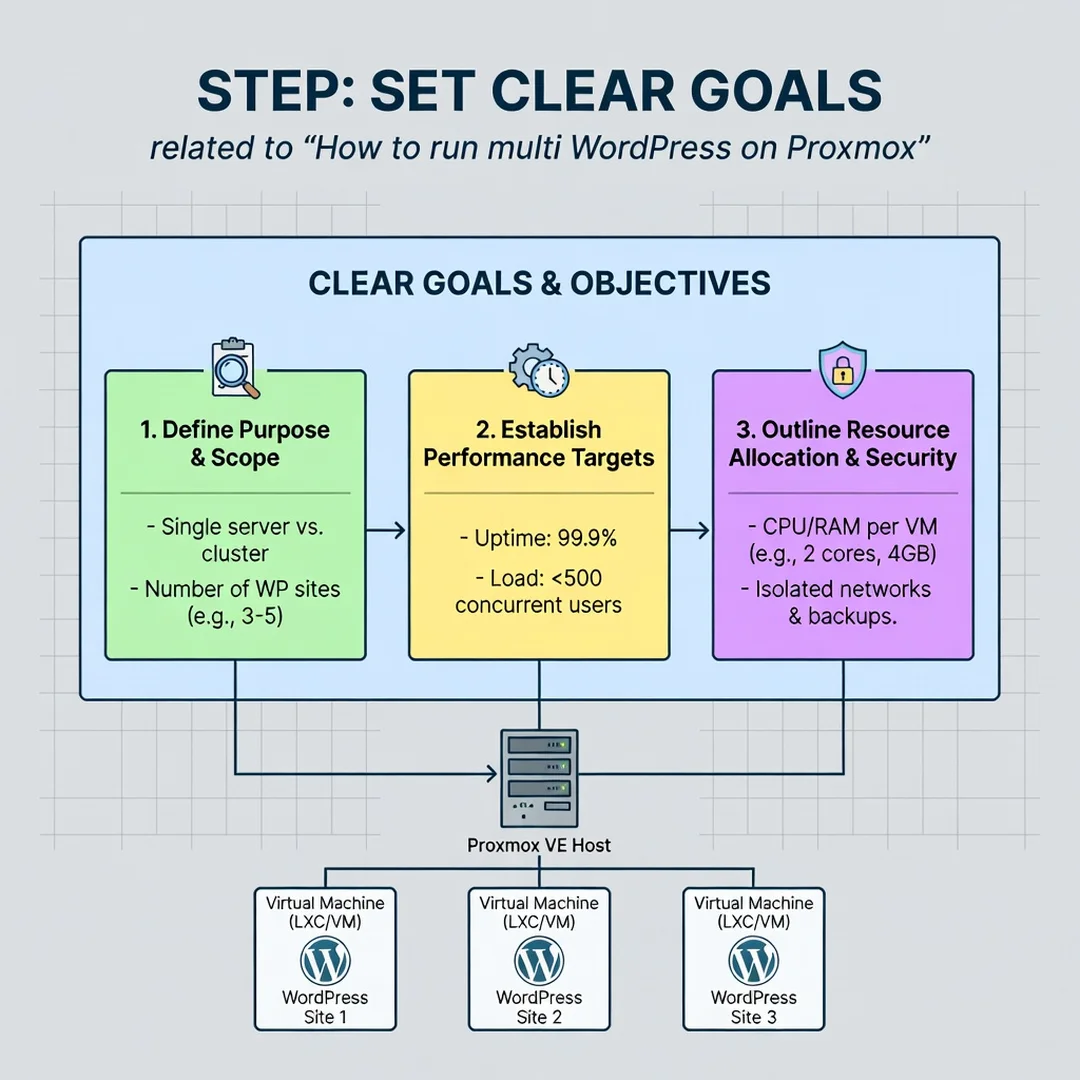
Define what success looks like. Examples include: “Host five WordPress sites with 99% uptime,” “Reduce hosting costs to zero beyond electricity,” or “Be able to restore any site within 15 minutes.” Clear goals guide decisions about resource allocation, redundancy, and monitoring.
Step 4: Gather necessary resources
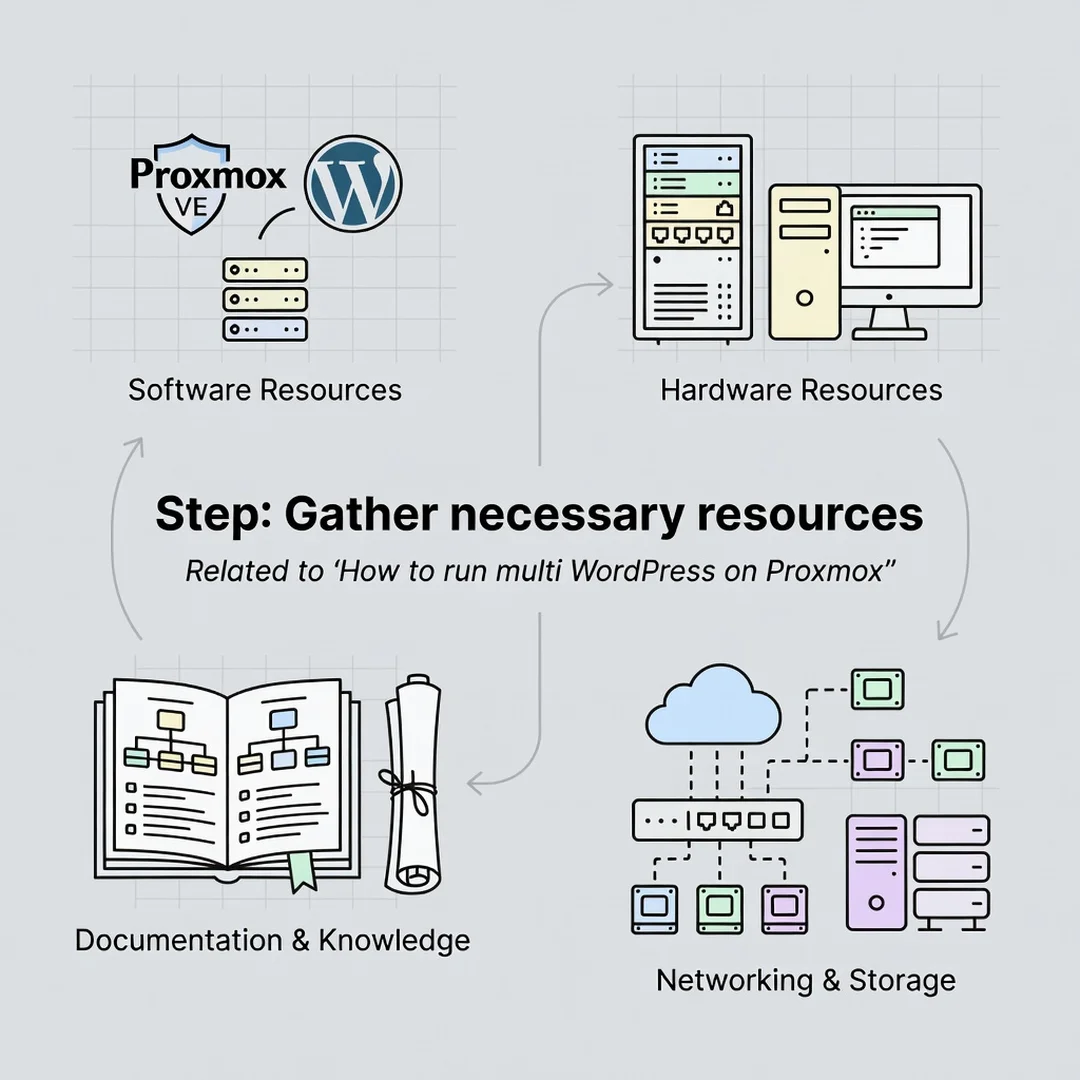
Download the latest Debian or Ubuntu LXC template from the Proxmox repository. Prepare a domain name and DNS access. Install a reverse proxy container such as Nginx Proxy Manager. Set up a storage pool for container disks and another for backups. Optionally, create a Proxmox API token for automation scripts.
Step 5: Apply the core methods
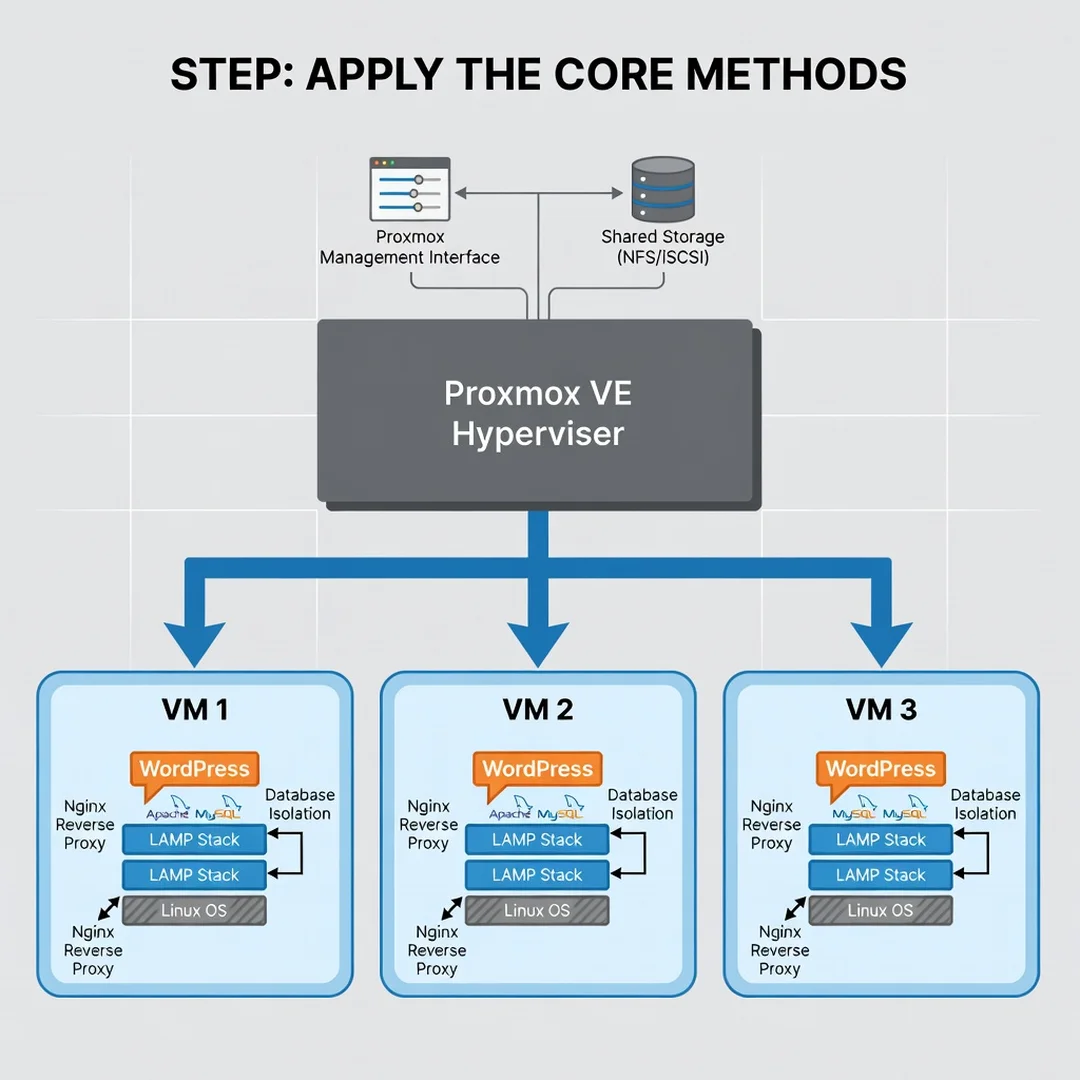
Create your first WordPress container using a turnkey template or a manual LEMP install. Configure the reverse proxy to point a domain to that container, then install WordPress. Repeat the process for each additional site, giving each container its own IP or hostname. Test each site in a browser, enable automatic backups, and schedule regular snapshot tasks. Once the pattern works, you can clone containers to add new sites in minutes.
Best Practices
- Isolate databases: Use separate database users with strong passwords for each WordPress installation.
- Automate backups: Schedule Proxmox backup jobs to run nightly, and store copies off the host machine.
- Monitor resources: Enable Proxmox’s built-in graphs or install a monitoring tool to watch CPU, RAM, and disk usage per container.
- Keep everything updated: Update Proxmox, container operating systems, WordPress core, themes, and plugins on a regular schedule.
- Use snapshots before changes: Take a snapshot before major updates so you can roll back instantly.
- Document your setup: Record container IDs, IP addresses, domains, and credentials in a secure password manager.
- Limit container privileges: Run WordPress containers as unprivileged LXC instances whenever possible.
Reliable information and consistent habits lead to better long-term outcomes. A disciplined maintenance routine matters more than any single configuration trick.
FAQ
What should I know about How to run multi wordpress on proxmox?
The most important thing is that Proxmox lets you isolate each WordPress site in its own VM or container, which improves security and simplifies management. You’ll need to plan your networking (especially if you have one public IP), choose between VMs and containers, and set up a reverse proxy for SSL. Resource planning and backups are essential, but the process is repeatable and well documented.
Who is this guide for?
This guide is for anyone who wants to host multiple WordPress sites on their own hardware using Proxmox. That includes home lab enthusiasts, freelancers managing several client sites, small agencies, and business owners who prefer self-hosting over shared hosting plans. Basic familiarity with Linux commands and networking helps, but the steps are written to be approachable for beginners willing to learn.
Conclusion
Running multiple WordPress sites on Proxmox is one of the most cost-effective and flexible hosting strategies available. By understanding the fundamentals, choosing the right virtualization type, and following a structured setup process, you can host a handful—or a few dozen—sites from a single machine. The key is consistency: keep backups running, apply updates, and monitor your resources. Start small with one container, prove the workflow, then scale as your needs grow.
You now have a solid foundation for How to run multi wordpress on proxmox. Apply the best practices above and revisit this guide as your needs evolve.