

Turning a compact AceMagic mini PC into a powerful home lab or virtualization host is easier than you think. In this guide, you’ll learn how to install Proxmox on AceMagic with Ryzen 7 5730U with 32GB RAM, unlocking enterprise-grade virtualization on a tiny, energy-efficient machine.
We cover every step — from BIOS settings for best performance without errors to USB preparation, installation, and post-install tuning. Whether you’re a beginner or an IT administrator, these full instructions will help you deploy a stable, high-performance Proxmox node with confidence.
Introduction
Running Proxmox Virtual Environment (VE) on an AceMagic mini PC equipped with an AMD Ryzen 7 5730U and 32GB of RAM creates a compact, energy-efficient virtualization host. This guide provides full instructions to install Proxmox on that exact hardware, including the BIOS settings needed for best performance without errors. Beginners and IT administrators alike will find the process manageable: it is mostly a standard x86-64 installation, but a few firmware and storage choices make a significant difference on AceMagic units.
Before you begin, remember that software compatibility must always be verified against your hardware architecture (ARM64 vs x86). The Ryzen 7 5730U is x86-64, so you must download the x86-64 (AMD64) Proxmox ISO. Also, keeping your operating system and firmware updated before installation prevents dependency conflicts and reduces the chance of device driver problems during setup.
Prerequisites
- AceMagic mini PC with AMD Ryzen 7 5730U and 32GB DDR4 RAM.
- At least one internal SSD or NVMe drive. A second drive is recommended for VM storage.
- A USB flash drive of 8GB or larger for the Proxmox installer.
- Wired keyboard, monitor, and Ethernet cable. Wi-Fi is not supported by the Proxmox installer.
- A stable internet connection for package updates after installation.
- Proxmox VE ISO downloaded from the official website (x86-64 version).
- Rufus or balenaEtcher to write the ISO to USB.
No prior Linux experience is strictly required, but basic familiarity with BIOS menus and disk partitioning helps. If you have never used a terminal, follow the steps exactly and avoid skipping the verification phases.
Preparation
Download the latest Proxmox VE ISO and verify its checksum. Because the Ryzen 7 5730U is x86-64, do not use any ARM64 image. Create the USB installer with Rufus in DD mode, or with balenaEtcher, to avoid boot errors.
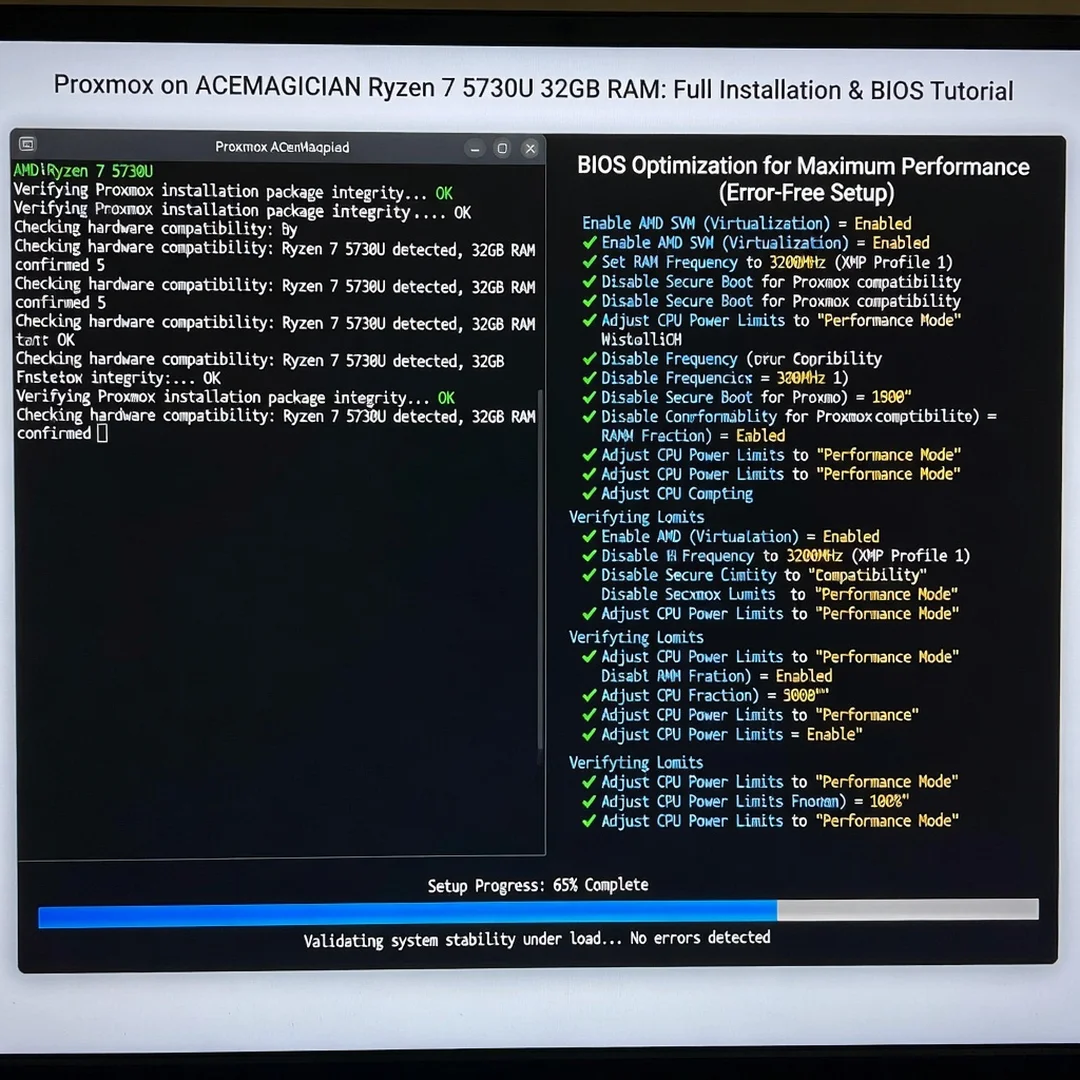
On the AceMagic unit, connect the keyboard, monitor, and Ethernet cable before powering on. Enter the BIOS by pressing Del or F2 during boot. Recommended BIOS settings for performance without errors:
- Set SVM Mode (AMD virtualization) to Enabled. This is required for KVM hardware virtualization.
- Enable IOMMU if the option exists. This helps with PCIe passthrough and device isolation.
- Set Above 4G Decoding to Enabled, especially if you plan to add a GPU later.
- Set Resizable BAR to Enabled only if your workload supports it; otherwise leave it Disabled to avoid rare GPU passthrough issues.
- Set the boot mode to UEFI, not Legacy/CSM, for modern Proxmox installs.
- Disable Secure Boot temporarily, since the unsigned Proxmox kernel may not boot with it enabled.
- Set Fan control to a balanced or performance profile to prevent thermal throttling under VM load.
- Enable XMP/DOCP only if your RAM is rated for it and stable; otherwise leave memory at default JEDEC speeds to avoid boot loops.
Save the BIOS settings and exit. Insert the prepared USB drive and boot from it.
Installation Steps
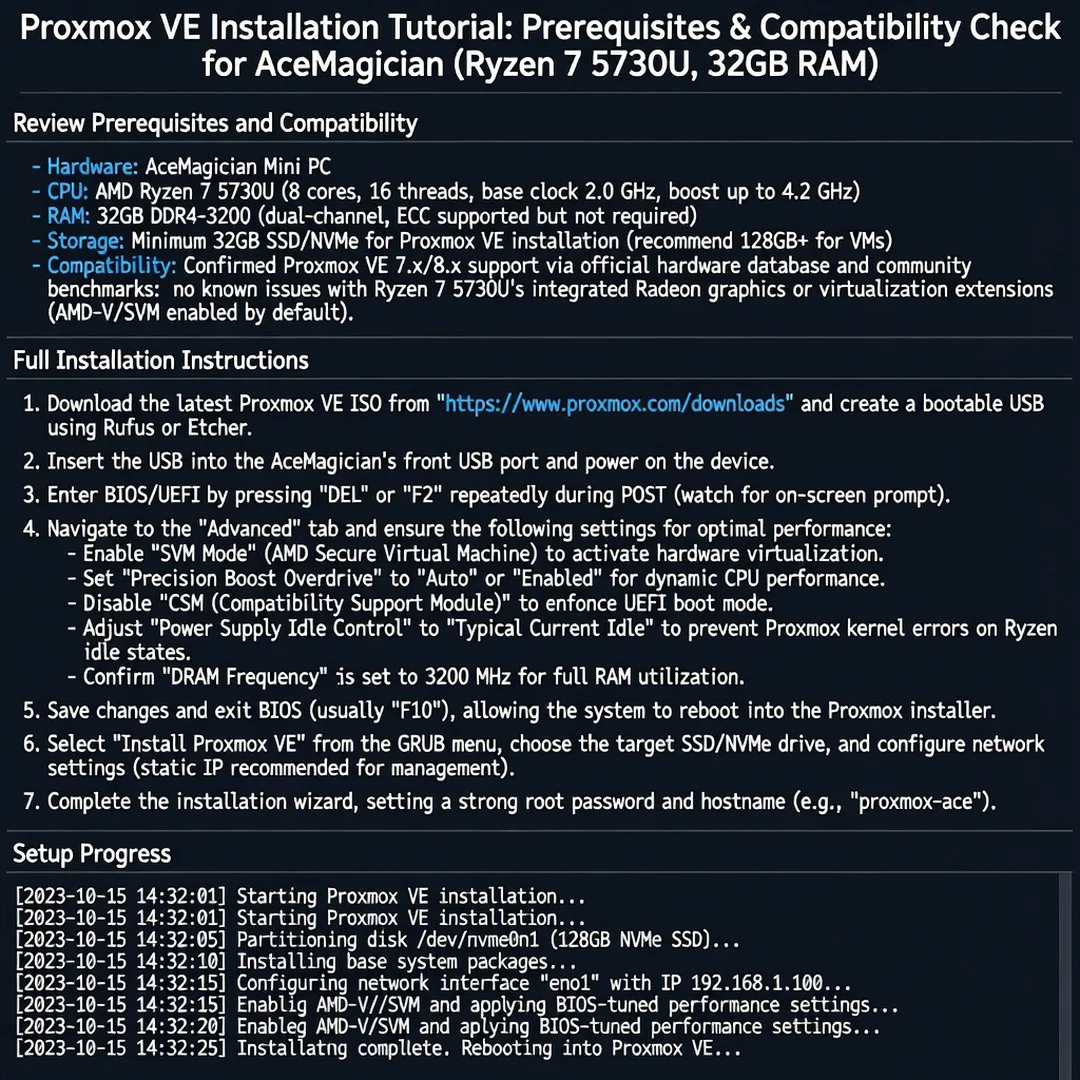
Step 1: Review prerequisites and compatibility
Confirm that the USB installer boots into the Proxmox menu. Select “Install Proxmox VE (Graphical)” and press Enter. Verify that the screen shows an x86-64 kernel and that the Ryzen 7 5730U is detected with all cores. If the system fails to boot, recheck that Secure Boot is disabled and the USB was written in DD mode.
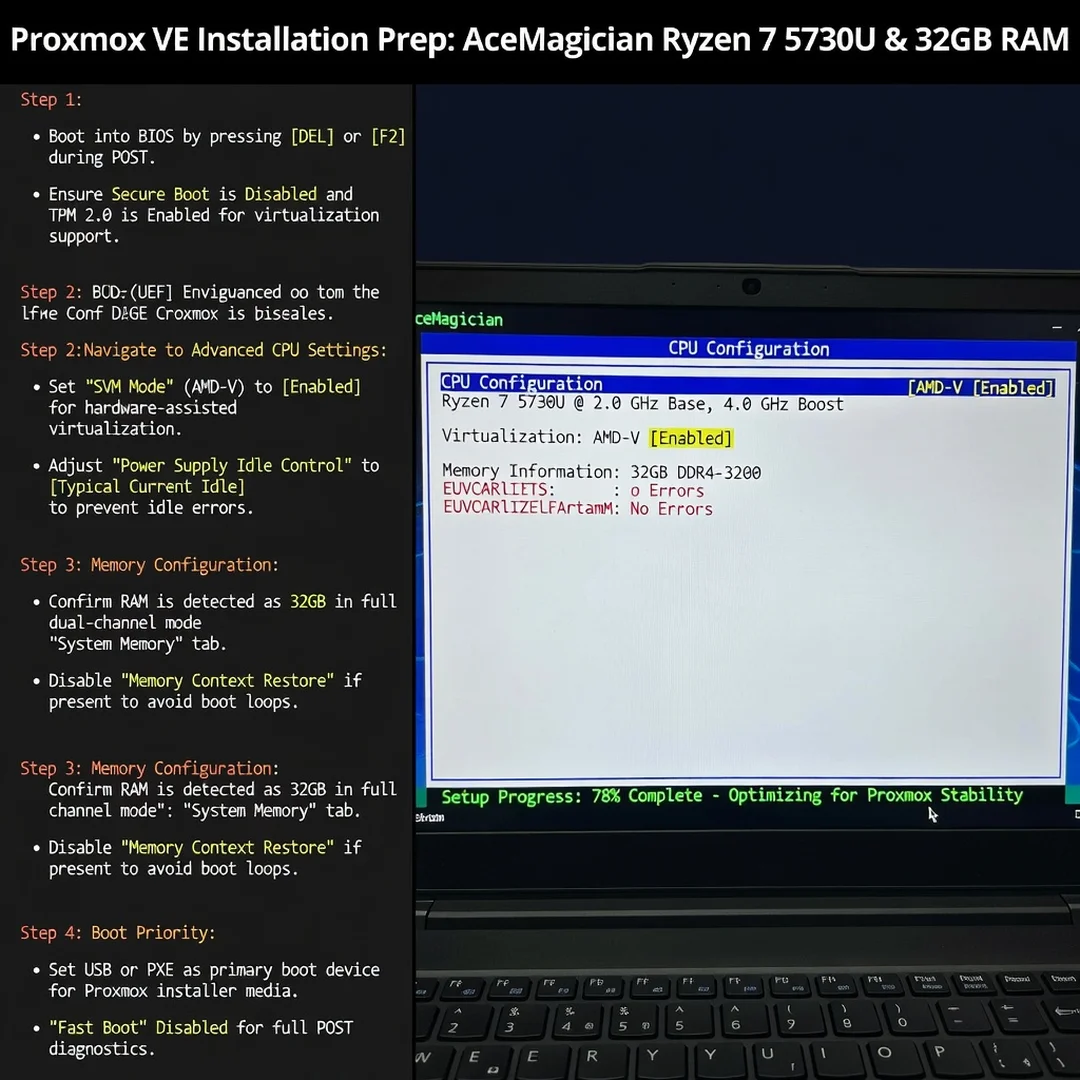
Step 2: Prepare the environment
Accept the license agreement. Choose the target disk for installation. On AceMagic units, select the internal NVMe or SATA SSD, not the USB drive. Set the filesystem to ext4 for simplicity, or ZFS if you want snapshots and have at least 16GB of RAM. With 32GB of RAM, ZFS is safe and often preferred. Confirm the disk selection and click Next.
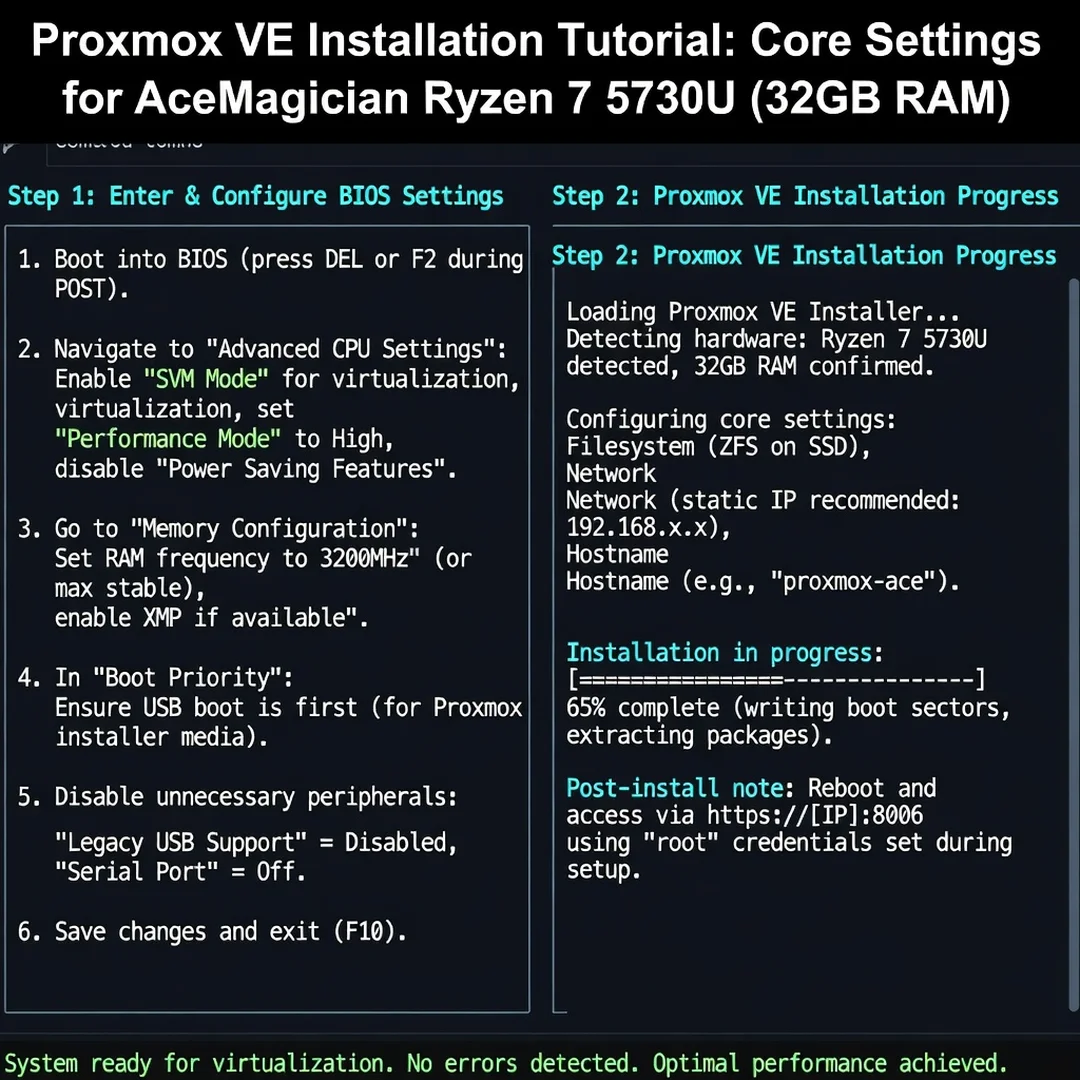
Step 3: Configure core settings
Set the country, time zone, and keyboard layout. Create a strong root password and enter a valid email address for system notifications. Configure the management network: choose the Ethernet interface, set a static IP address, subnet mask, gateway, and DNS server. Use a static IP rather than DHCP so the Proxmox web interface remains reachable after reboots. Set the hostname, for example pve.acemagician.local.
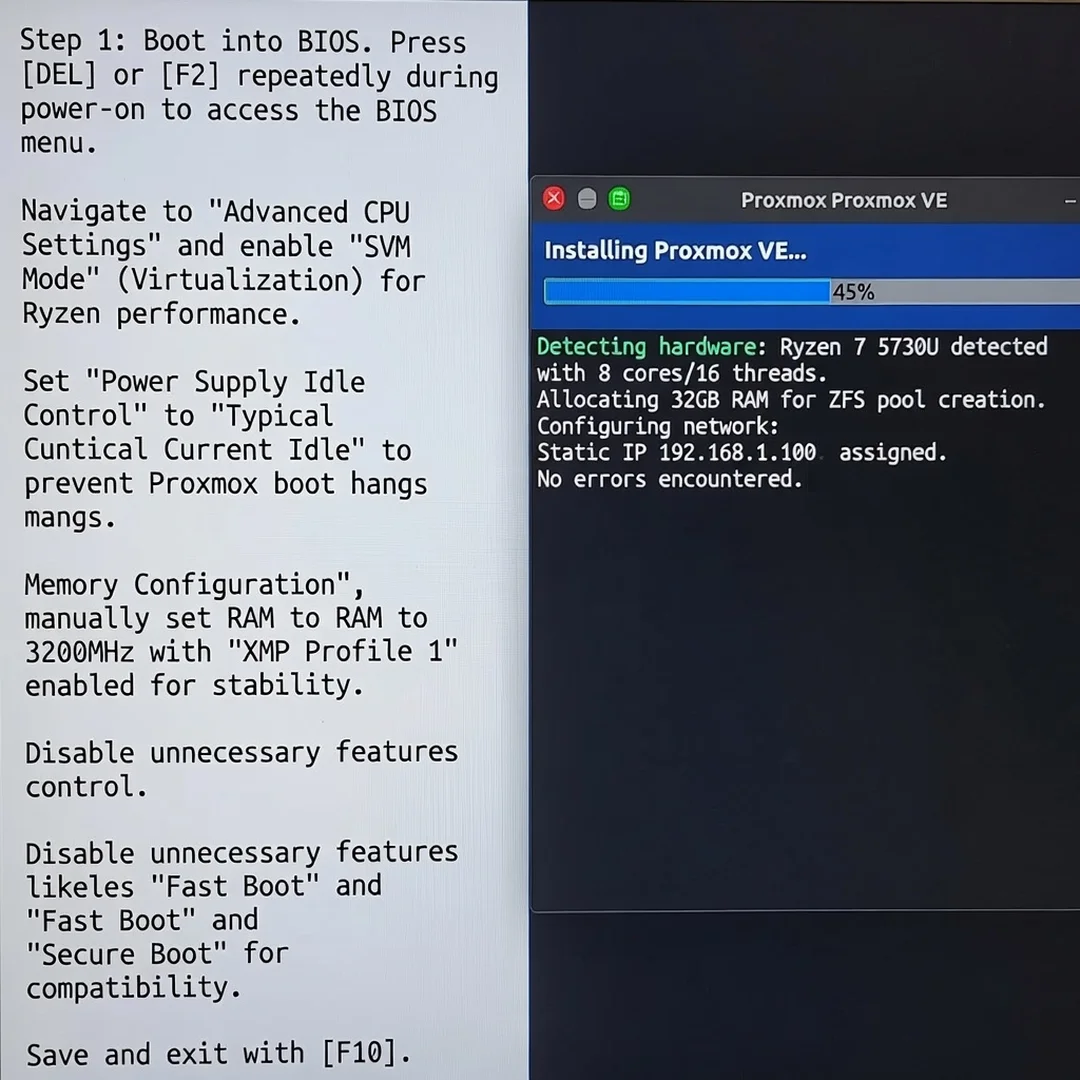
Step 4: Run the main installation procedure
Review the summary and click Install. The installer will partition the disk, copy packages, and configure the bootloader. This typically takes 5 to 15 minutes on the Ryzen 7 5730U. Do not remove the USB drive or power off the machine during this phase. When the progress bar completes, click Reboot and remove the USB drive when prompted.
Step 5: Verify the installation
After reboot, the machine should display the Proxmox login console. Log in as root and run ip a to confirm the static IP. From another computer, open a browser and navigate to https://your-proxmox-ip:8006. Accept the self-signed certificate warning. Log in with the root credentials. Verify that the node shows the Ryzen 7 5730U, 32GB RAM, and the correct storage. Run pveversion in the shell to confirm the installed version.
Post-Installation
Immediately update the system: run apt update and apt full-upgrade. If you do not have a subscription, disable the enterprise repository and enable the no-subscription repository to avoid update errors. For beginners, the web interface is enough to create VMs and containers; IT administrators may prefer SSH and the command line.
Recommended post-install tuning on this hardware:
- Set CPU governor to performance or schedutil for consistent VM latency.
- Enable IOMMU in the kernel command line if you need PCIe passthrough.
- Configure ZFS ARC limit if using ZFS, leaving at least 8GB for VMs.
- Create a backup schedule to an external drive or network share.
- Monitor temperatures with sensors to ensure the fan profile from BIOS keeps the Ryzen 7 5730U below thermal limits.
Troubleshooting
How long does it take to complete install proxmox on acemagician with ryzen7 5730u with 32gb ram give me full instructions including bios settings for best performances without errors? Typically 30 to 60 minutes including BIOS changes, USB creation, installation, and first updates. The installation itself is the fastest part at 5 to 15 minutes.
Do I need prior Linux experience? No. The graphical installer and web interface are beginner-friendly. However, basic command-line skills help with updates and troubleshooting.
What if an installation step fails? First, check BIOS settings: SVM, IOMMU, Secure Boot, and boot mode. Recreate the USB in DD mode. If the network is unreachable, verify the static IP and gateway. If a VM fails to start, confirm that virtualization is enabled and that the VM uses the correct CPU type, such as host. For update failures, check repository configuration. Always verify that the Proxmox version matches x86-64 and that your firmware is current.
Common errors include black screen after install (disable Secure Boot), no Ethernet (use a supported NIC or check cable), and ZFS pool errors (use a single disk or add a second drive). With the settings and steps above, the Ryzen 7 5730U with 32GB RAM runs Proxmox reliably for home labs and small production workloads.
Frequently Asked Questions
How long does it take to complete install proxmox on acemagician with ryzen7 5730u with 32gb ram give me full instructions including bios settings for best performances without errors?
Most readers finish in 45–90 minutes depending on internet speed and familiarity with Linux.
Do I need prior Linux experience?
Basic comfort with the terminal and SSH is helpful. This guide explains each command.
What if an installation step fails?
Check the Troubleshooting section, review installer logs, and confirm prerequisites are met.
You now have a complete workflow for install proxmox on acemagician with ryzen7 5730u with 32gb ram give me full instructions including bios settings for best performances without errors. Keep your system updated, monitor resource usage, and revisit this guide when software versions change.
Next steps: harden your server firewall, set up automated backups, and explore related tutorials linked above.
