
5 min read • 1,079 words
If you’re looking to breathe new life into an old computer or simply want to experience the nostalgia of Windows XP, knowing how to install Windows XP is essential. This operating system, known for its user-friendly interface and stability, can be easily installed from a CD or USB drive. Before diving into the installation process, it’s crucial to ensure that your system meets the minimum requirements, which include a 233 MHz processor, 64 MB of RAM, and at least 1.5 GB of free disk space.
Before you begin the installation, it’s highly recommended to back up your data to prevent any potential loss during the process. Using the Windows XP installation CD, you can boot your computer and follow the on-screen instructions to set up the operating system. If necessary, you may also need to partition your hard drive during the installation, allowing for a more organized setup. With these steps in mind, you’ll be well on your way to successfully installing Windows XP.
Step-by-Step Tutorial
Step 1: Prepare Installation Media
- Obtain a Windows XP installation CD or create a bootable USB drive. If using a USB drive, download the Windows XP ISO file from a reliable source.
- If creating a bootable USB drive, use a tool like Rufus. Insert the USB drive and open Rufus. Select the Windows XP ISO file and choose the USB drive as the target.
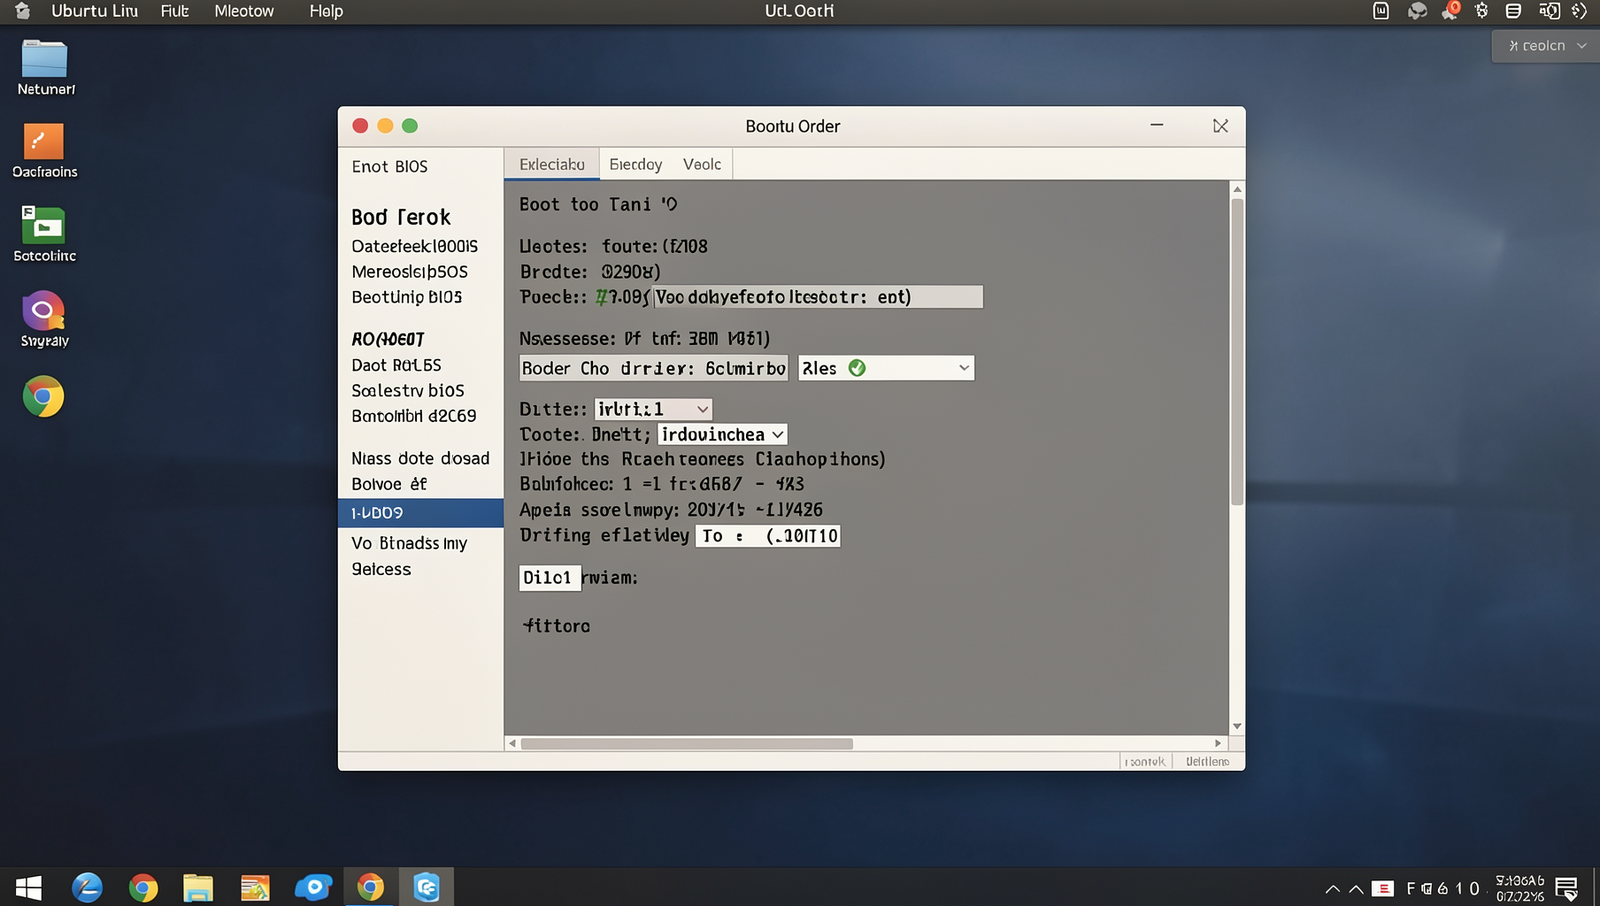
- Ensure your computer’s BIOS is configured to boot from the installation media. Restart your computer and enter the BIOS setup (usually by pressing
F2,DEL, orESCduring startup). - In the BIOS settings, navigate to the boot menu and set the installation media as the primary boot device. Save the changes and exit the BIOS.
- When the computer restarts, it should boot from the installation media, displaying the Windows XP setup screen.
Tips: Check the system requirements for Windows XP to ensure compatibility. Backup important data before proceeding with the installation.
Warnings: Ensure you have a valid Windows XP product key before starting the installation.
Step 2: Start Windows XP Setup
- Insert the Windows XP installation CD or USB drive into your computer.
- Restart your computer to boot from the installation media.
- When prompted, press any key to boot from the CD or USB. This will initiate the setup process.
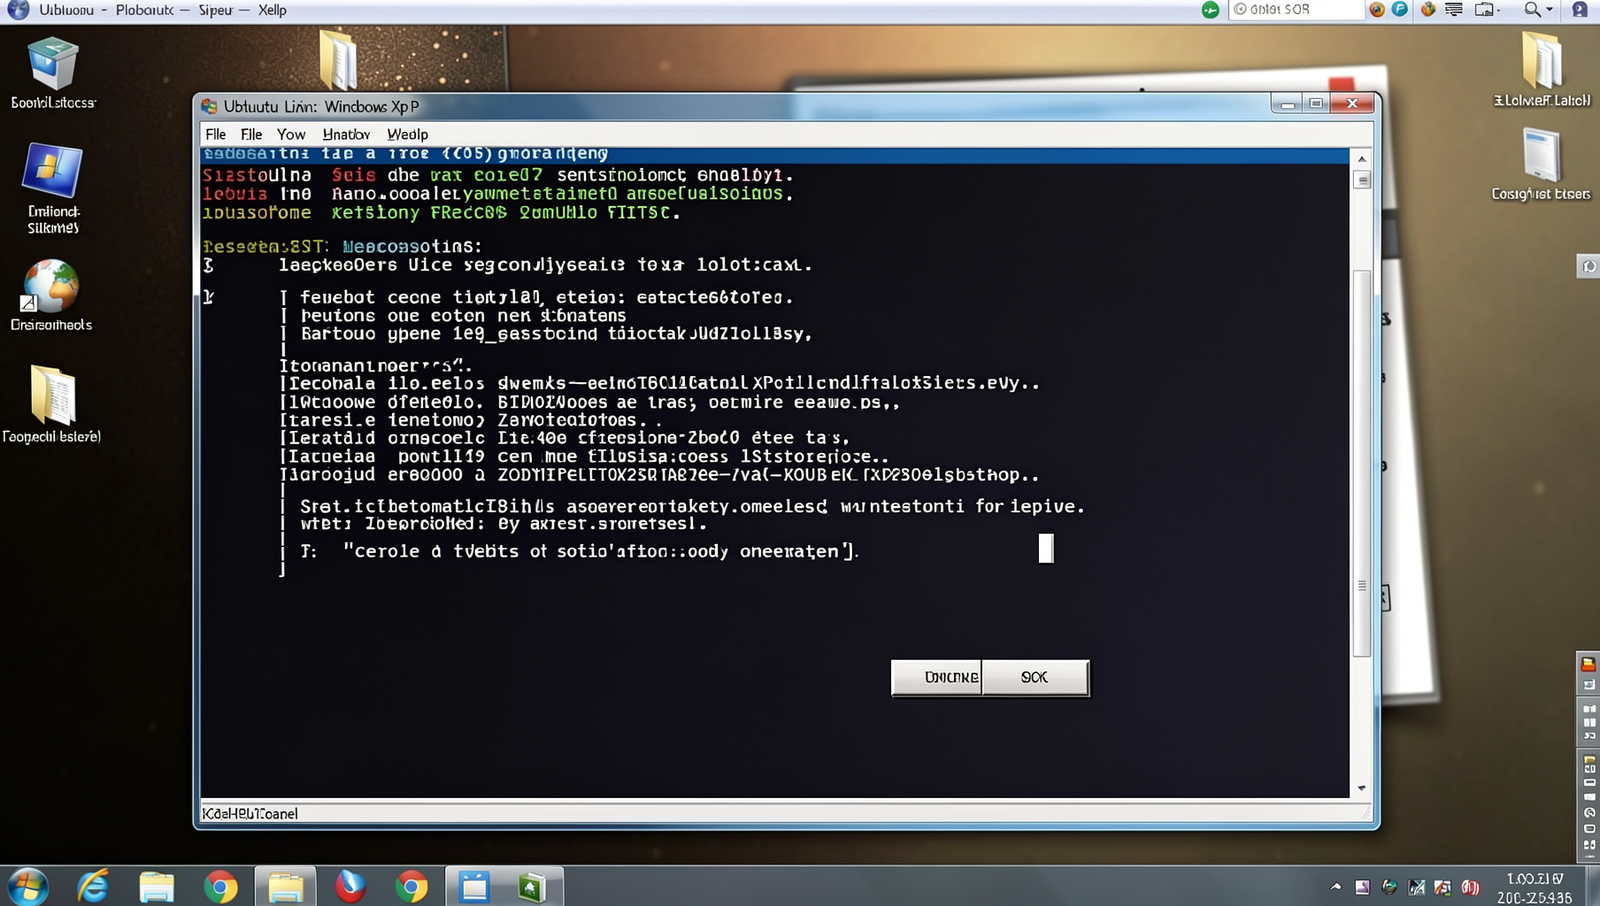
- Once the setup begins, you will see the Windows XP welcome screen.
- Read and agree to the license agreement by pressing the
F8key. - Have your product key ready, as you will need it during the installation process.
Tips: Ensure your computer is plugged into a power source throughout the installation. Warnings: Do not interrupt the setup process once it has started, as this may cause installation errors.
Step 3: Partition and Format Hard Drive
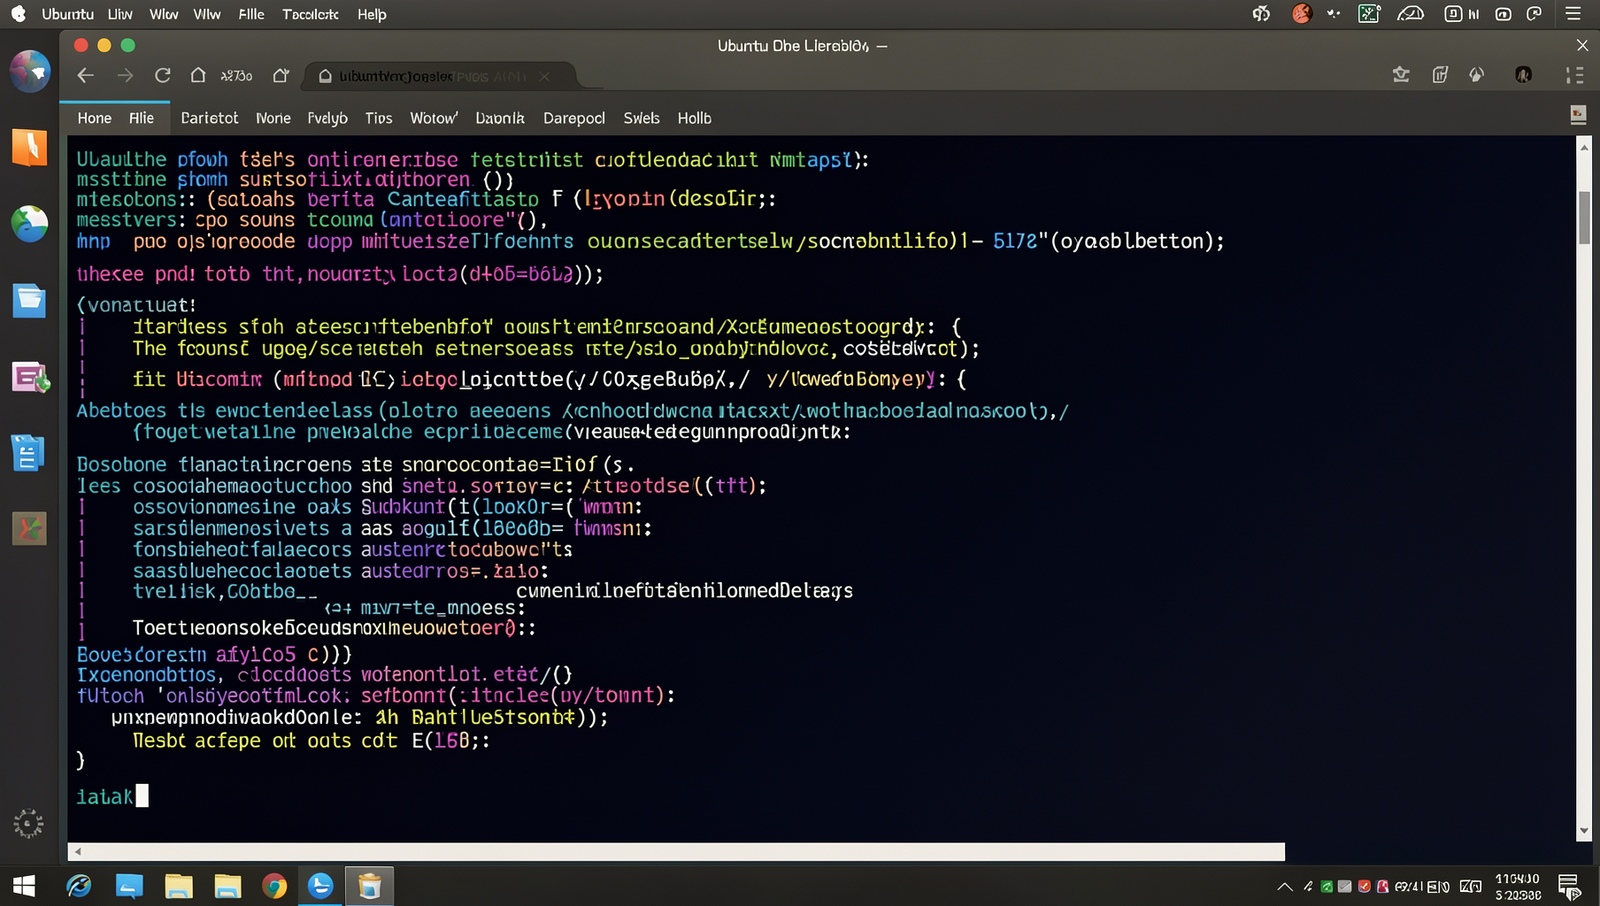
- When prompted, you will see a list of existing partitions. Review the list carefully.
- If you need to create a new partition, select the option to create a new partition. Specify the size you wish to allocate.
- Once the new partition is created, select it from the list and choose the option to format it.
- For formatting, choose NTFS as the file system for better performance and security.
- Confirm the formatting action. Remember, formatting will erase all data on the selected partition.
- After formatting, the setup will continue to copy files to the newly formatted partition.
Tip: Ensure you select the correct partition to avoid data loss.
Step 4: Complete Installation and Configure Settings
- After the file copying process is complete, your computer will automatically restart. When prompted, remove the installation media (CD or USB) to allow the system to boot from the hard drive.
- The setup will continue, and you will be prompted to enter your regional and language settings. Choose the options that best suit your preferences.
- Next, you will be asked to enter your product key. Ensure that you have it handy and input it accurately to activate Windows XP.
- Set up your user account by entering a username and, if desired, a password. This account will be the primary administrator account.
- Configure your network settings. You can choose to set up a home network or connect to the internet. Follow the on-screen instructions to complete this process.
- Finally, review the settings and click ‘Finish’ to complete the installation. Your computer will finalize the setup and boot into Windows XP.
Once Windows XP is successfully installed, remember to install necessary drivers and updates to ensure optimal performance. Keep your product key secure, as it may be needed for future installations. Customize your settings according to your preferences during setup for a more personalized experience.
Conclusion
In summary, learning how to install Windows XP can be a rewarding experience, especially for those who appreciate the nostalgia of this classic operating system. By following the outlined steps, you can successfully set up Windows XP on your computer, ensuring that you have access to its unique features and applications.
Remember to prepare your installation media and backup any important data before proceeding. With the right preparation and attention to detail, you can enjoy the benefits of Windows XP while also exploring its functionalities in a modern context.
Frequently Asked Questions
What are the system requirements for Windows XP?
The minimum system requirements for Windows XP are as follows:
- Processor: 233 MHz or higher
- RAM: 64 MB or more
- Hard Disk Space: 1.5 GB of free space
- Graphics: Super VGA (800 x 600) or higher resolution
- CD-ROM or DVD-ROM drive
How do I create a bootable Windows XP installation CD?
To create a bootable Windows XP installation CD, follow these steps:
- Download the Windows XP ISO file.
- Use a CD burning software that supports ISO files, such as ImgBurn or Nero.
- Select the option to burn an image to a disc.
- Choose the Windows XP ISO file and start the burning process.
- Once completed, your CD will be bootable.
What steps are involved in installing Windows XP?
The installation process for Windows XP involves the following steps:
- Insert the bootable Windows XP CD into your CD/DVD drive.
- Restart your computer and boot from the CD.
- Follow the on-screen prompts to set up Windows XP.
- Choose the partition where you want to install Windows XP.
- Format the partition if necessary and proceed with the installation.
- Complete the setup by entering your product key and configuring settings.
