
Just Website User Create Account Log
Just Website User Create Account Log — This is not just a website. A user can create an account, log in Learn Learn more about the steps and the final checks.
Apply Exact Same Structure Any Website
You can apply the exact same structure to any website, any web application, any SAS idea, or any project you’re building. Change the name, change the idea, change the niche. The logic stays the same. A website becomes a web app when it has users, saved data, and state that persists over time. When users can log in, see their own data, and come back later to find everything still there. That’s when a website becomes a real web application. And that’s exactly what we’re building today. Here’s the road map for this video. We’ll build a real web app in four clear steps. Step one, user authentication. Users will be able to create an account, log in, log out. Step two, store user data. We’ll store user specific data like name, email, settings, and account information.
Three File Uploads Users Able Upload
Step three, file uploads. Users will be able to upload files, and each user will only see their own files. Step four, connect everything to the UI. The interface will react to the user, whether logged out or logged in. We’ll fully complete each step before moving to the next one. That way, you won’t get lost. You might be wondering what is Firebase. Firebase is a back-end service by Google. It gives you readyto-use backend features. So you don’t have to build everything from scratch. With Firebase, you can manage user authentication, store user data, upload files, and control access with security rules. I’m using Firebase because it works extremely well with Google products. It integrates easily with Google AI Studio, and it has a generous free plan for beginners.
Firebase Only Option Tools Like Superbase
Firebase is not the only option. Tools like Superbase also exist. We’ll talk about alternatives in future videos, but today Firebase is the clearest way to understand the core system. Don’t try to memorize everything. Just follow along step by step. Step one, enable user authentication. Goal of this step. The goal here is very simple. We want users to sign up, log in, and log out. Nothing more than that. First, we need to create a Firebase project. I go to Firebase. Then I click go to console. I choose get started by setting up a Firebase project. I enter the project name. I accept the Firebase terms. The other option is not needed for this setup, so I leave it disabled. Then I click continue. Here, Firebase offers some optional features.
Don Them What Building Right Now
We don’t need them for what we’re building right now. So, I leave them disabled. Then I click continue. Same thing here. This option is useful in other cases but not for this setup. So I leave it disabled and click continue. Once the project is ready, I click continue to open the dashboard. Inside the dashboard, I click add app. I select web app. I enter the app name. We’re not setting up hosting right now, so I leave this disabled. Then I click register app. Firebase now gives us the web SDK configuration. I copy this code. We’ll use it in the next step to connect Firebase to our web app. From the left menu, we open build. Then we go to authentication. We click get started.
Firebase Provides Many Signin Methods Web

Firebase provides many signin methods. For this web app, we’ll start with the essential ones only. First, we enable email and password authentication. This allows users to create an account using their email and password. We enable it and click save. Next, we add another sign-in method. We click add new provider. Then we choose Google. We enable Google signin. Firebase asks for a public-f facing project name. This is the name users will see during signin and inside authentication emails. So, we use the name of our web app. Firebase also asks for a support email. This is the official contact email shown to users. We select it and save. Now users can sign in using Google as well. Next, we open the templates tab. These are the emails Firebase sends automatically during authentication.
Very Important Because What Users Actually

This part is very important because this is what users actually receive in their inbox. We start with email address verification. This is the email users receive right after signing up. The most important thing here is the sender name. By default, the sender name is generic. We change it to the name of our web app. This is extremely important. When users receive the email, they immediately know it comes from the application. By default, Firebase sends emails from a Firebase domain. This works fine, especially for learning and early projects. To improve email deliverability and avoid spam, you can later connect a custom domain. We’ll cover that in a separate advanced video. For now, we leave the from email address as the default Firebase address. At this stage, the default setup is perfectly fine.
Next Reply Email Users Respond Leave
Next is reply to. This is the email users reply to if they respond. We can leave it empty for now or add a support email if we have one. The subject line is already good. Verify your email for app name. We leave it as it is. After changing the sender name, we save. Firebase also provides other email templates. password reset, email address change, multiffactor enrollment notifications. We won’t customize their content in this video, but we do update one important thing. We change the sender name in all templates, so every authentication email clearly shows the name of our web app. Next, we open SMTP settings. This option is only needed if you want to send emails from a custom email server or domain. For this setup, we don’t need it.
Firebase Default Email System Enough Our
Firebase’s default email system is enough for our web app. At this point, authentication is fully configured. Users can sign up, log in, and receive official emails from the web app. Now that authentication is ready in Firebase, the next step is to connect Firebase to our web app. To do that, I’m now going to Google AI Studio. Here we are inside Google AI Studio. This is a project I created earlier. As you can see, it’s just a normal website interface. There is no way for users to sign up or sign in yet. When I click get started, nothing happens. So, at this stage, this is still just a website, not a real web application. Before adding any sign up or signin features, we first need to connect this project to Firebase.
Important Because Everything Add Later Needs
This is important because everything we add later needs to be connected to a real backend. We go straight to the prompt box. Here we’ll use a prompt to connect Firebase to this project. Inside this prompt, there is a specific place for the Firebase configuration code. This code is called the Firebase web SDK configuration. It’s the code Firebase generated for us when we added our web app inside the Firebase console. This is the exact code we copied from Firebase. And this is where we paste it inside the prompt. Before I run this prompt, as I always do on this channel, I’ll leave the full project we’re building in this video and all the prompts I use ready and organized for you in the video description.
Copy Everything Free Test Yourself Now
You can copy everything for free and test it yourself. Now, I run the first prompt. Once the prompt finishes, Firebase is now connected to the project. Now, let’s test it. I click get started. As you can see, we now have a signup form. I’ll create a new account. I enter a name. I enter an email, I choose a password, and I click create account. As you can see, the account is created, and I’m redirected to the dashboard. To make sure everything is really working, I go back to Firebase. I open the project. I go to authentication. And here it is. This email now appears inside Firebase. This confirms that the backend is working. The user is authenticated. At this point, this is no longer just a website.
Real Web Application Connected Backend Now
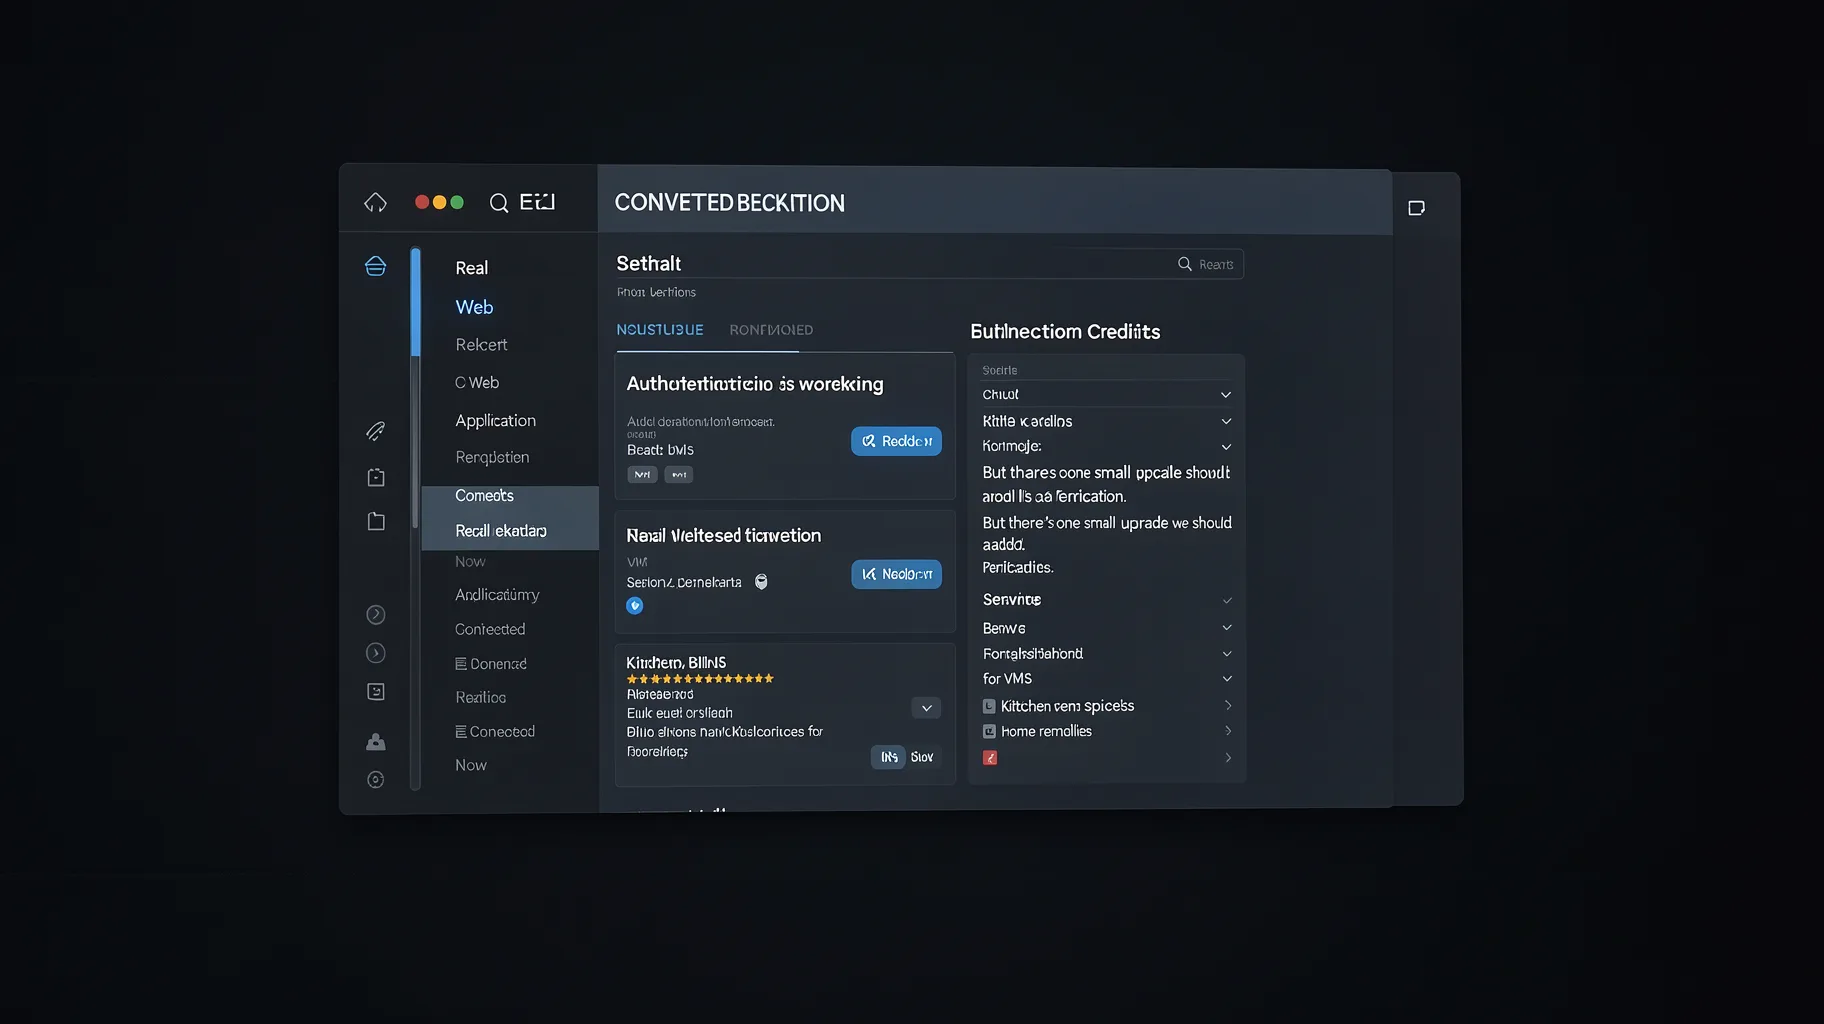
It’s a real web application connected to a real backend. Now, authentication is working. But there’s one small upgrade we should add. Email verification. This step confirms that the email is real. It helps reduce fake accounts and it makes the app more secure. For a quick demo, it’s not required, but for any real web app, it’s important. So, I go back to Google AI Studio and I add email verification using a prompt. This prompt does three things. When a user signs up, it sends a verification email. The user is not signed in automatically. And if they try to log in without verifying, access is blocked. Now I run the prompt. Let’s test it. I create a new account. As you can see, instead of the dashboard, I get a verification screen.
Now Check Email Don See Message
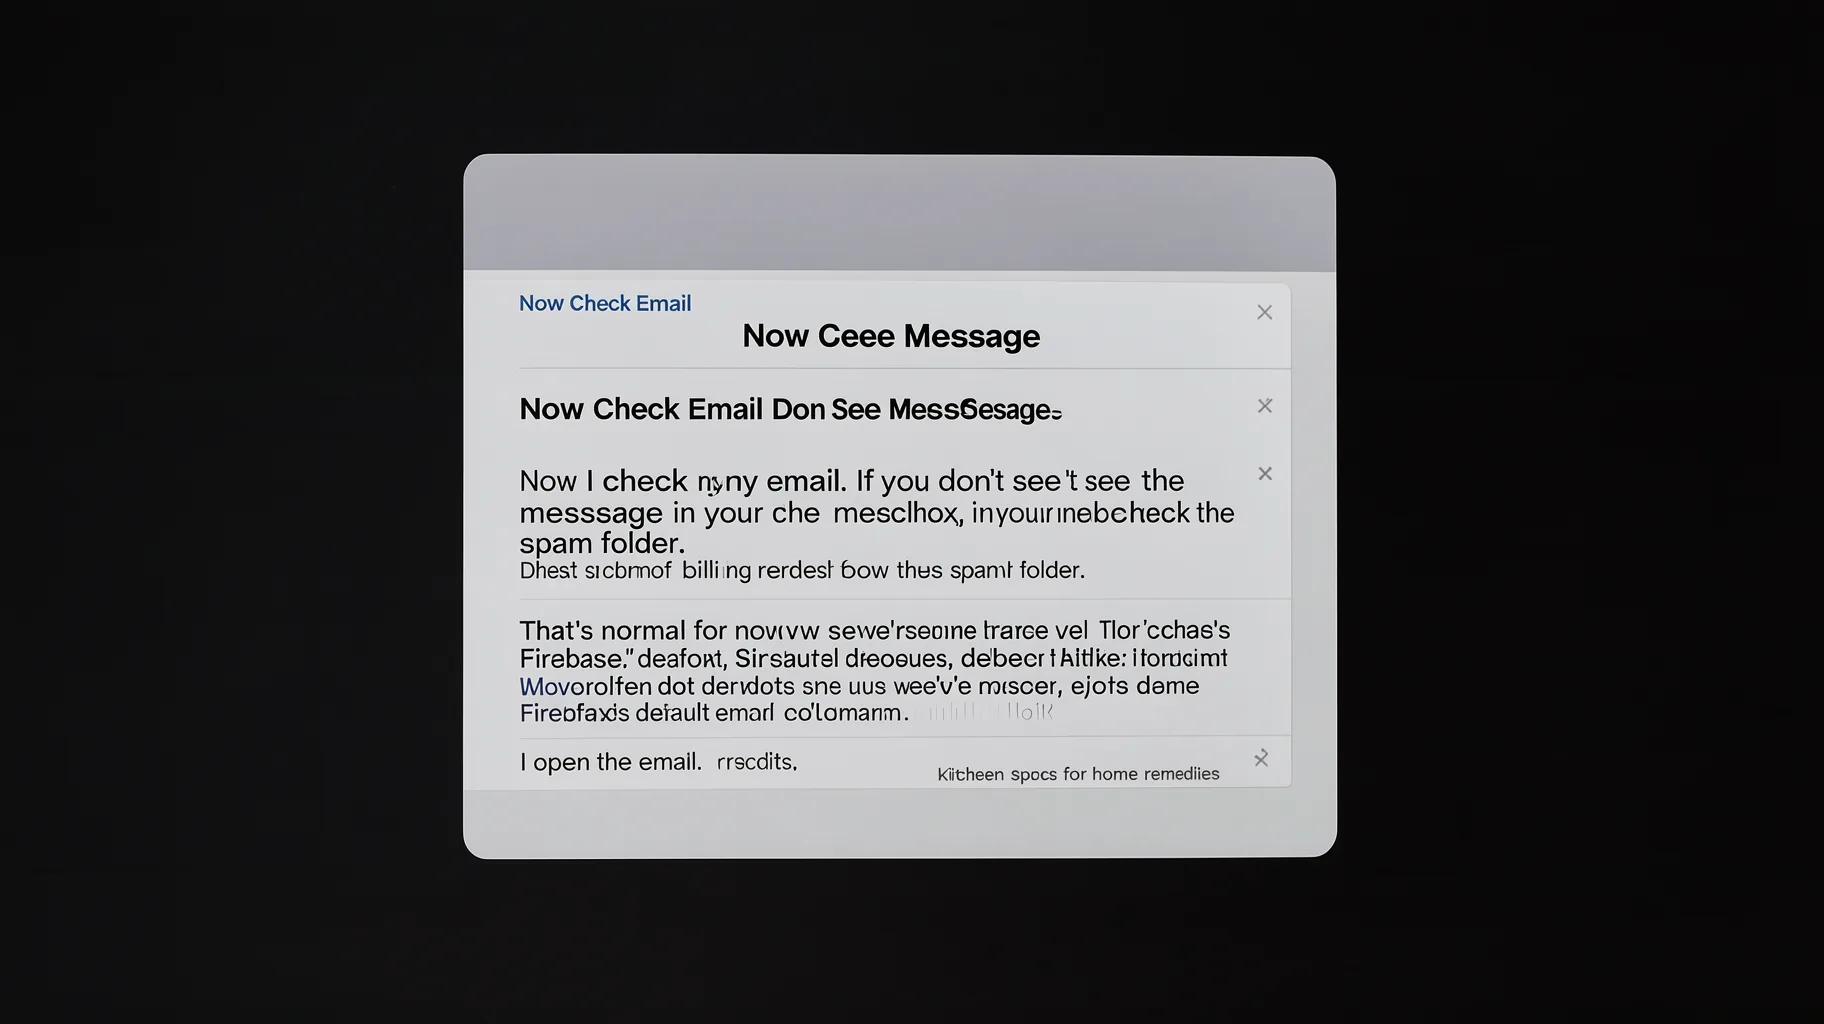
Now I check my email. If you don’t see the message in your inbox, check the spam folder. That’s normal for now because we’re using Firebase’s default email domain. I open the email. I click the verification link. Now I go back and log in again. And it works. Now the account flow is complete. But remember, we also enabled Google Signin in Firebase. So now let’s talk about that. Google Signin is not just a nice extra. It’s one of the best sign-in options you can add. It’s faster, it’s easier, and in many cases, more secure. Users don’t need to create a new password. They don’t need to remember anything. They just click once and they’re in. That’s why almost every modern web app supports Google Signin.
See Already Google Signin Button Here
As you can see, I already have a Google Signin button here. If you don’t see it in your project, that’s totally fine. You can simply ask Google AI to add it. For example, add a continue with Google Signin option connected to Firebase. Think of it like talking to a developer. You describe what you want and it adds it to the project. Now, let’s test Google Signin. I click continue with Google. And as you can see, it doesn’t work yet. This is completely normal. Google SignIn usually won’t work until your web app is deployed. That’s because Google requires an authorized domain. So, your app needs to be live on a real URL. And this step is very important. Honestly, this is where many people get stuck.
Why Made Dedicated Video Showing Cleanest

That’s why I made a dedicated video showing the cleanest and most professional way to deploy a web app. It’s not a quick hack. It’s a real deployment setup that works for productionready apps. A lot of viewers already followed this method and it worked smoothly for them. I’ll leave that video linked in the pinned comment. If you want your app to be live, stable, and ready for real users, make sure to watch that video before continuing. In my case, I already deployed this project. So now it’s live. For example, mine is vulma.com. Let me open it quickly. As you can see, the web app is working on the domain. Now I’m going back to Firebase. I open the Firebase project. Then I go to authentication.
Then Open Settings Here Authorize Domains
Then I open settings. And from here I go to authorize domains. As you can see, this is where Firebase decides which domains are allowed to use Google Signin. So now I click add domain and I paste the domain I deployed on in my case voma.com. Then I click add. Now I go back to the website and I click sign in with Google. Now it works. I choose my Google account. I click continue. And as you can see I’m signed in successfully. Now authentication is ready. So let’s move to step two. Now we are in step two. store user data. At this point, the user exists. They are authenticated. They can log in successfully, but nothing is saved yet. Authentication tells us who the user is, but it doesn’t store anything about the user.
User Logs Out There Nothing Keep
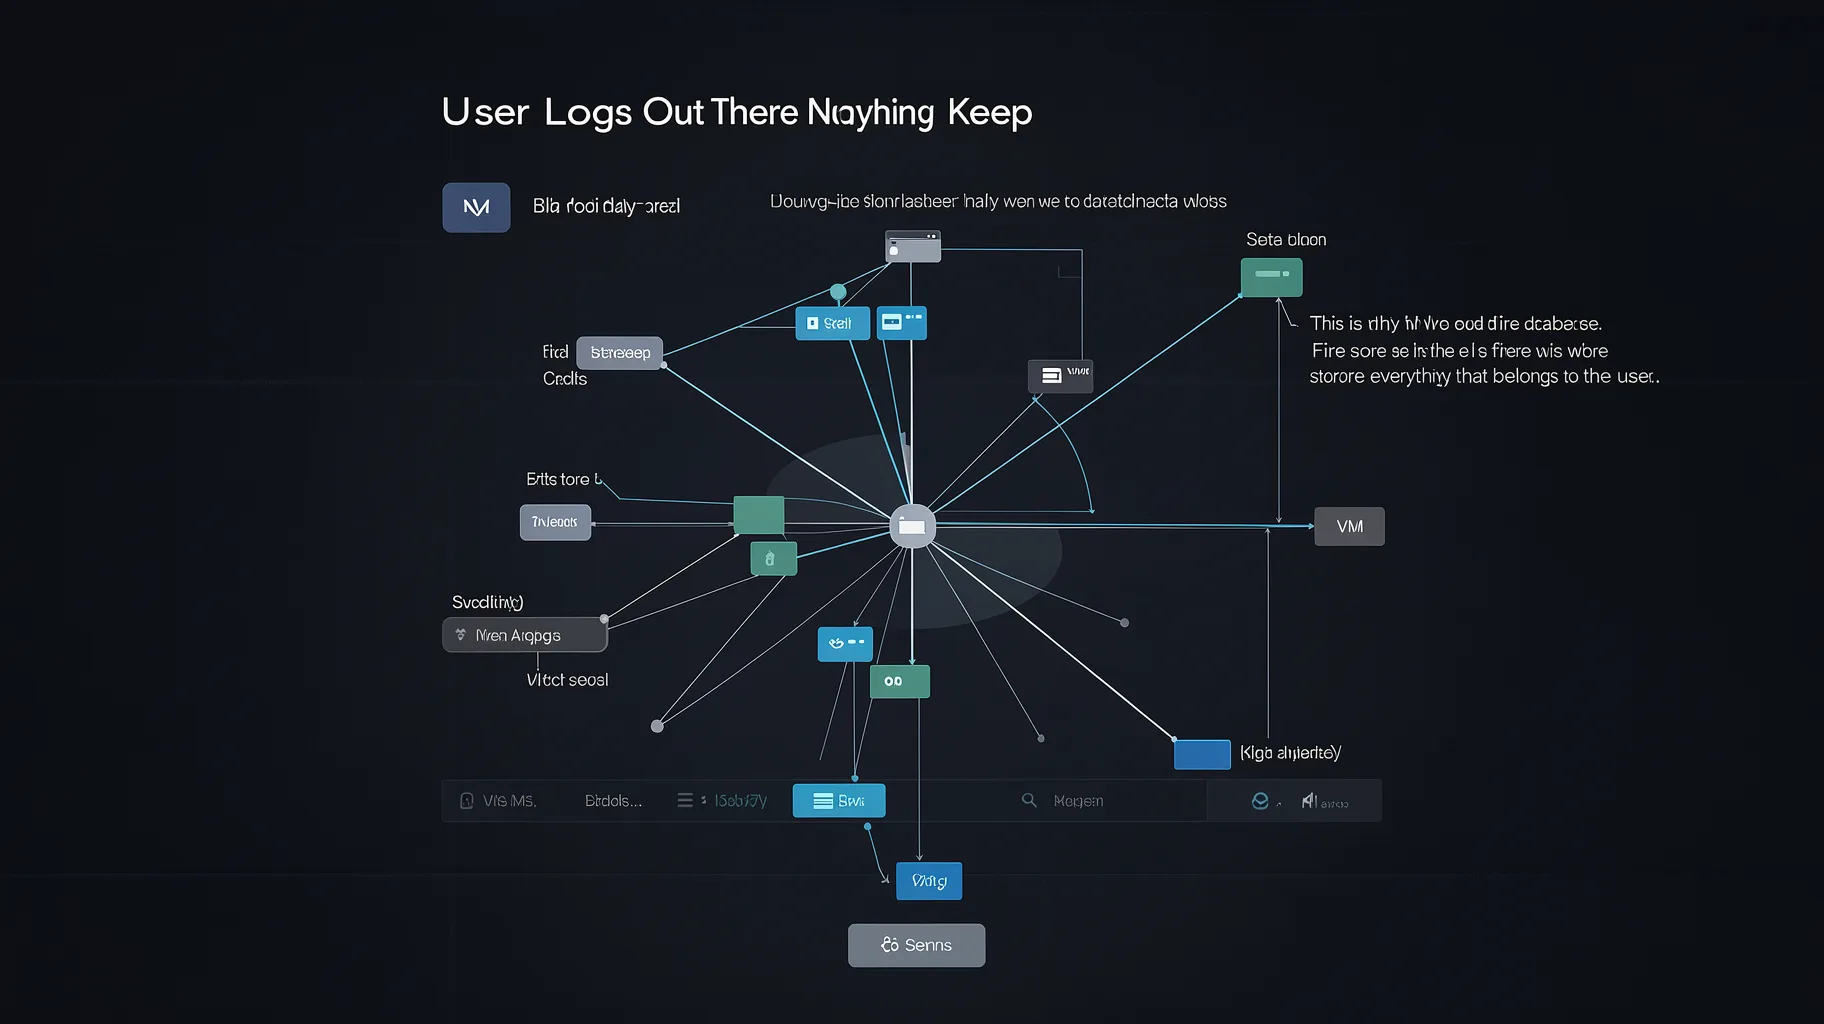
So, if the user logs out, there is nothing to keep. This is why we need a database. And this database is fire store. Fire store is where we store everything that belongs to the user. profile information, user settings, notes or app data, files, metadata, and the app state. Once this data is stored, it stays there after refresh and log out. Everything is linked to the user’s ID, so each user only sees their own data. Now that we know what data we want to store, let’s enable Fire Store. [clears throat] Inside Firebase, we go to build. Then we open Fire Store database. Here we click create database. Firebase asks us to choose the database edition. We have standard and enterprise. For most web apps, standard is enough.
Select Standard Edition Click Next Firebase
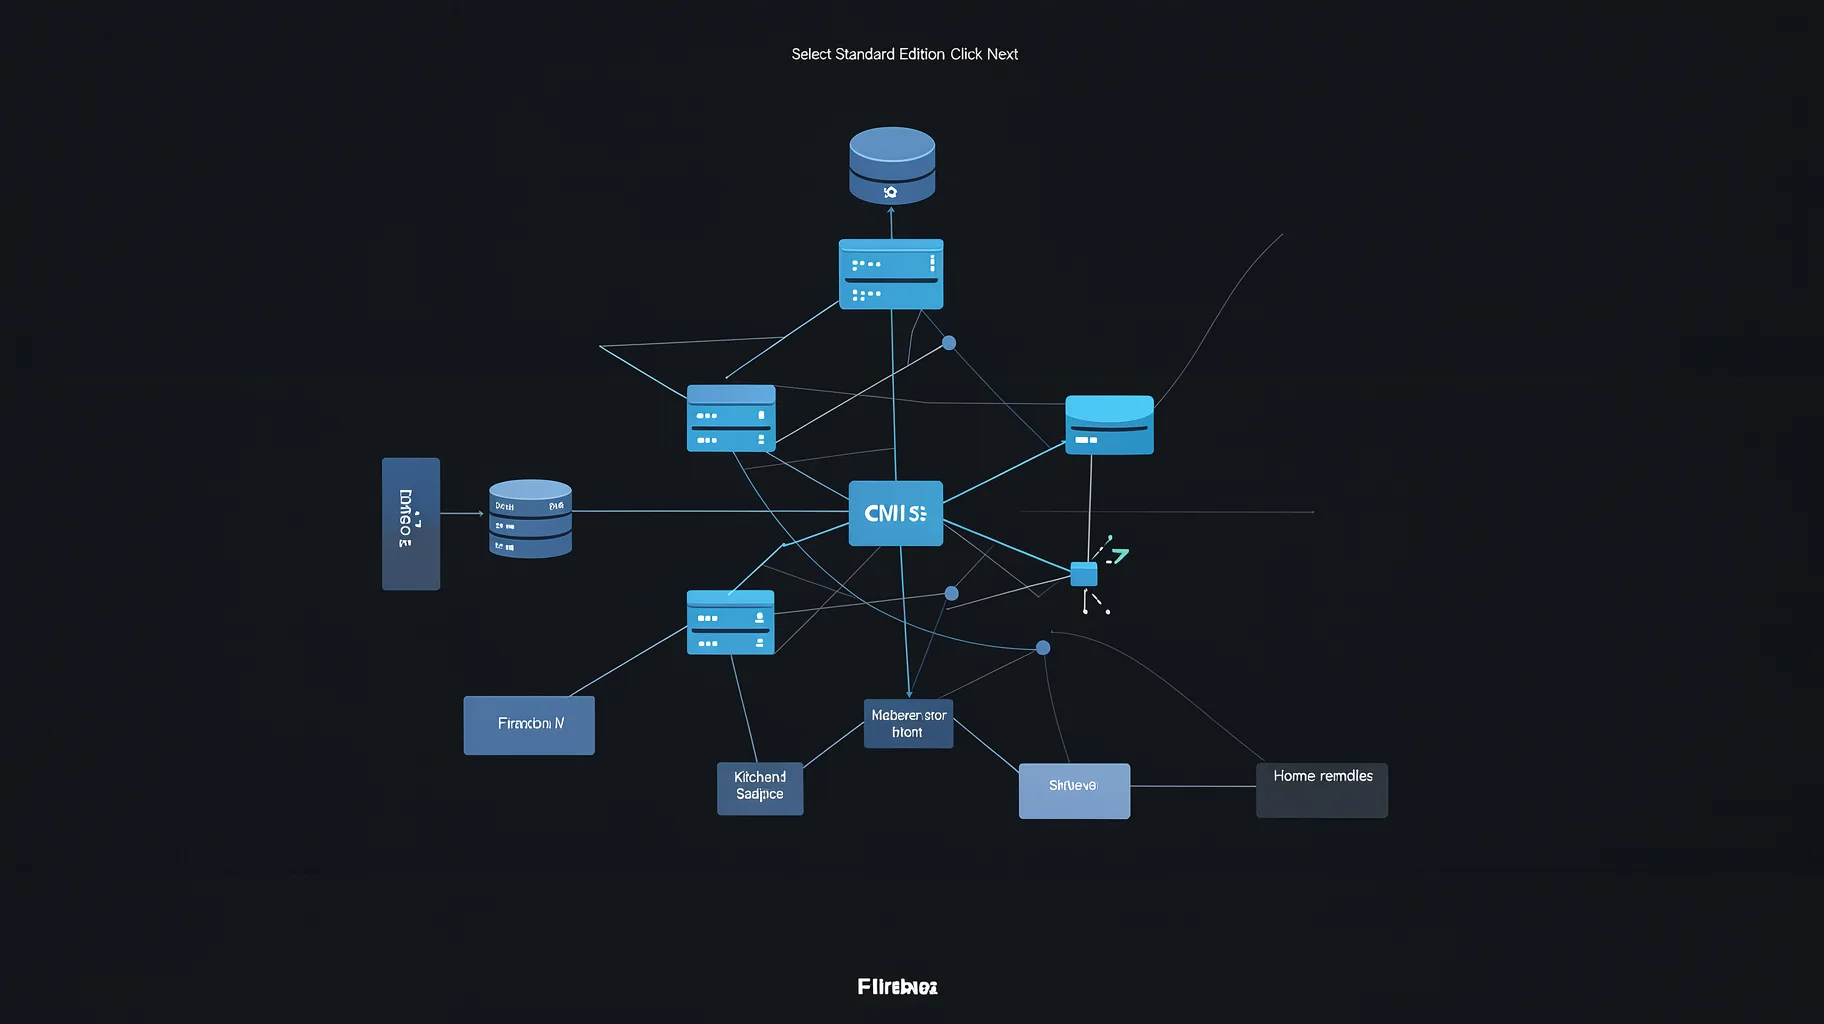
So, we select standard edition and click next. Next, Firebase asks for the database location. This is the region where your fire store data will be stored. Ideally, you should choose a region that’s closest to your users. This helps with performance and faster data access. If you don’t know your audience yet, that’s okay. You can still plan and optimize this later when the app is live. I select a region and click next. Now Firebase asks for the security mode. We have test mode and production mode. Test mode is useful for quick testing and experiments, but it’s not secure and not recommended for real apps. Because we want proper security from the beginning. So I select production mode and click create. Fire store is now created.
Before Storing Any Data Check Rules
Before storing any data, we need to check the rules. So I open the rules tab. By default, Firebase adds very basic rules. These rules are either too open or too limited for real apps. So I remove the default rules. Instead, I paste custom rules. These rules are written to match our app structure. They do one simple thing. Each user can only read and write their own data. The rules check if the user is authenticated and if the user ID matches the document ID. This means no user can access another user’s data. If you want to use the same rules, you’ll find them ready in the video description. You can copy them, paste them, and later adjust them to fit your own project. After adding the rules, I click publish.
Now Rules Active Point Fire Store

Now the rules are active. At this point, fire store is fully ready. The database is enabled, the region is set, and the security rules are in place. Now we go back to our project inside Google AI Studio. This is the same web app we already connected to Firebase during the authentication step. At this stage, we don’t need to connect anything again. Fire store is already available. Now we need to decide what data should be saved for the user. Think about your app. When a user creates an account, what should still be there after they log out and come back later? In my case, I wanted to enhance the dashboard. So I asked Google AI to add sections for files, notes, and team members and to store their data in Fire Store for each user.
Show Short Version Prompt Full Available

I’ll show you a short version of the prompt. The full prompt will be available in the description. After running the prompt, as you can see, the dashboard now has new sections, my files, my notes, and team members. Now, let’s test it. First, I add a folder. I’ll name it project files. I save it. Next, I add a note. I’ll call it welcome note. And inside the note, I’ll write something simple like this note is saved in Fire Store. I save it. Now, I add a team member. I’ll name them John Doe and set the role to editor. I save it. Everything looks normal inside the app. Now let’s make sure this data is really saved. I go back to Firebase. I open Fire Store database.
Open Users Collection Then Document User
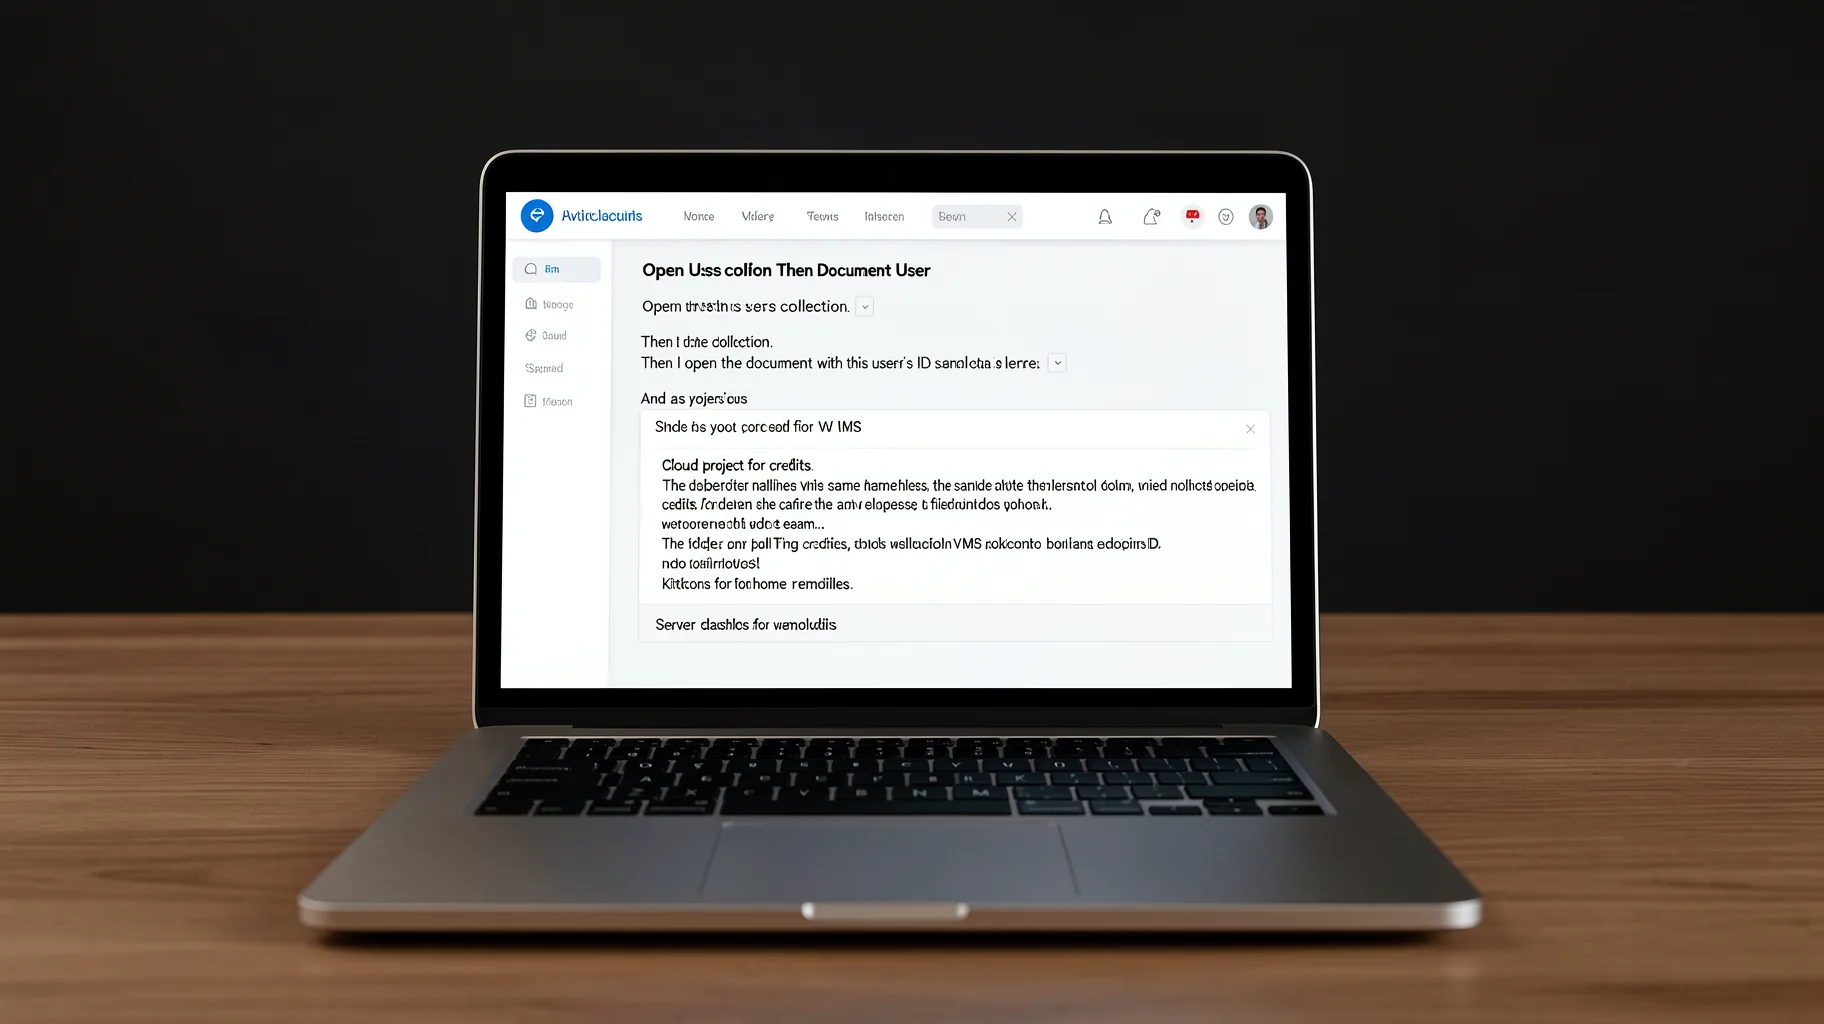
I open the users collection. Then I open the document with this user’s ID. And as you can see the same data is here. the folder project files, the note welcome note and the team member John Doe. This confirms that the data is saved correctly. It persists after refresh, after log out, and after logging in again. So, we’ve confirmed that everything works. User data is saved and it persists after log out and login. Now, let’s move to the next step. Step three, file uploads. This is where users can upload files and have them safely stored in the back end. Before we enable storage, let’s clarify one thing. Fire store is used to store data. Profile information, settings, notes, and file metadata. But uploaded files like images and documents are stored in Firebase storage.
Both Connected Same Authenticated User Data
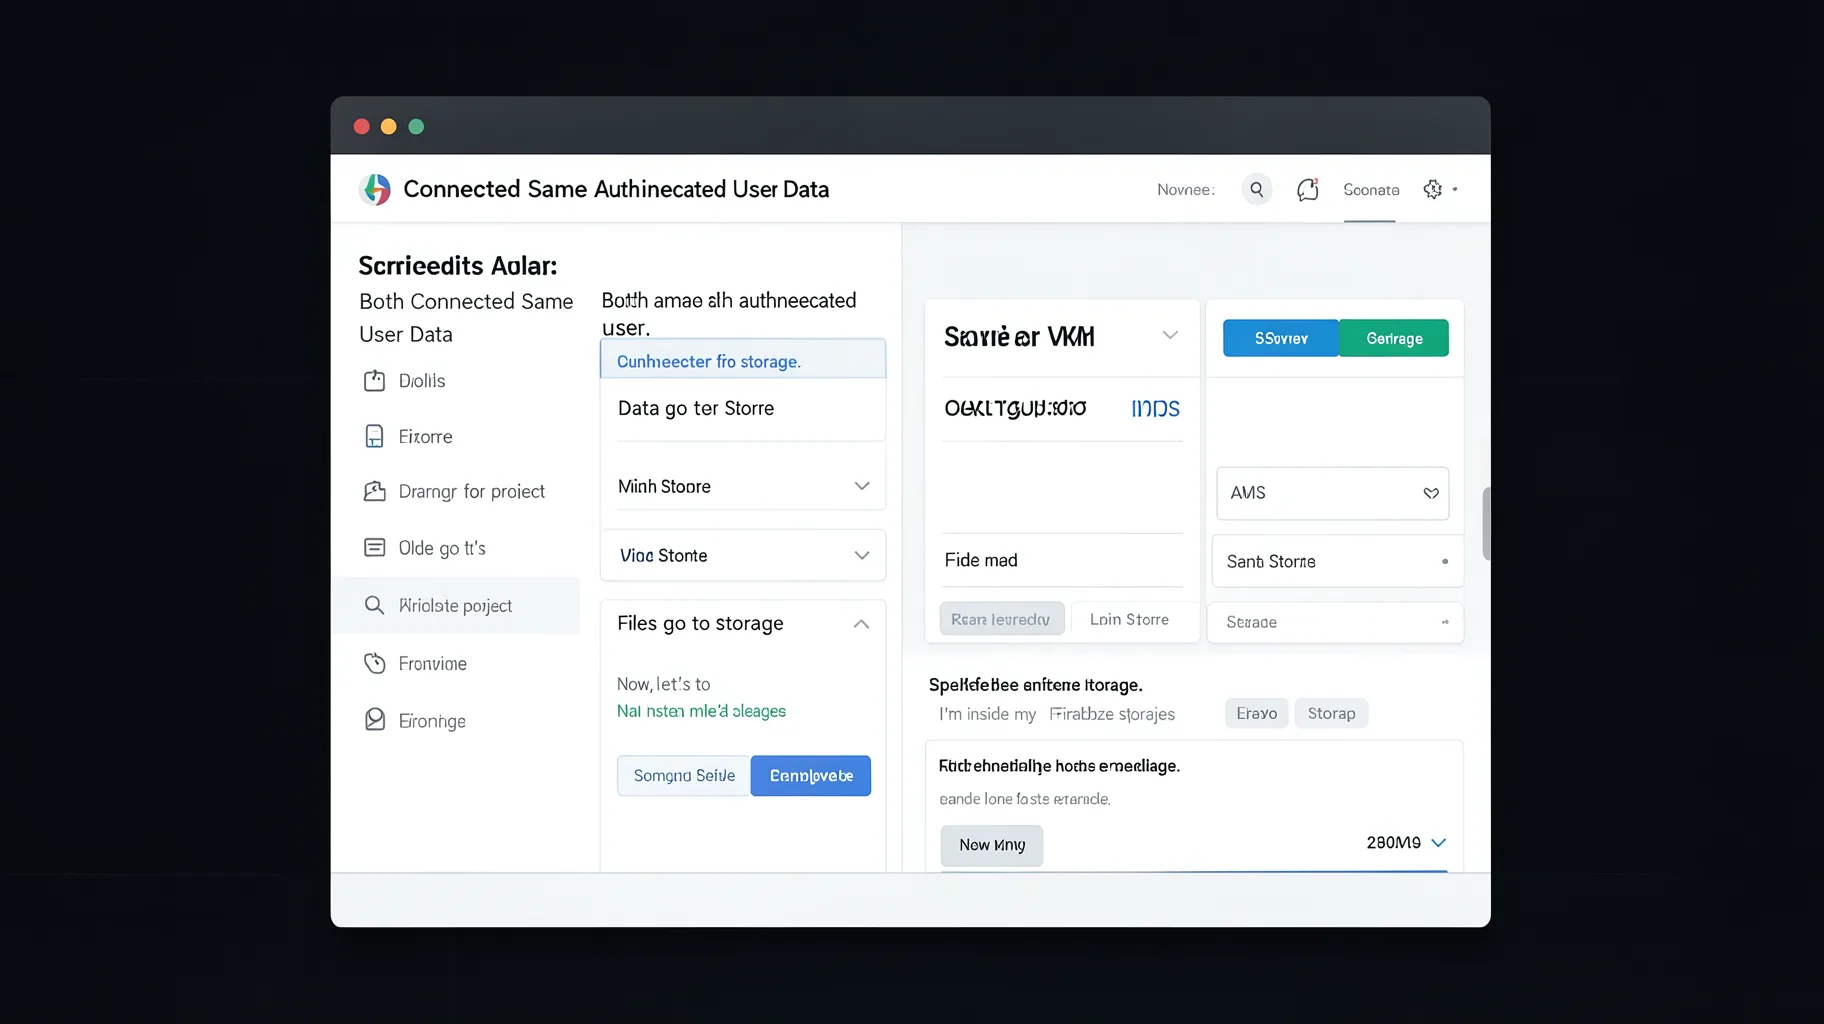
Both are connected to the same authenticated user. Data goes to Fire Store. Files go to storage. Now, let’s enable Firebase storage. I’m inside my Firebase project. From the left menu, I go to build and then I click on storage. As you can see, it tells me that I need to upgrade the project. This is expected. Firebase storage requires a billing account. So, we need to do this first. When I click upgrade project, I’m asked to create or link a cloud billing account. This means adding a payment method. That doesn’t mean you’ll be charged right away. Firebase only charges you if you go beyond the free limits. If you stay within them, you pay nothing. I link my billing account and continue. Now I’m asked to set a budget.
Budget Just Safety Limit Usage Ever
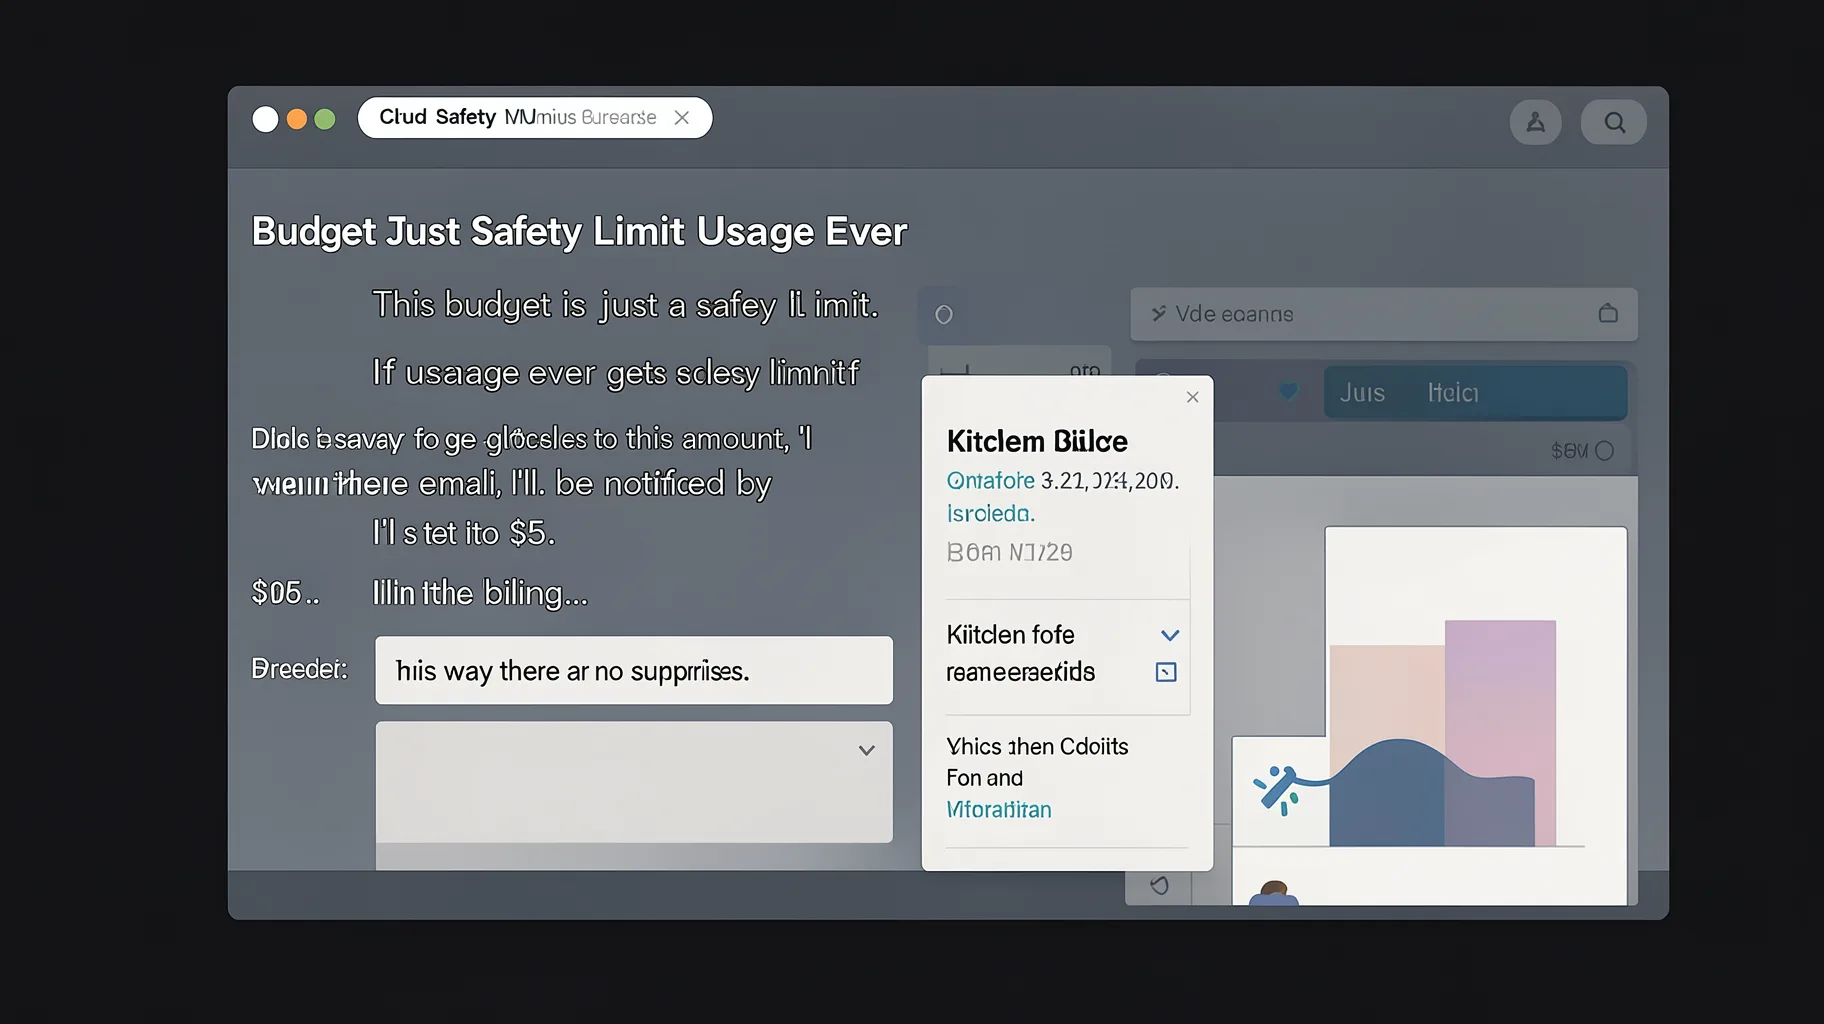
This budget is just a safety limit. If usage ever gets close to this amount, I’ll be notified by email. I’ll set it to $5. This way there are no surprises. Then I link the billing account. The project is now on the Blaze plan. That’s required for storage. I click done. Back on the storage page, [clears throat] I click get started. Now I’m asked where uploaded files should be stored. Here we have two options. A no cost location or all locations. The no cost location is usually the best choice. It keeps everything within Firebase’s free tier and avoids extra regional storage costs. It’s more than enough for most applications, especially when you’re starting or testing. So I’ll choose no cost location and continue. Next, I’m asked about security rules.
Test Mode Open Secure Only Meant
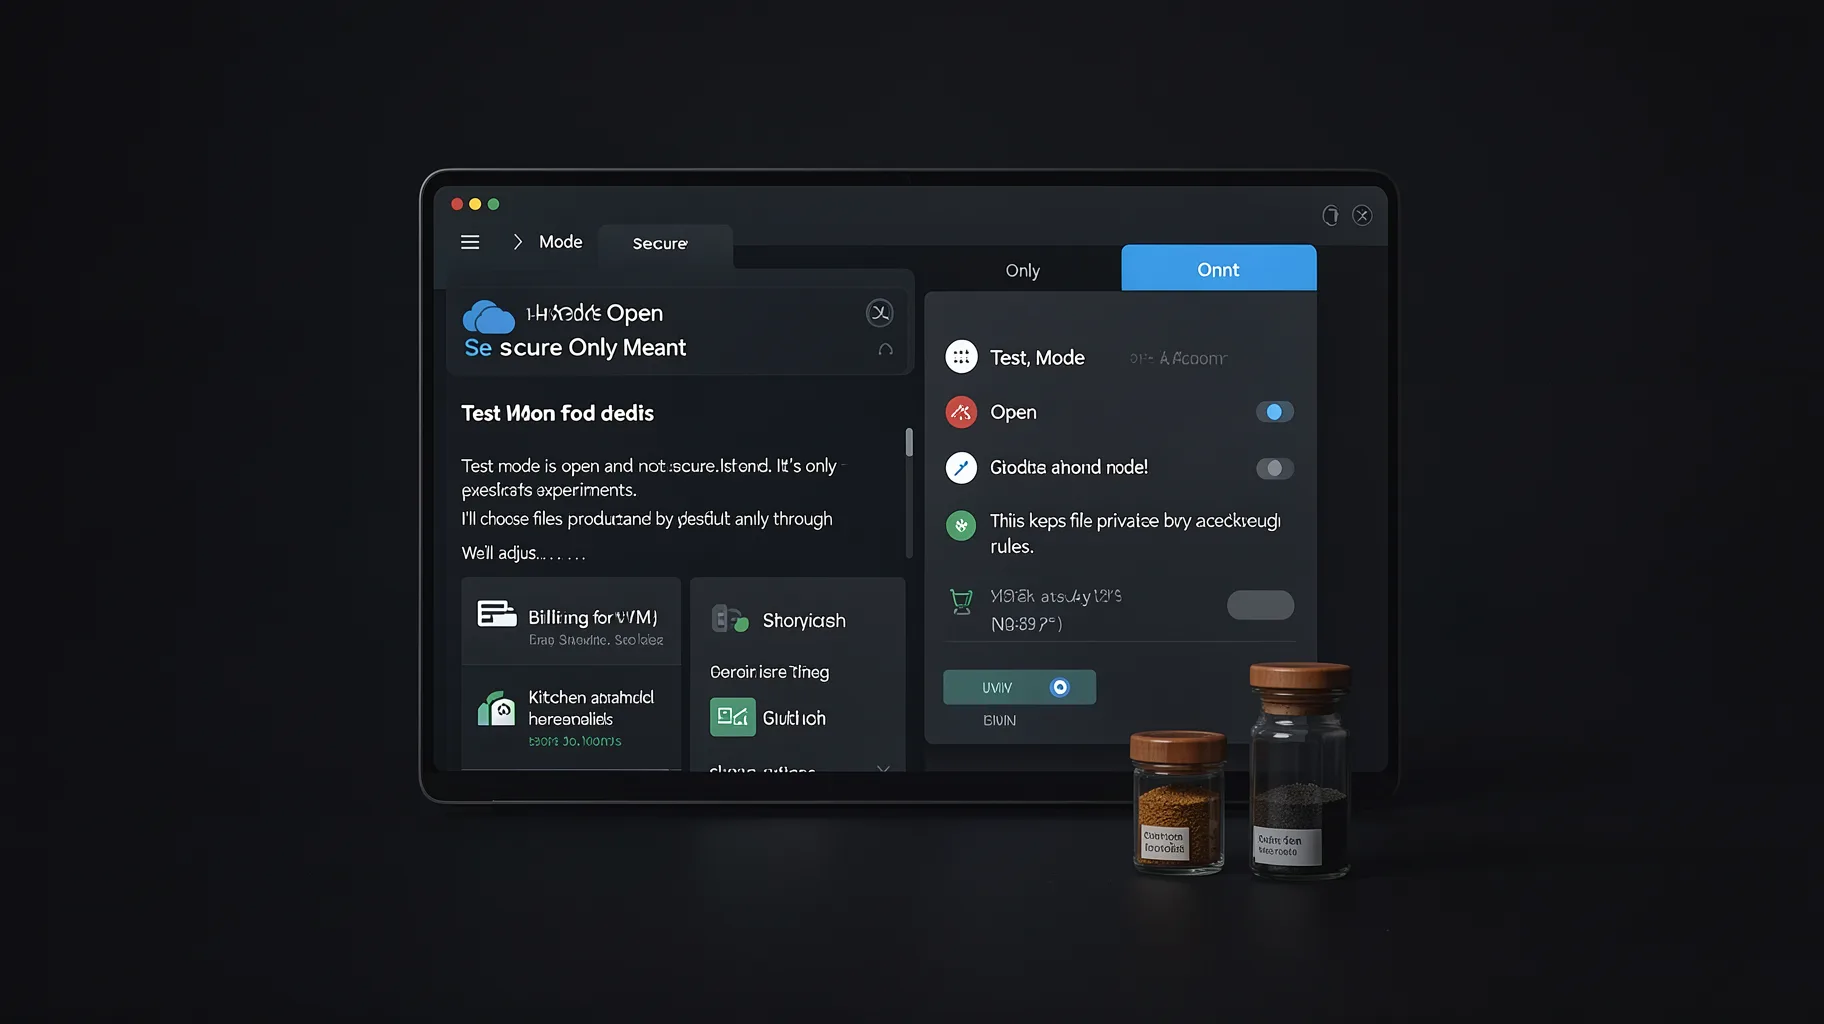
Test mode is open and not secure. It’s only meant for quick experiments. I’ll choose production mode. This keeps files private by default and only accessible through rules. We’ll adjust those rules later. I click create. Now that storage is enabled, we need to control who can upload and access files. So I go to the rules tab and delete the default rules. [clears throat] Now I paste the rules we’ll use. You’ll find them ready to copy in the description. These rules are for storage only. Fire Store has its own rules. Here’s the idea. Each user gets their own folder named with their user ID. A user can read and write files only inside their own folder. They can’t access anyone else’s files. That’s full file isolation.
Now Click Publish Storage Ready Let
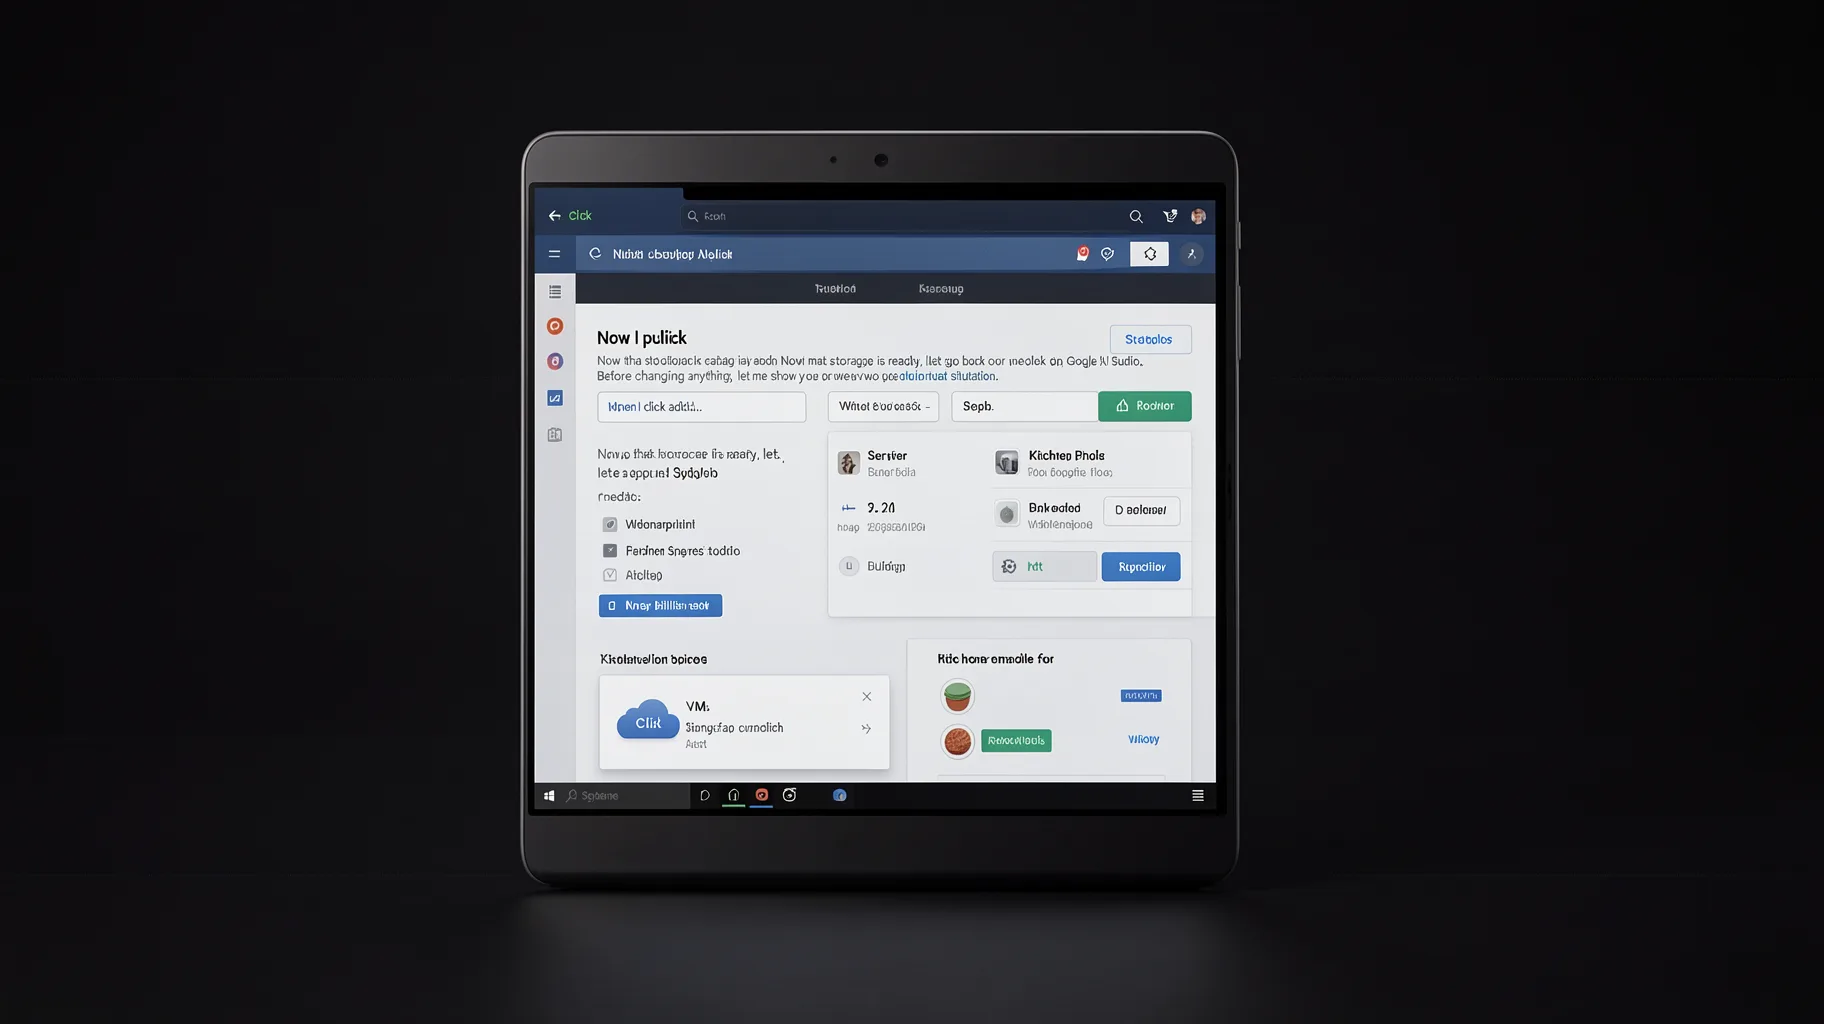
Now I click publish. Now that storage is ready, let’s go back to our web app in Google AI Studio. Before changing anything, let me show you the current situation. When I click add file, I can only enter a file name. There’s no option to select a file from my device. So, the upload feature isn’t connected yet. That’s what we’re going to fix now. I write a prompt asking it to add file upload support. I tell it to let users upload files from their device, store them in Firebase storage, and link each file to the loggedin user. Now, I apply the prompt. And now, look at this. When I click add file, I can select a file from my computer. Let’s test it. I’ll upload an image, a PDF, and an audio file.
All Files Appear Here Immediately Now
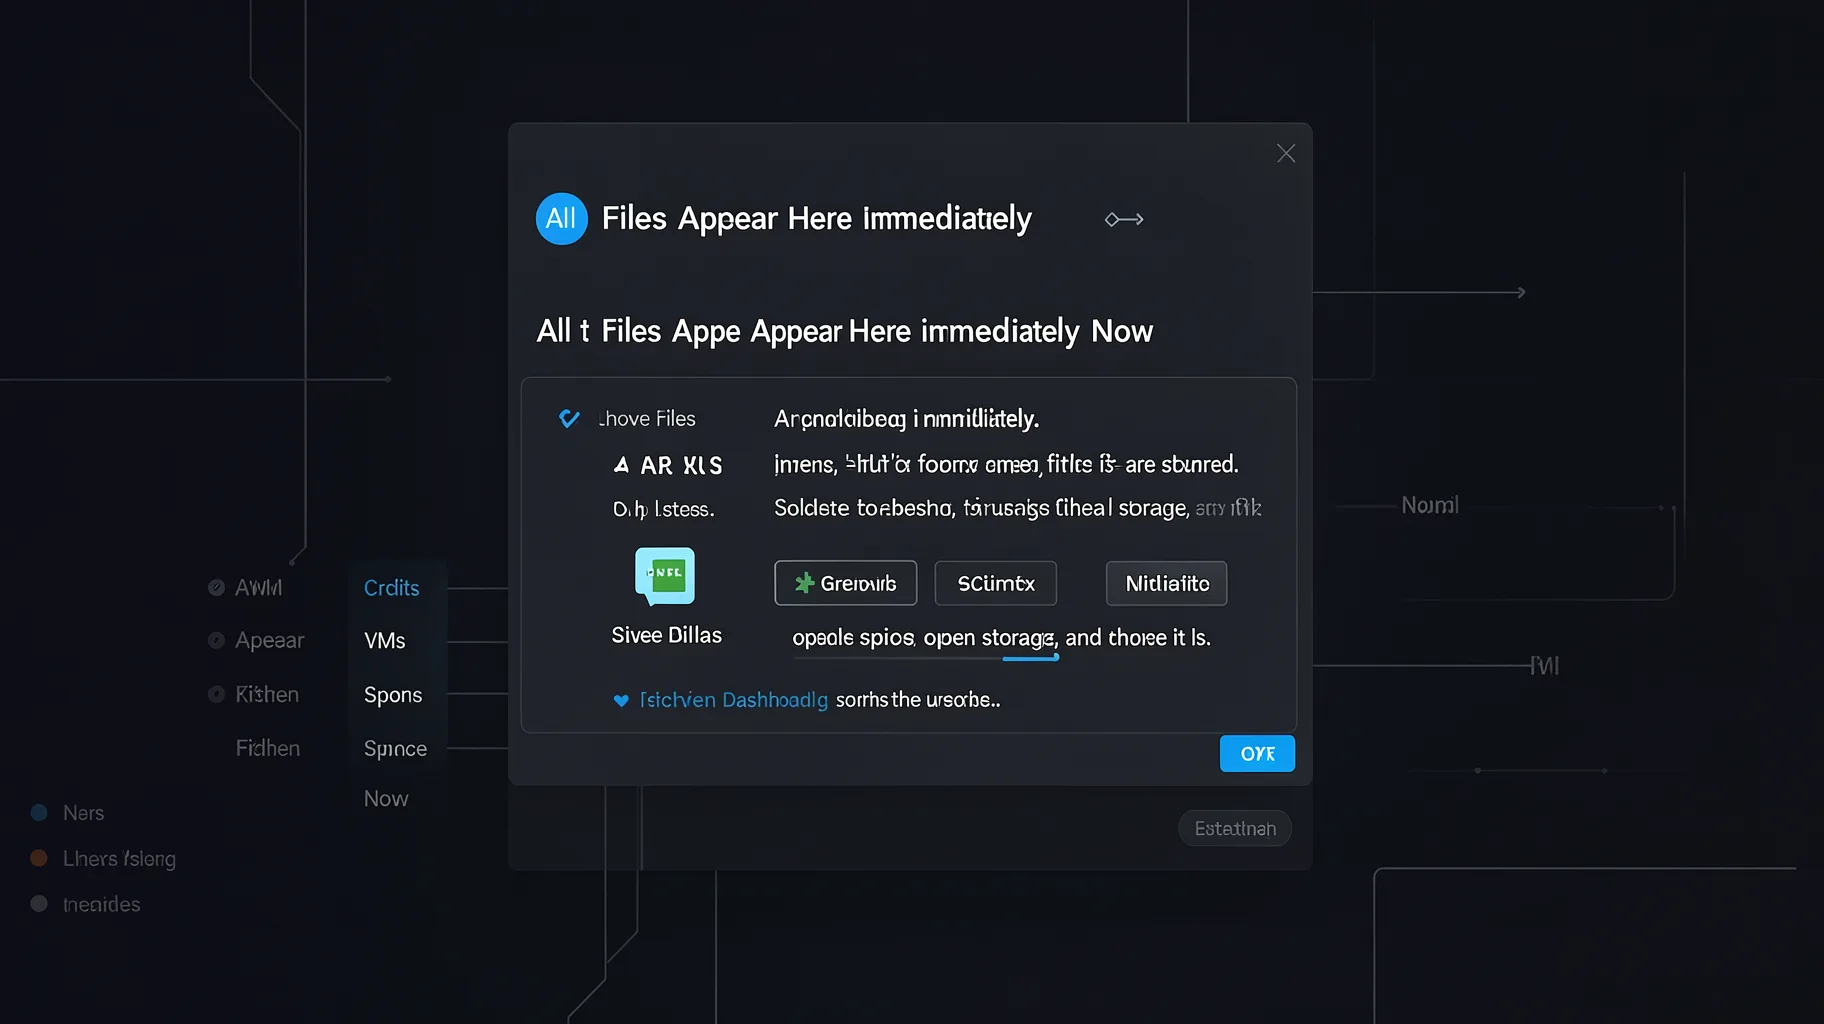
All the files appear here immediately. Now, let’s confirm where these files are stored. I go back to Firebase, open storage, and here it is. A folder is created using the user’s ID, and inside it are the files we just uploaded. Now let’s test the delete action. I’ll delete the image from the dashboard. The file disappears immediately from the UI. Now I go back to Firebase storage and refresh and the image is gone. It was deleted from storage as well. So this confirms everything is connected correctly. The app uploads files, storage saves them, and when we delete a file, it’s removed from both the dashboard and storage. Each user only accesses their own files inside their own isolated folder. Now, let’s move to step four, connecting everything to the user interface.
Stage Backend Fully Working Finally React
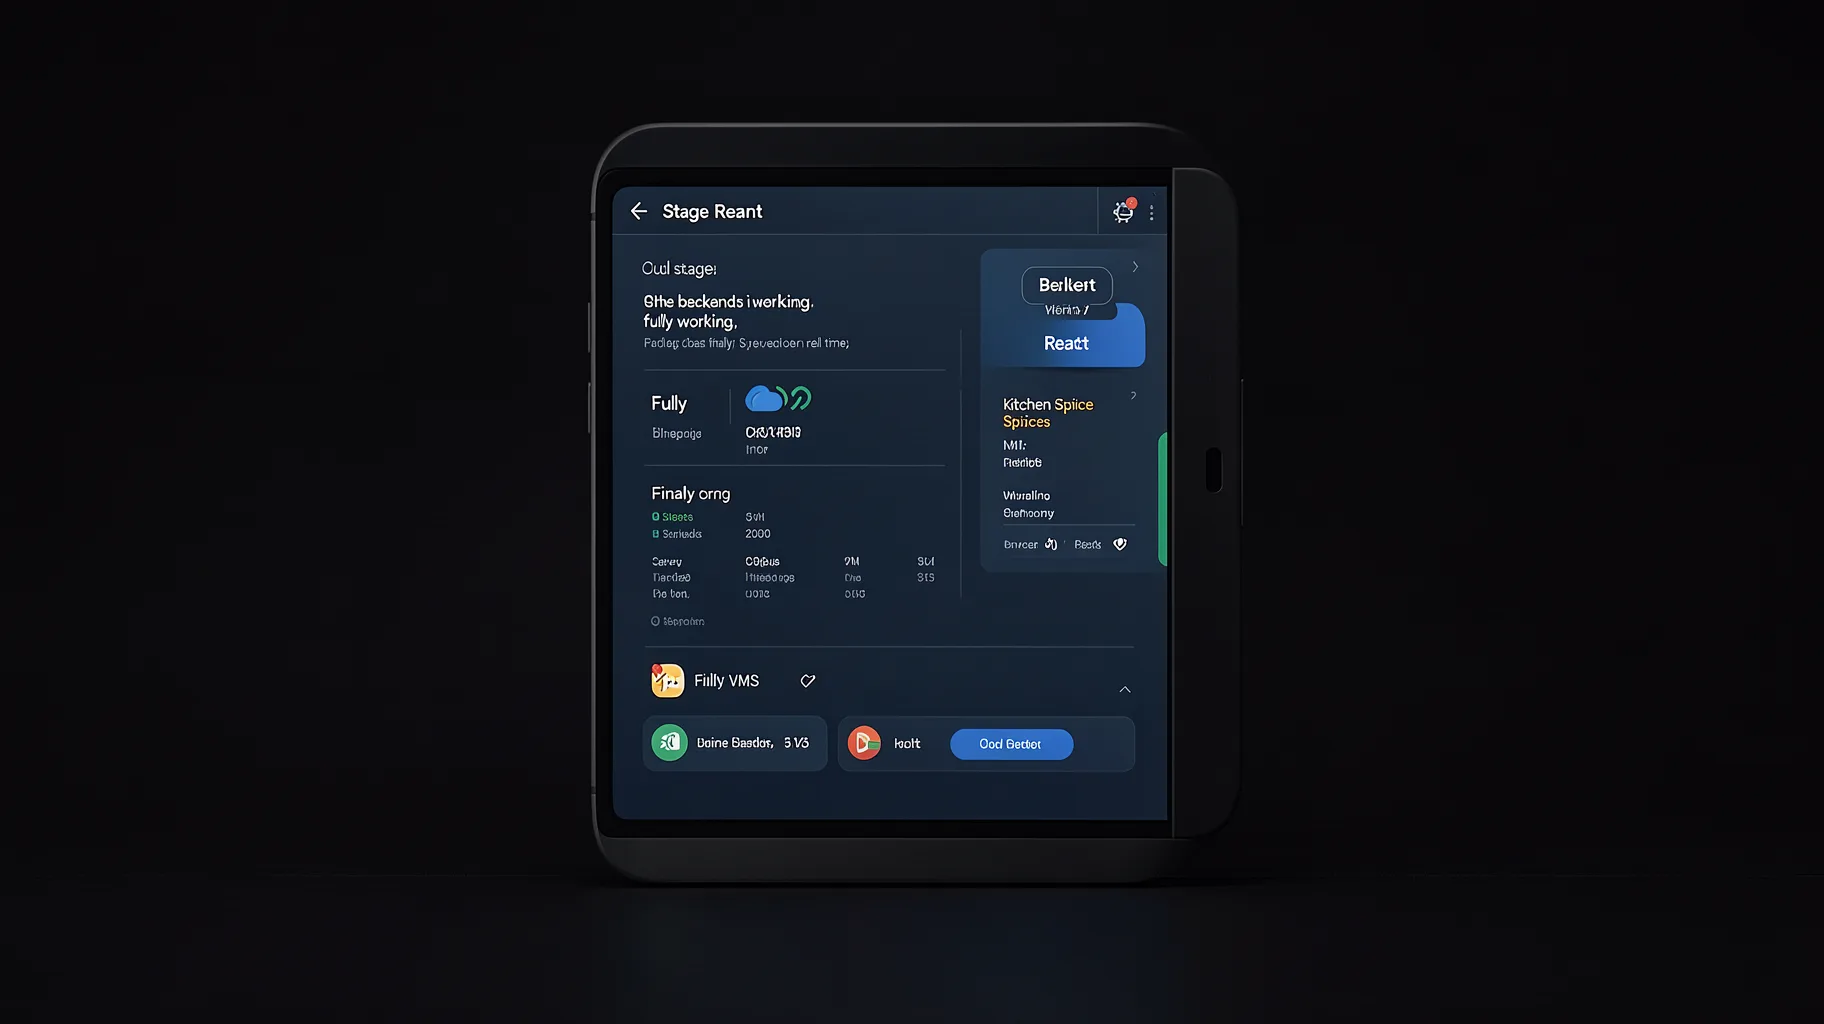
At this stage, the backend is fully working, so the UI can finally react to the user in real time. When I’m logged in and I open the homepage, the app recognizes me automatically and shows welcome back with my name and a go to dashboard button. If this wasn’t generated, we could simply ask Google AI Studio to add it with a quick prompt. But here, it’s already working. Inside the dashboard, the interface is now dynamic. It reads the real data from Firebase. How many files I uploaded, how many team members I added, and it updates instantly based on my account. Now, to complete this app as a real product, I’m going to add one final feature, limits. For example, the free plan will allow up to five files.
When User Reaches Limit Add File
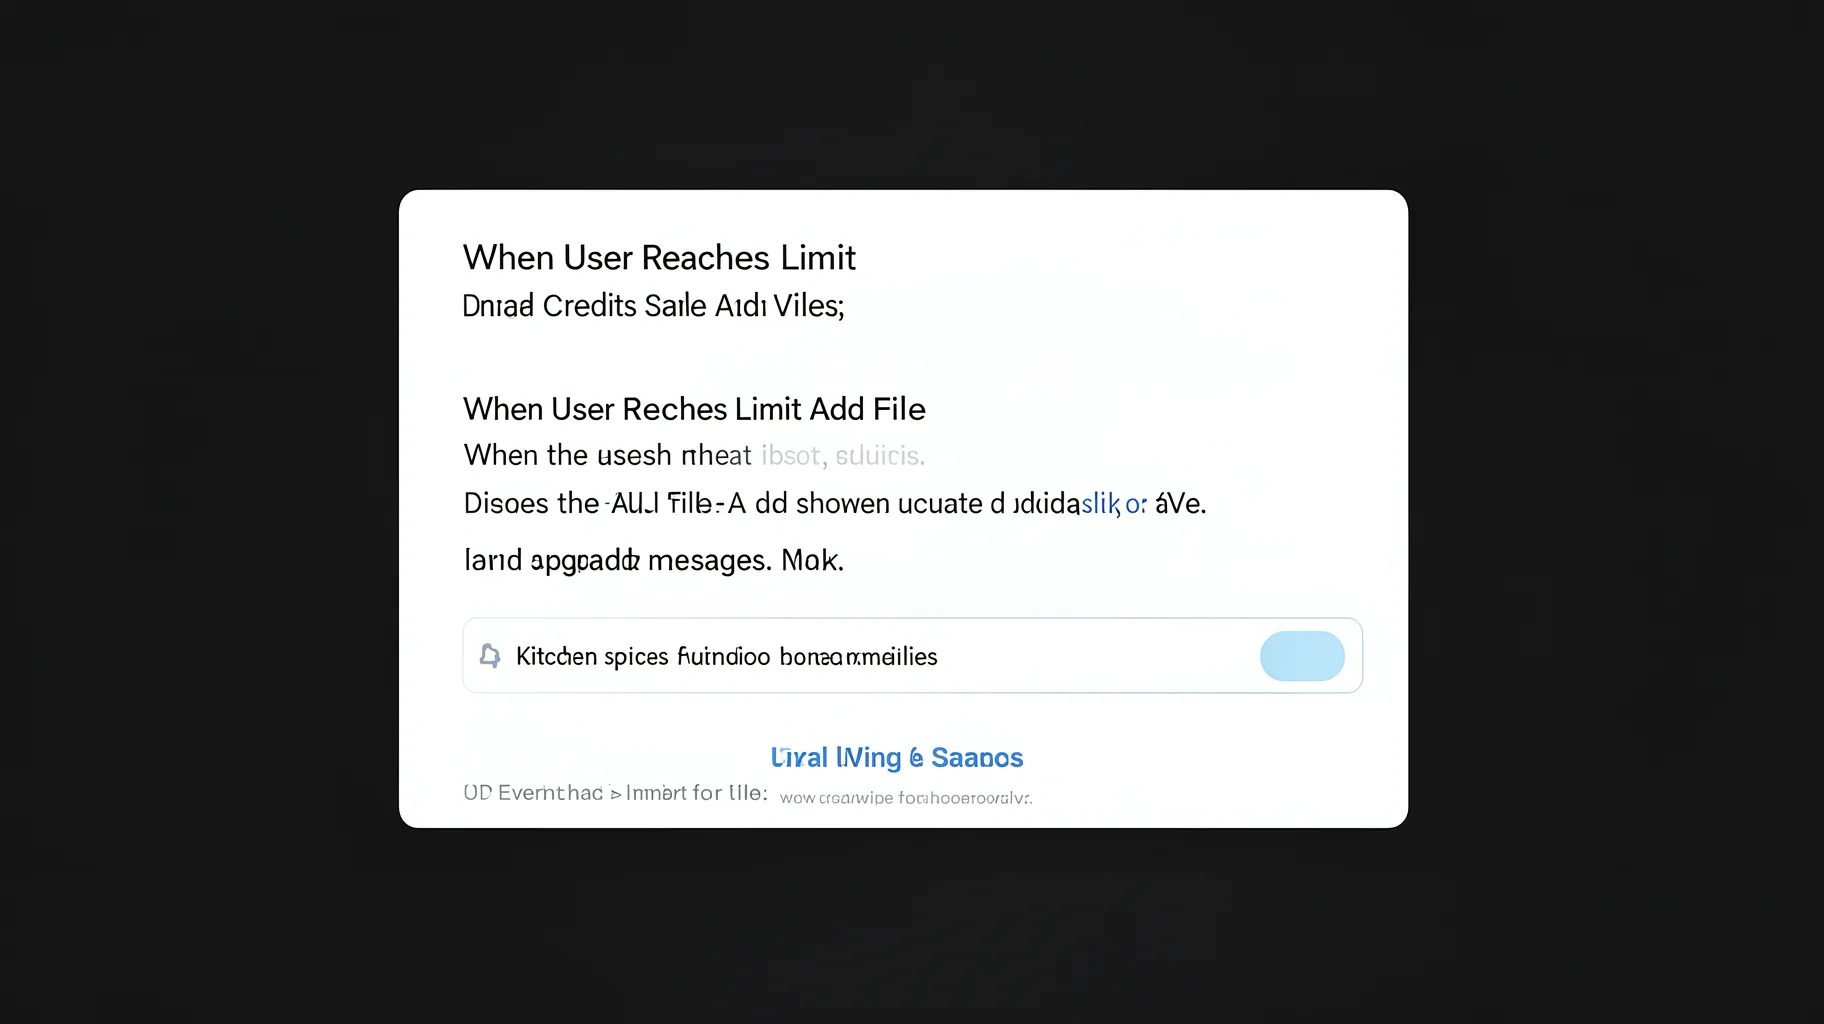
When the user reaches that limit, the add file button becomes disabled and the UI shows an upgrade message. Here’s the prompt I’ll use to add this feature. And now I’ll test it. Uploading files until I reach the limit. And as you can see, the upgrade message appears. For payments, we’re not enabling them today. I’ll cover Stripe, PayPal, and real billing systems in the next videos. So you can turn this project into a real SAS product. At this point, everything is connected, authentication, data, storage, and a UI that reacts to all of it. And if you haven’t deployed your app yet, I already made a full step-by-step deployment video. You’ll find it in the description and in the pinned comment. All the prompts used in this tutorial are also in the description. Feel free to copy them and customize them. See you in the next video.
Disclaimer
Disclaimer: This article is shared for general information only. It is not professional medical, legal, or financial advice. Always consult a qualified expert before acting on any information in this post. The author and publisher are not responsible for any loss or harm from use of this content.
