11 min read • 2,254 words
What is Proxmox and How to Use in Docker
What is proxmox and how to — Proxmox is an open-source virtualization management platform that combines KVM Learn more about the steps and the final checks.
Step-by-Step Tutorial
Step 1: Introduction to Proxmox
1. **What is Proxmox?**
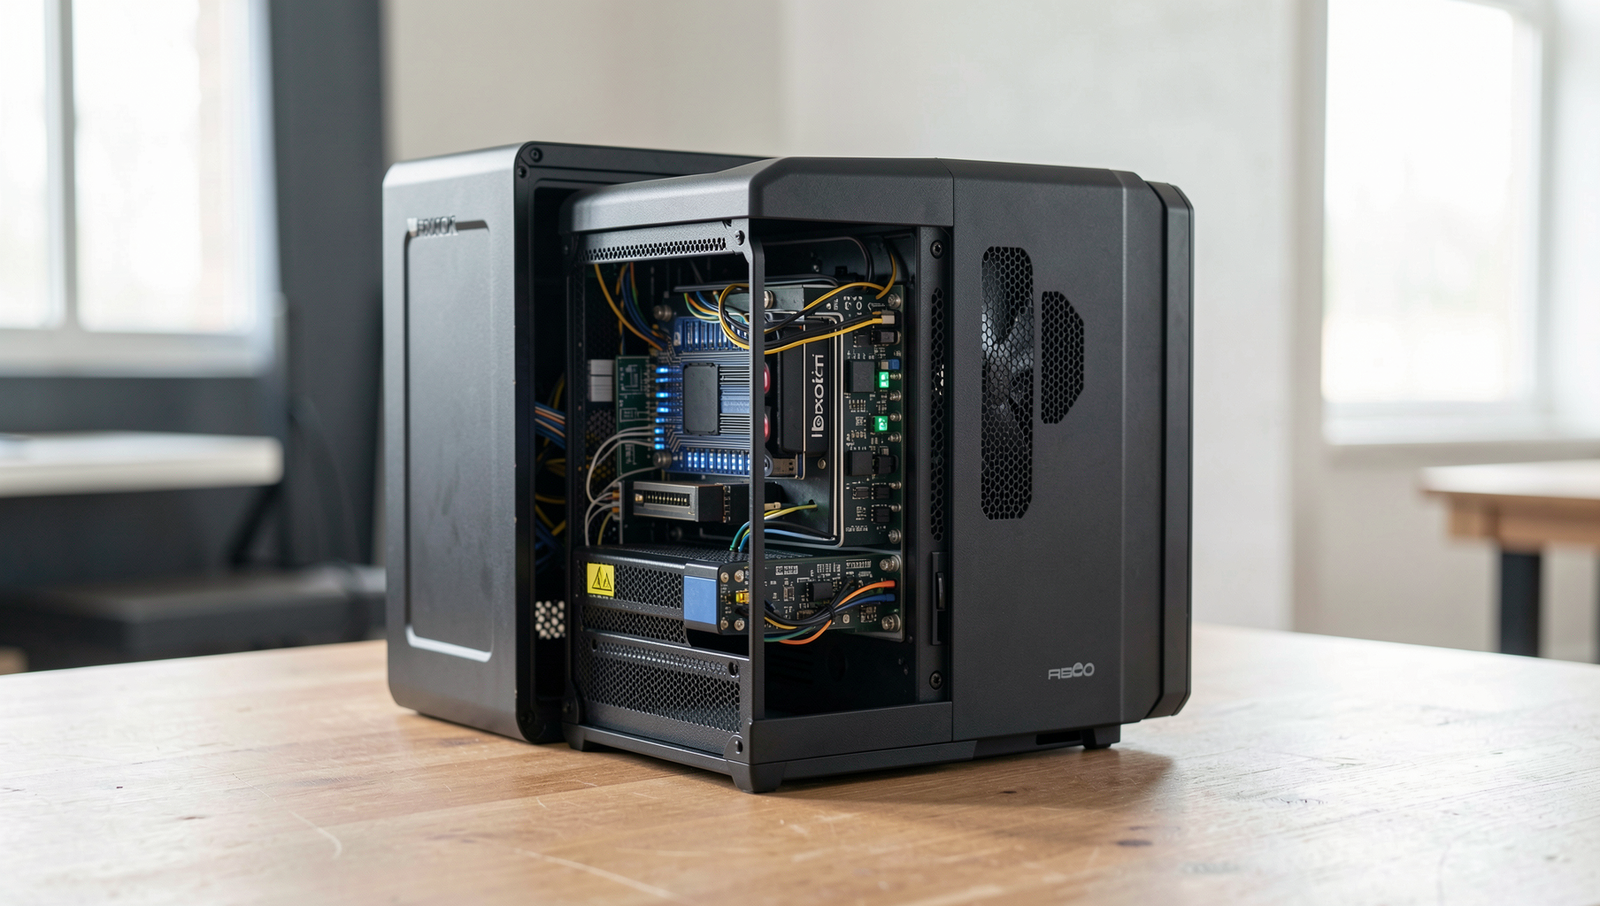
Proxmox is an open-source virtualization management platform designed to facilitate the management of virtual machines (VMs) and containers. Built on Debian, Proxmox provides a robust environment for deploying, managing, and scaling virtualized resources. It combines the capabilities of KVM (Kernel-based Virtual Machine) for full virtualization and LXC (Linux Containers) for lightweight container-based virtualization.
2. **Primary Features of Proxmox:**
– **Web-based Management Interface:** Proxmox offers an intuitive web interface that simplifies the management of VMs and containers. Users can easily create, configure, and monitor their virtual environments without needing extensive command-line knowledge.
– **High Availability Clustering:** Proxmox supports clustering, allowing multiple Proxmox servers to work together. This feature ensures that if one server fails, the VMs can automatically migrate to another server, minimizing downtime.
– **Backup and Restore Options:** Proxmox provides built-in backup solutions that allow users to create snapshots and backups of their VMs and containers, ensuring data safety and easy recovery.
– **Storage Options:** Proxmox supports various storage types, including local storage, NFS, iSCSI, and Ceph, allowing users to choose the best solution for their needs.
3. **Getting Started with Proxmox:**
To begin using Proxmox, you first need to install it on a compatible server. You can download the installation ISO from the Proxmox website. Once downloaded, create a bootable USB drive or burn the ISO to a CD/DVD. Boot your server from the installation media and follow the on-screen instructions to set up Proxmox. After installation, access the web interface by entering the server’s IP address in your browser. This will lead you to the Proxmox management dashboard, where you can start creating and managing your virtual machines and containers.
Step 2: Installing Proxmox
- Download the Proxmox ISO: Visit the official Proxmox website at proxmox.com/en/downloads and download the latest Proxmox VE ISO image. Ensure you choose the correct version compatible with your server hardware.
- Create a Bootable USB Drive: Use a tool like Rufus or Etcher to create a bootable USB drive. Insert your USB drive and open Rufus. Select the downloaded Proxmox ISO file, choose your USB drive under “Device,” and click “Start” to create the bootable drive. For Etcher, select the ISO, choose the USB drive, and click “Flash!”.
- Boot from the USB Drive: Insert the bootable USB drive into the server where you want to install Proxmox. Restart the server and enter the BIOS/UEFI settings (usually by pressing F2, F10, or DEL during boot). Set the USB drive as the primary boot device and save the changes.
- Install Proxmox: Once the server boots from the USB, you will see the Proxmox installation screen. Follow the on-screen instructions to select the target hard drive for installation. Accept the license agreement and configure the network settings as prompted.
- Complete Installation: After configuring the settings, click “Install” to begin the installation process. Once completed, remove the USB drive and reboot the server. You should now have Proxmox installed and ready for use.
Before starting the installation, ensure to back up any existing data on the server and verify that your hardware meets the minimum requirements for Proxmox. Using a dedicated machine for Proxmox is highly recommended to avoid conflicts with other applications.
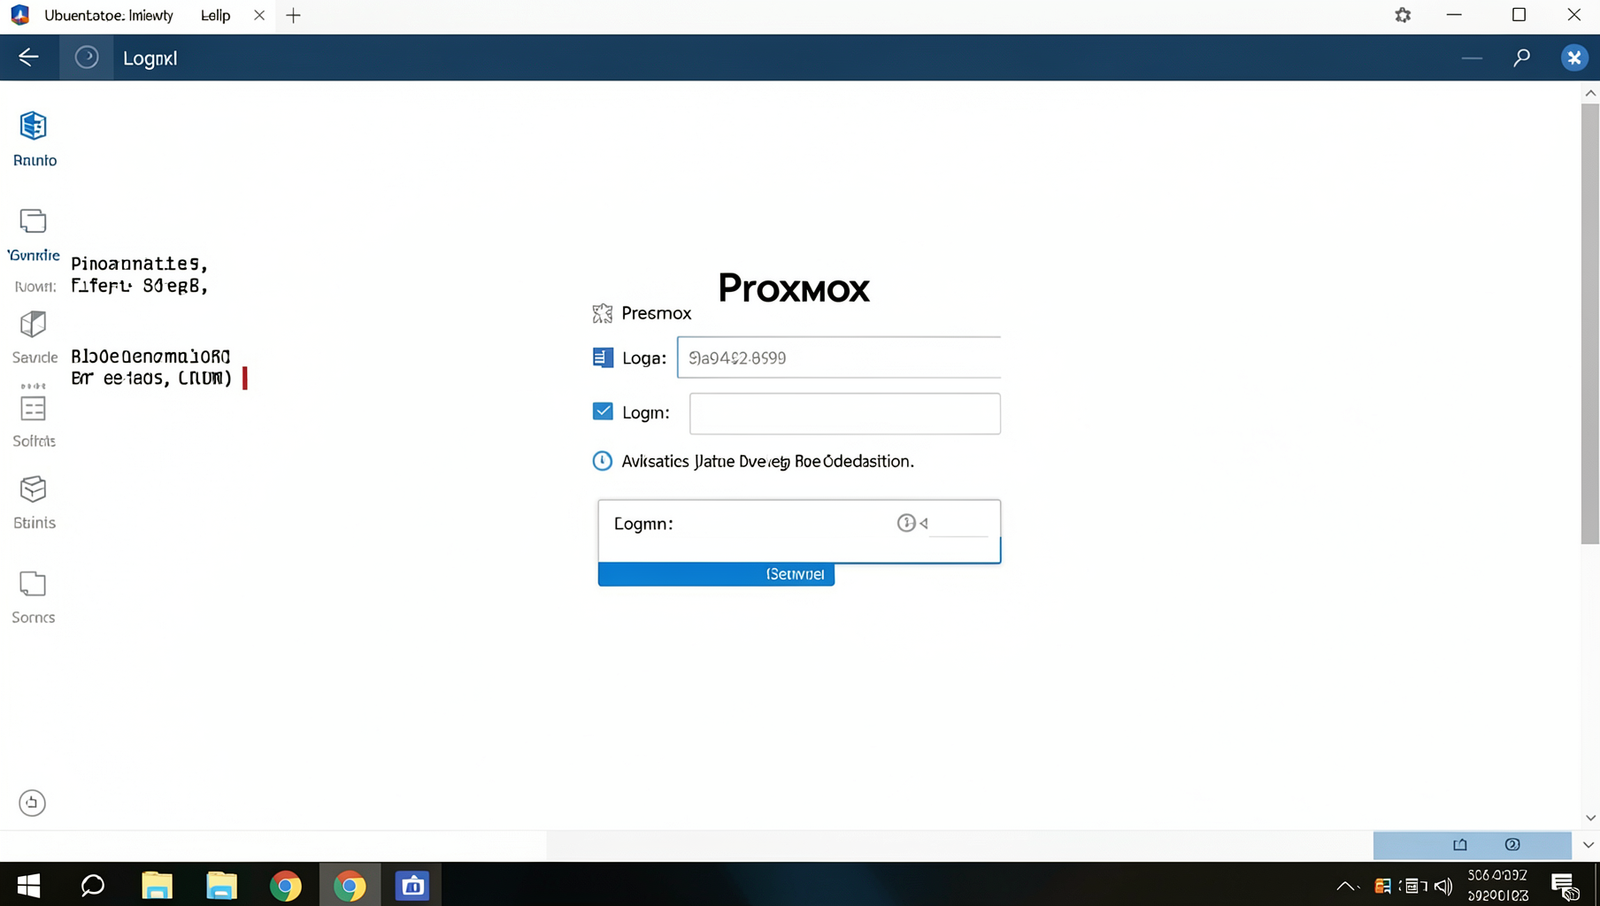
Step 3: Accessing the Proxmox Web Interface
1. **Ensure Network Connectivity**: Before accessing the Proxmox web interface, confirm that your Proxmox server is properly connected to the network. You can check this by running the following command in your terminal:
ping Replace `
2. **Open a Web Browser**: Launch your preferred web browser. It is recommended to use a modern browser such as Google Chrome, Mozilla Firefox, or Microsoft Edge for the best experience.
3. **Enter the Proxmox IP Address**: In the address bar of your web browser, type in the IP address of your Proxmox server. Make sure to use HTTPS for a secure connection. The URL should look like this:
https://:8006 4. **Log In to the Interface**: After entering the URL, you will be prompted to log in. Use the credentials you set up during the Proxmox installation. Typically, the username is “root” and the password is what you created during setup.
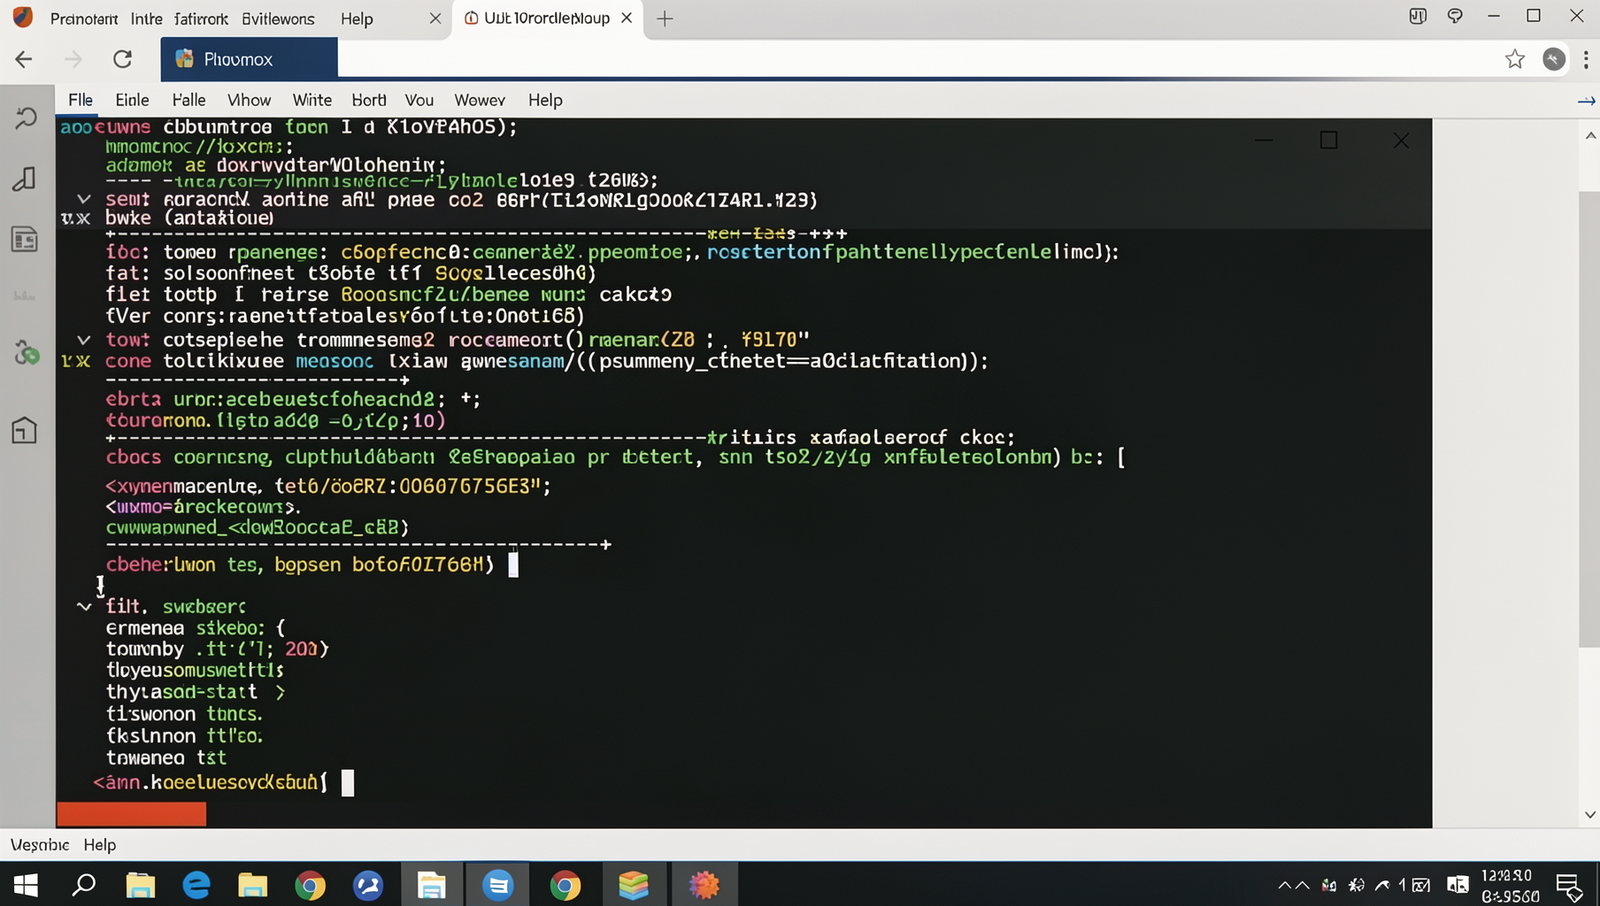
5. **Explore the Dashboard**: Once logged in, you will be greeted by the Proxmox dashboard. Here, you can manage your virtual machines, storage, and network settings. Familiarize yourself with the interface to effectively utilize Proxmox’s features.
By following these steps, you will successfully access the Proxmox web interface and be ready to manage your virtual environments.
Step 4: Creating a Virtual Machine
1. **Access the Proxmox Web Interface**: Begin by logging into your Proxmox web interface. You can do this by entering the IP address of your Proxmox server in a web browser. Once logged in, you will be greeted with the Proxmox dashboard.
2. **Initiate VM Creation**: On the left sidebar, locate and click on the ‘Create VM’ button. This will launch the virtual machine creation wizard, guiding you through the necessary steps.
3. **Select the OS Type**: In the wizard, you will first need to choose the operating system type for your new VM. Select the appropriate ISO image from your storage that corresponds to the OS you wish to install.
4. **Allocate Resources**: Next, allocate the resources for your VM. Specify the number of CPU cores, the amount of RAM, and the size of the disk. Ensure that these allocations do not exceed your server’s capacity to maintain optimal performance.
5. **Configure Network Settings**: After resource allocation, configure the network settings. You can choose to use a bridge mode for better connectivity or NAT depending on your requirements.
6. **Review and Confirm**: Review all the settings you have configured. If everything looks correct, click on the ‘Finish’ button to create the VM.
7. **Utilize Templates**: For quicker VM creation in the future, consider using templates. This allows you to pre-configure a VM and replicate it easily.
8. **Implement Cloud-Init**: For easier configuration of your VMs, especially in cloud environments, consider using cloud-init. This tool helps automate the initial setup of your virtual machines.
By following these steps, you will successfully create a new virtual machine in Proxmox. Remember to monitor your resource allocations to avoid overloading your server.
Step 5: Installing Docker on the VM
1. **Start the VM**: First, ensure that your virtual machine (VM) is powered on. You can do this from the Proxmox web interface by selecting your VM and clicking on the “Start” button.
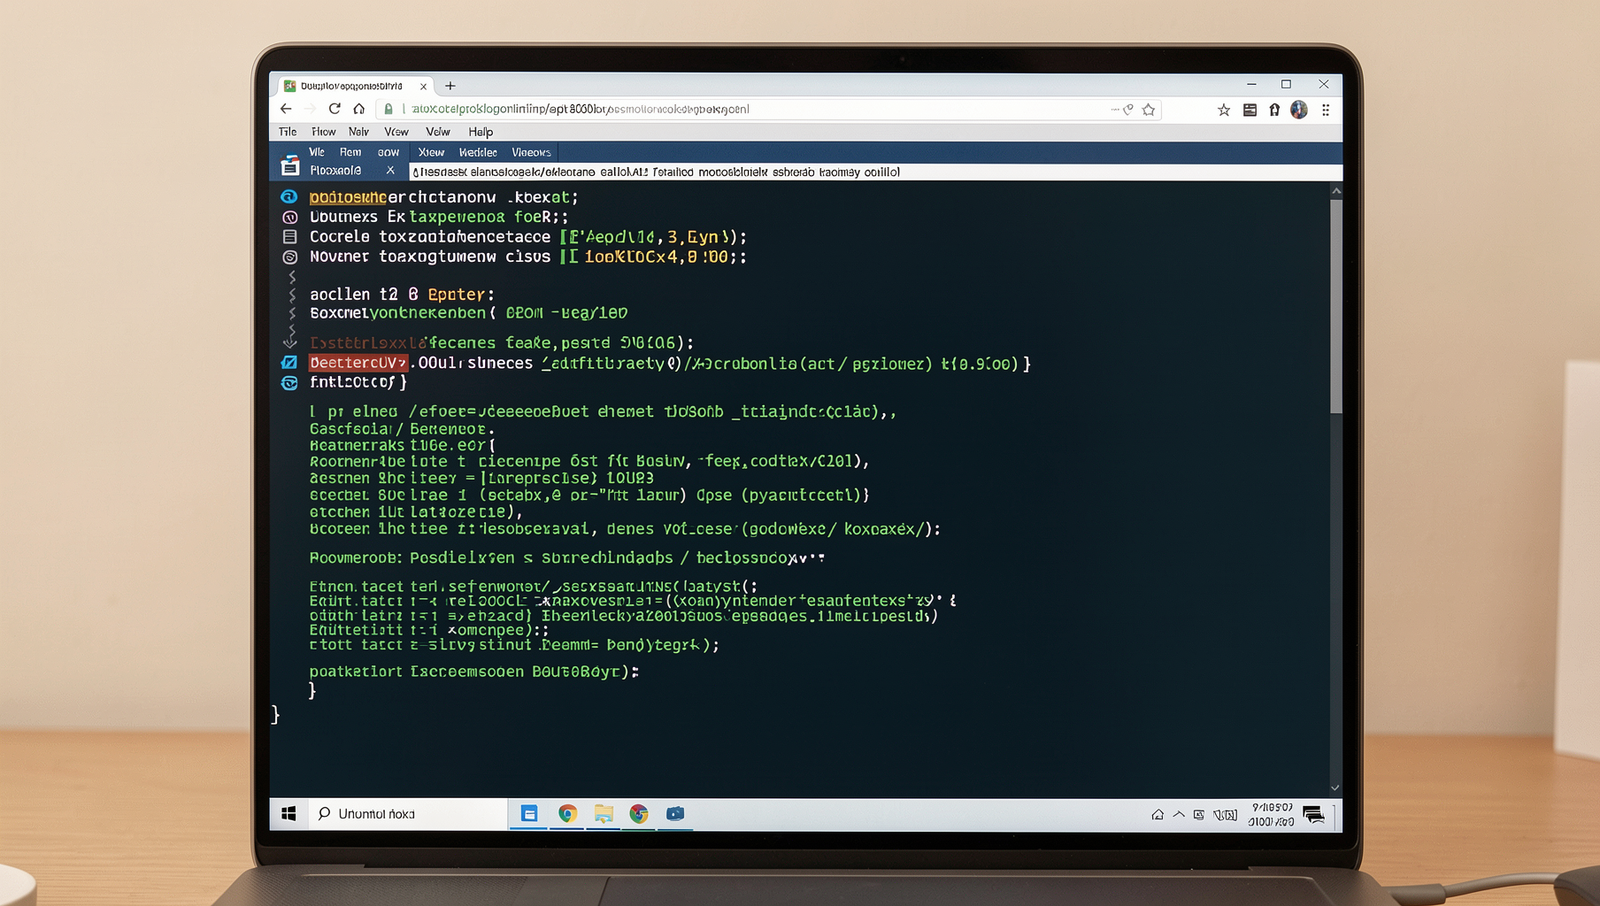
2. **Access the Console**: Once the VM is running, access its console. You can do this by clicking on the “Console” tab in the Proxmox interface. This will open a terminal window where you can interact with your VM.
3. **Update Package Index**: Before installing Docker, it’s essential to update the package index to ensure you have the latest information on available packages. Run the following command:
apt-get update4. **Install Docker**: After updating the package index, you can install Docker. For a Debian-based system, execute the following command:
apt-get install docker.ioThis command will download and install Docker along with its dependencies.
5. **Start Docker Service**: Once the installation is complete, you need to start the Docker service. Use the command:
systemctl start docker6. **Enable Docker on Boot**: To ensure Docker starts automatically when your VM boots, run:
systemctl enable docker7. **Verify Installation**: Finally, check if Docker is installed and running correctly by executing:
docker --versionThis command will display the installed version of Docker, confirming that the installation was successful.
By following these steps, Docker should now be installed and running on your VM, ready for you to start deploying containers.
Step 6: Creating Docker Containers
1. **Install Docker**: Before creating containers, ensure that Docker is installed on your Proxmox server. You can install Docker by running the following command:
apt-get update && apt-get install docker.io2. **Pull an Image**: To create a Docker container, you first need a Docker image. You can pull a pre-built image from Docker Hub. For example, to pull the latest Nginx image, use:
docker pull nginx3. **Run a Container**: Now that you have the Nginx image, you can create and run a container. Use the following command to run Nginx in detached mode and map port 80 of the container to port 80 of your host:
docker run -d -p 80:80 nginx4. **Verify the Container**: After running the container, check if it is running correctly. You can list all running containers with:
docker psThis command will show you the container ID, image, command, and the ports being used.
5. **Access the Application**: Open a web browser and navigate to your server’s IP address. You should see the Nginx welcome page, confirming that your container is up and running.
6. **Experiment with Configurations**: Feel free to experiment with different configurations. For instance, you can specify environment variables or mount volumes to persist data. Always check for port conflicts with existing services to avoid issues.
By following these steps, you will successfully create and manage Docker containers on your Proxmox server.
Step 7: Managing Docker Containers
1. **Listing Running Containers**: To see all currently running Docker containers, use the command:
docker psThis command will display a list of active containers along with their IDs, names, and status. If you want to see all containers, including those that are stopped, add the `-a` flag:
docker ps -a2. **Stopping a Container**: If you need to stop a running container, you can do so by using its container ID or name. The command is:
docker stop [container_id]Replace `[container_id]` with the actual ID or name of the container you wish to stop. This command sends a signal to the container to terminate gracefully.
3. **Removing a Container**: To remove a stopped container, use:
docker rm [container_id]Be cautious with this command, as removing a container will delete all data associated with it unless you have used Docker volumes for persistent storage.
4. **Cleaning Up Unused Containers and Images**: Regular maintenance is essential. To remove all stopped containers and unused images, you can run:
docker system pruneThis command will help free up space and keep your environment tidy.
5. **Using Docker Volumes**: For persistent data storage, always consider using Docker volumes. This ensures that your data remains intact even if the container is removed. You can create a volume using:
docker volume create [volume_name]Replace `[volume_name]` with your desired name for the volume.
By following these steps, you can effectively manage your Docker containers from the command line, ensuring a smooth workflow and efficient resource use.
Step 8: Integrating Proxmox with Docker
1. **Install Docker on LXC Container**: First, create an LXC container in Proxmox. You can do this by navigating to your Proxmox web interface, selecting your node, and then clicking on “Create CT”. Follow the prompts to set up your container. Once your LXC container is running, access it via SSH or the Proxmox console. Install Docker using the following commands:
apt update
apt install docker.io
2. **Start Docker Service**: After installation, you need to start the Docker service. Use the command below to enable and start Docker:
systemctl enable docker
systemctl start docker
3. **Verify Docker Installation**: To ensure Docker is installed correctly, run the following command:
docker --versionThis should return the installed Docker version.
4. **Create and Run Docker Containers**: Now you can create Docker containers within your LXC container. For example, to run a simple Nginx server, use:
docker run -d -p 80:80 nginx5. **Monitor Resource Usage**: It’s important to monitor the resource usage of your LXC containers. You can use the Proxmox web interface or command-line tools like `htop` to check CPU and memory usage.
6. **Utilize Backup Features**: Proxmox offers built-in backup features for LXC containers. Regularly back up your containers to prevent data loss. You can set up scheduled backups through the Proxmox interface.
By following these steps, you can effectively integrate Proxmox with Docker, leveraging the lightweight virtualization capabilities of LXC containers while utilizing Docker’s powerful containerization features.
Conclusion
In summary, Proxmox is a powerful open-source virtualization management platform that allows users to