
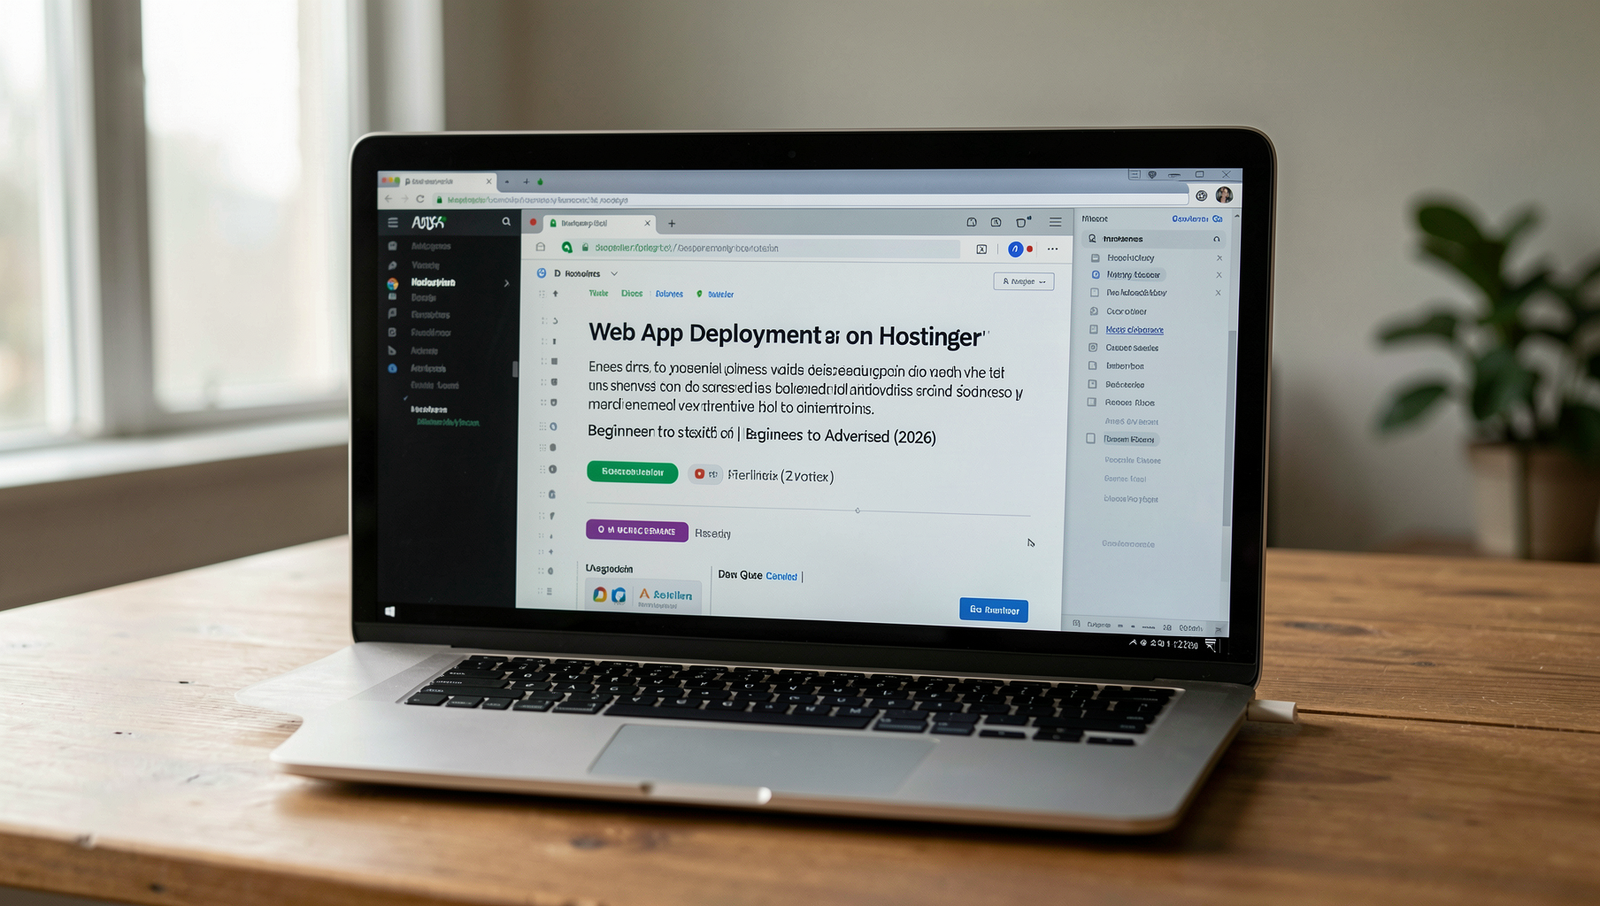
Web App Deployment on Hostinger — Mastering web app deployment is crucial for both beginners and seasoned Learn more about the steps and the final checks.
In the ever-evolving landscape of web development, mastering web app deployment is crucial for both beginners and seasoned developers. This comprehensive guide on deploying web applications using Hostinger will walk you through the essential steps and advanced techniques necessary for successful implementation. Whether you’re looking to launch a simple website or a complex application, understanding the deployment process can significantly impact your project’s success and user experience.
Hostinger stands out in the hosting market by offering one-click deployment options for popular web applications like WordPress and Joomla. This feature simplifies the initial setup process, making it accessible for beginners while still providing advanced users with the tools they need for customization. In this article, readers will learn how to leverage Hostinger’s user-friendly interface and powerful features to streamline their web app deployment process, ensuring a smooth launch and optimal performance.
Security and scalability are paramount in today’s digital environment, and Hostinger addresses these needs effectively. With free SSL certificates for all web apps, users can enhance their site’s security, protecting sensitive data and building trust with visitors. Additionally, Hostinger’s cloud hosting plans offer scalable resources, allowing your web application to grow seamlessly as your user base expands. This article will explore these aspects, equipping you with the knowledge to deploy your web app confidently and efficiently.
Step-by-Step Tutorial
Step 1: Choose a Hosting Plan
- Visit Hostinger’s website by entering
www.hostinger.comin your browser’s address bar. - Explore the various hosting plans available. Look for options such as Shared Hosting, Cloud Hosting, or VPS Hosting.
- Consider your specific needs, including storage capacity, bandwidth limits, and the number of websites you plan to host.
- Compare the features of each plan. Pay attention to additional benefits like free SSL certificates, daily backups, and customer support.
- Look for promotional offers or discounts that may be available on the website.
- Read customer reviews to gauge the performance and reliability of different hosting plans.
- Once you have selected a suitable plan, click on the “Get Started” or “Select” button.
- Create an account by entering your email address and setting a password, or log in if you already have an account.
By following these steps, you will have successfully selected a hosting plan and created an account. Remember to ensure that the plan you choose supports your web app’s requirements to avoid any issues later on.
Troubleshooting & Verification
Ensure you’ve selected an appropriate hosting plan that meets your web app’s requirements. Verify payment processing and check for any confirmation emails. Contact support if you encounter issues during the selection process.
Step 2: Domain Name Registration
- Choose a Domain Name: Think about a name that reflects the purpose of your web app. Aim for something memorable and relevant.
- Check Availability: Use a domain name checker to ensure your desired name is available. You can do this on Hostinger’s website or any other domain registrar.
whois yourdomain.com - Select a Domain Extension: While there are many options, a .com domain is often preferred for better recognition and credibility.
- Register the Domain: Once you find an available name, proceed to register it through Hostinger or your chosen registrar. Fill in the necessary details and complete the payment.
- Link Domain to Hosting Account: After registration, ensure your domain is linked to your hosting account. This may involve updating DNS settings.
ns1.hostinger.comns2.hostinger.com
By following these steps, you will have a registered domain name linked to your hosting account. Remember to avoid using special characters in your domain name and consider SEO implications when making your selection.
Troubleshooting & Verification
Ensure your domain name is correctly registered and DNS settings are properly configured. Use online tools to check propagation status and verify that your domain points to the correct hosting server.
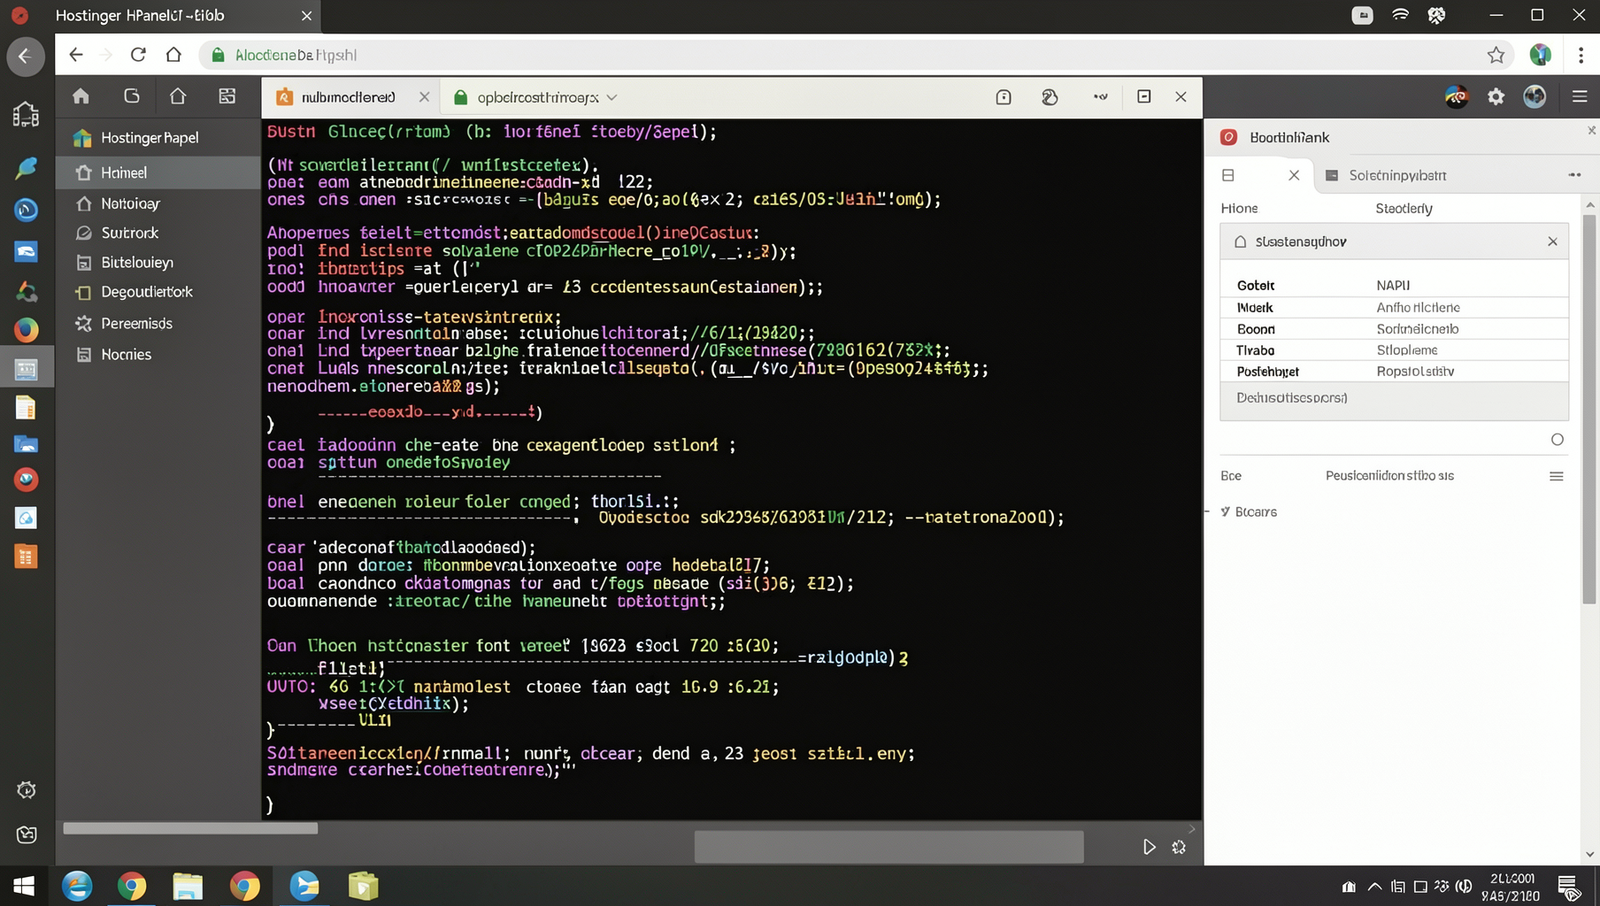
Step 3: Access the Control Panel
- Open your web browser and go to the Hostinger website.
- Click on the “Login” button located at the top right corner of the page.
- Enter your email address and password associated with your Hostinger account, then click on “Log In”.
- Once logged in, you will be directed to the hPanel, Hostinger’s control panel.
- Take a moment to familiarize yourself with the layout of the hPanel. Explore the different sections such as Domains, Hosting, and Email.
- If you need to find a specific tool, utilize the search bar at the top of the hPanel for quick access.
- For additional guidance, check out the tutorials section available within the hPanel.
Remember to keep your login credentials secure to protect your account.
Troubleshooting & Verification
If you encounter issues accessing the Control Panel, ensure your internet connection is stable. Clear your browser cache or try a different browser. Verify your Hostinger account credentials are correct for successful login.
Step 4: Upload Your Web App Files
- Prepare Your Files: Before uploading, compress your web app files into a .zip format. This makes the upload process faster and easier.
- Access Your Hosting Account: Log in to your Hostinger account and navigate to the control panel.
- Open File Manager: Locate the File Manager tool in your control panel. This will allow you to manage your files directly.
- Navigate to the Correct Directory: Ensure you are in the
public_htmldirectory, as this is where your web app files need to be uploaded. - Upload Your Files: Use the drag-and-drop feature in File Manager to upload your .zip file. Alternatively, you can click on the upload button to select your file.
- Extract the Files: Once uploaded, select the .zip file and choose the option to extract it. This will unpack your web app files into the directory.
- Check File Permissions: Ensure that the file permissions are set correctly. You can do this by right-clicking on the files and selecting the permissions option.
By following these steps, your web app files should be successfully uploaded to the server. Remember to double-check that all files are in the public_html directory to avoid any accessibility issues.
Tips: Compress files into a .zip format for easier upload. Use the drag-and-drop feature in File Manager for convenience.
Warnings: Ensure you upload files to the correct directory (public_html). Check file permissions after uploading.
Troubleshooting & Verification
If your files fail to upload, check your internet connection and file size limits. Ensure you’re using the correct FTP credentials and verify that the destination directory has the appropriate permissions.
Step 5: Set Up a Database (if needed)
- Log in to your Hostinger hPanel.
- Navigate to the “Databases” section and select “MySQL Databases.”
- Click on “Create a New Database.”
- Enter a name for your database and click “Create.”
- Once created, note down the database name, username, and password provided.
- For easier management, you can access phpMyAdmin from the same section to manage your database.
- Ensure you document your database credentials securely to avoid losing access.
Remember to use strong passwords for your database security and backup your database regularly to prevent data loss.
Troubleshooting & Verification
Ensure your database credentials are correct in your application. Check for connection errors in your logs. Verify that the database server is running and accessible from your web app environment.
Step 6: Configure Environment Variables
-
- Access your Hostinger hPanel and navigate to the “File Manager” section.
- Locate your web app’s root directory and create a new file named
.envfor local development. - Open the
.envfile and add your environment variables in the formatKEY=VALUE. For example:
API_KEY=your_api_key_here
DATABASE_URL=your_database_url_here- On the server, go to the “Advanced” section in hPanel and select “Environment Variables”.
- Add the same key-value pairs you defined in your local
.envfile to the server’s environment variables. - Ensure that your web app is configured to read these environment variables correctly, typically using a library like
dotenvin Node.js applications. - Double-check the syntax in your configuration files to avoid errors.
- Test your configuration after deployment to ensure that the environment variables are accessible by your web app.
Remember to never expose sensitive information in public files, and always keep your keys secure.
Troubleshooting & Verification
Ensure all environment variables are correctly set in the Hostinger dashboard. Check for typos, missing values, and confirm that your application can access these variables during runtime for proper functionality.
Step 7: Test Your Web App
- Open a web browser and enter your domain name in the address bar. Press
Enterto navigate to your web app. - Check the homepage and navigate through various sections to ensure all links and features are functioning correctly.
- Use the browser developer tools by right-clicking on the page and selecting “Inspect” or pressing
F12. Look for any console errors that may indicate issues. - Test forms and interactive elements to confirm they respond as expected. Submit any forms and verify that data is processed correctly.
- If you encounter any issues, clear your browser cache to ensure you are viewing the latest version of your web app. You can do this by going to your browser settings and selecting “Clear browsing data.”
- Consider using online testing tools such as GTmetrix or Google PageSpeed Insights to evaluate the performance and loading speed of your web app.
- Check for broken links using tools like Broken Link Checker to ensure all links are functional.
Expected: Your web app is live and functioning correctly.
Tips: Use browser developer tools to troubleshoot issues; consider using online testing tools for performance evaluation.
Warnings: Clear browser cache if you encounter issues after deployment; check for broken links.
Troubleshooting & Verification
If your web app isn’t functioning as expected, check for server errors, review logs, ensure all files are uploaded correctly, and verify database connections. Test different browsers and clear cache for accurate results.
Step 8: Monitor and Optimize Performance
- Set Up Analytics Tools: Integrate tools like Google Analytics or Matomo to track user interactions and gather performance data. Follow the setup instructions provided by the tool of your choice.
- Analyze Performance Metrics: Regularly review metrics such as page load times, bounce rates, and user engagement. Use these insights to identify areas needing improvement.
- Implement Caching Solutions: Use caching plugins or server-side caching to enhance load times. For example, if using WordPress, install a plugin like W3 Total Cache.
wp plugin install w3-total-cache - Gather User Feedback: Create surveys or feedback forms to understand user experience. Use tools like SurveyMonkey or Google Forms to collect responses.
- Optimize Content Delivery: Consider using a Content Delivery Network (CDN) to distribute content more efficiently. Services like Cloudflare can be beneficial.
curl -X POST "https://api.cloudflare.com/client/v4/zones/YOUR_ZONE_ID/purge_cache" -H "Authorization: Bearer YOUR_API_TOKEN" -H "Content-Type: application/json" --data '{"purge_everything":true}' - Regularly Monitor Server Resources: Keep an eye on CPU and memory usage to ensure your server can handle traffic. Use tools like top or htop for monitoring.
top - Check for Updates: Regularly update your web app and its dependencies to patch security vulnerabilities and improve performance.
npm update
By following these steps, your web app will be optimized for better performance and user experience.
Troubleshooting & Verification
To ensure optimal performance, check server response times, monitor resource usage, and analyze traffic patterns. Utilize tools like Google PageSpeed Insights and GTmetrix for insights and recommendations on improvements.
Conclusion
In summary, web app deployment on Hostinger involves several key steps, including selecting the right hosting plan, configuring your environment, and uploading your application files. By following these processes, you can ensure a smooth deployment experience, enabling your web app to perform optimally and reach your target audience effectively.
As you move forward, consider exploring advanced features such as automated backups and scaling options to enhance your web app’s performance. Embracing these tools will not only streamline your deployment but also provide a solid foundation for future growth.
Frequently Asked Questions
What is Hostinger?
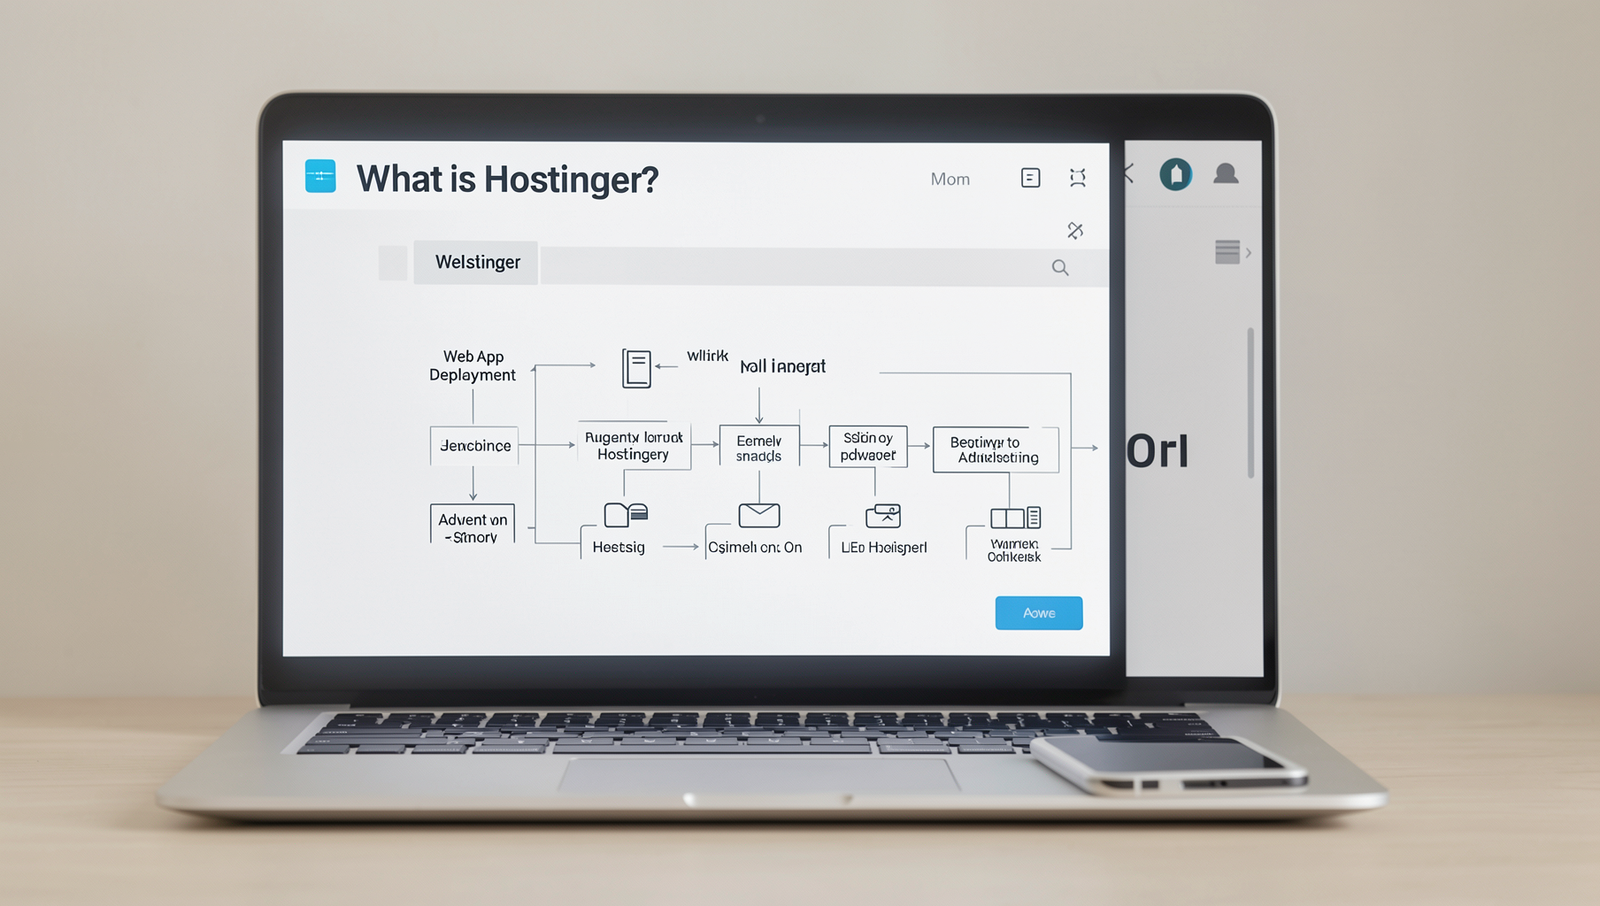
Hostinger is a web hosting provider that offers a range of services including shared hosting, cloud hosting, VPS hosting, and domain registration. Founded in 2004, it has grown to serve millions of users worldwide. Hostinger is known for its affordable pricing, user-friendly interface, and robust performance. It provides a variety of tools and features designed to help users, from beginners to advanced developers, easily manage their websites and applications. With a commitment to speed and reliability, Hostinger aims to make web hosting accessible to everyone.
How do I deploy a web app on Hostinger?
To deploy a web app on Hostinger, start by signing up for a hosting plan that suits your needs. Once you have an account, access the hPanel and navigate to the File Manager or use FTP to upload your web app files. Ensure your domain is pointed to your hosting account. If your app requires a database, create one through the MySQL Databases section and configure your app to connect to it. Finally, test your application by visiting your domain to ensure everything is functioning correctly. Hostinger also provides tutorials for specific deployment scenarios.
What programming languages are supported by Hostinger?
Hostinger supports a variety of programming languages, making it versatile for different web development needs. Commonly supported languages include PHP, Python, Node.js, and Ruby. Additionally, Hostinger allows the use of databases like MySQL and PostgreSQL, which can be integrated with these languages. This flexibility enables developers to create dynamic web applications and websites using their preferred technologies. Always check the specific hosting plan details, as some features may vary based on the type of hosting you choose.
Is there customer support available for deployment issues?
Yes, Hostinger offers customer support to assist users with deployment issues and other inquiries. Their support team is available 24/7 through live chat and email, providing timely assistance to resolve any challenges you may encounter during the deployment process. Additionally, Hostinger has an extensive knowledge base filled with tutorials, guides, and FAQs that can help you troubleshoot common issues on your own. This combination of direct support and self-help resources ensures that users can successfully deploy their web applications with confidence.
